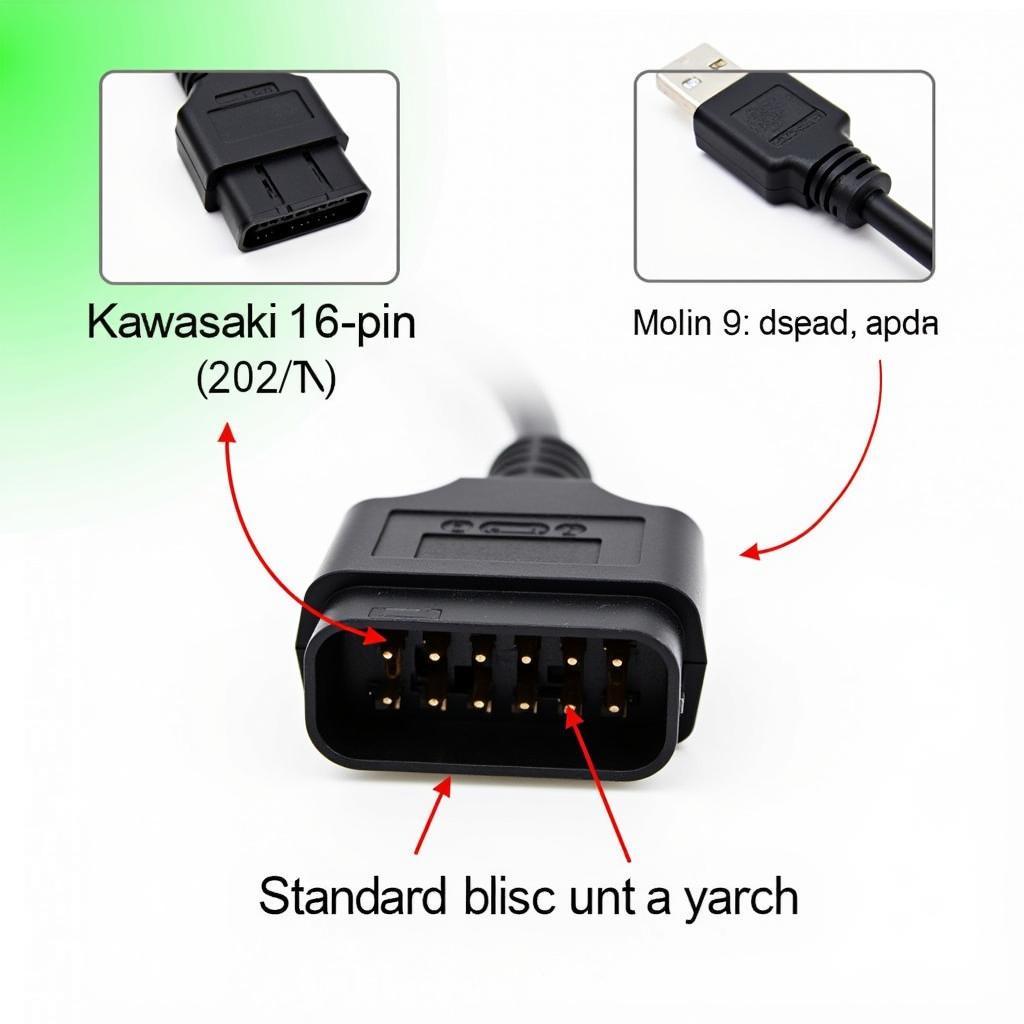
The Kawasaki 4 pin OBD2 connector often causes confusion among motorcycle owners. Unlike standard OBD2 ports found in cars, Kawasaki, along with other manufacturers, opted for a different system in their earlier models. This article delves into the world of Kawasaki 4 pin OBD2, clarifying its purpose, functionality, and how you can use it to diagnose and troubleshoot your bike.
Understanding the Kawasaki 4 Pin Connector
Before the widespread adoption of the 16-pin OBD2 standard, motorcycle manufacturers like Kawasaki utilized a 4-pin connector for diagnostics. This connector, while appearing different, serves a similar purpose to its 16-pin counterpart: providing access to the motorcycle’s engine control unit (ECU) to retrieve diagnostic information.
What Can You Do With a Kawasaki 4 Pin OBD2?
While not as comprehensive as the later OBD2 standard, the Kawasaki 4 pin connector still offers valuable insights into your motorcycle’s health. By connecting a compatible diagnostic tool, you can:
- Retrieve Diagnostic Trouble Codes (DTCs): Identify any stored error codes within the ECU, indicating potential issues with your motorcycle’s engine, emissions, or other critical systems.
- Monitor Live Data Stream: Access real-time data from various sensors, including engine RPM, throttle position, coolant temperature, and more, allowing for in-depth analysis of your motorcycle’s performance.
- Perform Actuator Tests: Command specific components, such as fuel injectors or ignition coils, to activate and verify their functionality, aiding in pinpointing faulty parts.
How to Use a Kawasaki 4 Pin OBD2 Scanner
Using a Kawasaki 4 pin OBD2 scanner is a straightforward process:
- Locate the 4-pin connector: Consult your motorcycle’s service manual for the exact location, usually found under the seat or near the battery.
- Connect the scanner: Ensure the ignition is off, then connect the scanner to the 4-pin connector.
- Turn the ignition on: Power up the scanner and your motorcycle’s ignition, but do not start the engine.
- Access diagnostic functions: Navigate the scanner’s menu to retrieve DTCs, view live data, or perform actuator tests.
Choosing the Right Kawasaki 4 Pin OBD2 Scanner
Selecting the appropriate scanner is crucial for compatibility and effective diagnostics. Factors to consider include:
- Model Coverage: Ensure the scanner explicitly supports your Kawasaki motorcycle model and year.
- Functionality: Determine the required features, whether basic DTC retrieval or advanced live data analysis.
- User Interface: Opt for a scanner with a clear, intuitive interface for ease of use.
Kawasaki 4 Pin OBD2 vs. Standard OBD2
The key distinction lies in the connector type and communication protocols. While standard OBD2 utilizes a 16-pin connector and the CAN bus protocol, Kawasaki 4 pin systems predate this standard and employ different protocols. Therefore, standard OBD2 scanners are incompatible with Kawasaki 4 pin connectors.
Conclusion
Understanding the Kawasaki 4 pin OBD2 system empowers you to diagnose and address issues with your motorcycle effectively. While different from the standard OBD2, it serves a similar purpose, providing valuable insights into your bike’s health. By utilizing a compatible scanner and understanding its functionalities, you can ensure the optimal performance and longevity of your Kawasaki motorcycle.


