Your cart is currently empty!

How to Connect Your OBD2 Scanner to Your Computer
Connecting your OBD2 scanner to your computer opens up a world of possibilities for diagnosing and troubleshooting your vehicle’s issues. This comprehensive guide will walk you through the process, from choosing the right connection type to interpreting the data you receive.
Understanding OBD2 and Its Benefits
Before diving into the connection process, let’s briefly understand what OBD2 is and why it’s so powerful. OBD2, short for On-Board Diagnostics, is a standardized system that allows you to access your vehicle’s computer and retrieve valuable data about its performance.
By connecting an OBD2 scanner to your car’s OBD2 port (usually located under the dashboard on the driver’s side), you can:
- Read and clear diagnostic trouble codes (DTCs): Identify the root cause of warning lights on your dashboard.
- Monitor engine performance in real-time: Track parameters like speed, RPM, coolant temperature, and fuel efficiency.
- Customize vehicle settings: Some scanners allow adjustments to certain vehicle features.
Choosing the Right Connection Type for Your OBD2 Scanner
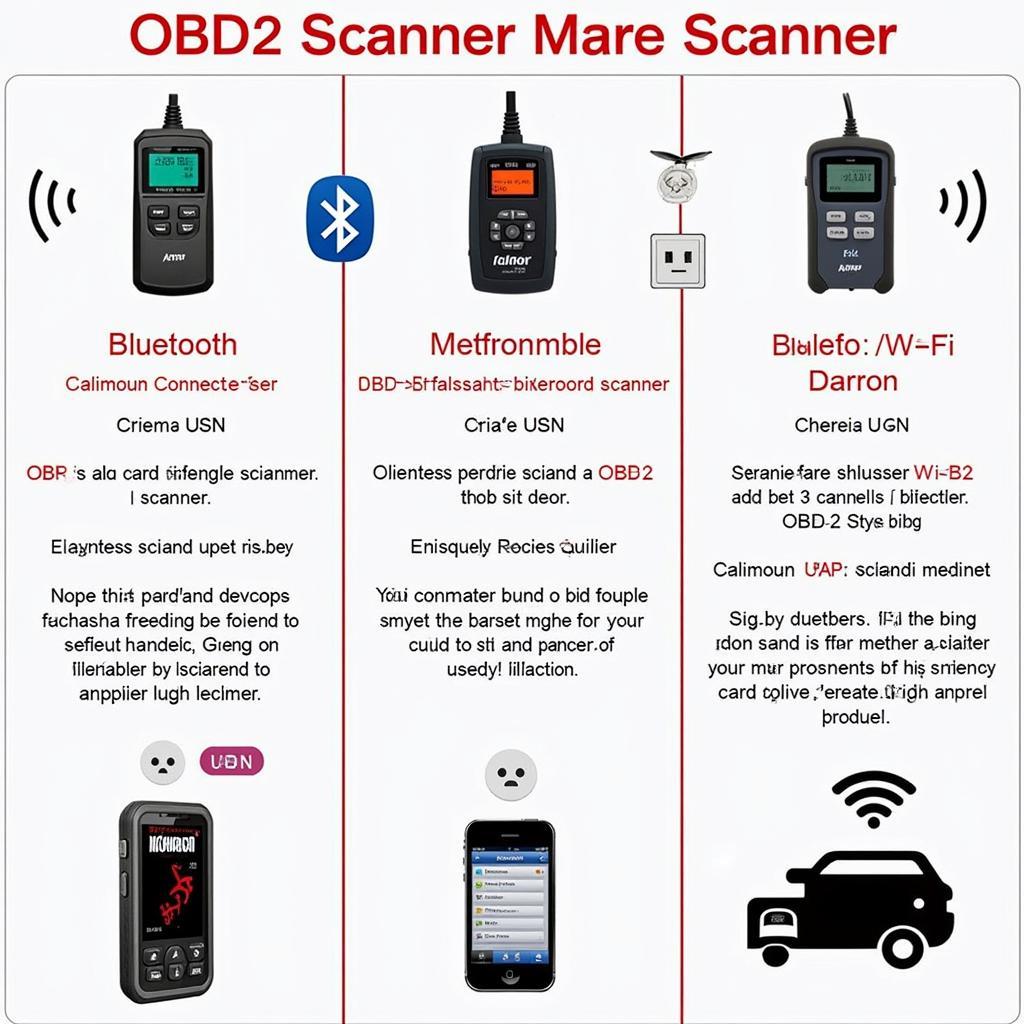
The way you connect your OBD2 scanner to your computer depends on the type of scanner you have:
- USB OBD2 scanners: Offer a reliable wired connection, ideal for consistent data transfer and extended use without battery concerns. Simply connect the scanner to your car’s OBD2 port and then connect the USB cable to your computer.
- Bluetooth OBD2 scanners: Provide wireless convenience, allowing you to move freely around your vehicle. Pair the scanner with your computer via Bluetooth to establish a connection.
- WiFi OBD2 scanners: Create a local wireless network that you can connect to using your computer or smartphone. This option often offers greater range than Bluetooth.
 Types of OBD2 Scanners
Installing the Necessary Software
Once you’ve connected your OBD2 scanner, you’ll need to install the appropriate software on your computer to interpret the data.
- Manufacturer-provided software: Many OBD2 scanners come with their own software, which is often tailored to the specific features and capabilities of the device.
- Third-party OBD2 software: Numerous free and paid options are available, offering a wide range of features, data visualization options, and compatibility with various OBD2 scanners.
Establishing Communication with Your Vehicle’s ECU
With your scanner connected and software installed, it’s time to establish communication with your vehicle’s Engine Control Unit (ECU).
- Turn on your vehicle’s ignition: This powers up the OBD2 port and allows the scanner to access the ECU.
- Launch the OBD2 software on your computer: The software will typically automatically detect and connect to the scanner.
- Initialize communication: The software may prompt you to enter your vehicle’s information (make, model, year) to ensure proper communication protocols are used.
Reading and Clearing Diagnostic Trouble Codes (DTCs)
One of the primary uses of an OBD2 scanner is to read and clear DTCs, which are stored in your vehicle’s ECU when a problem is detected.
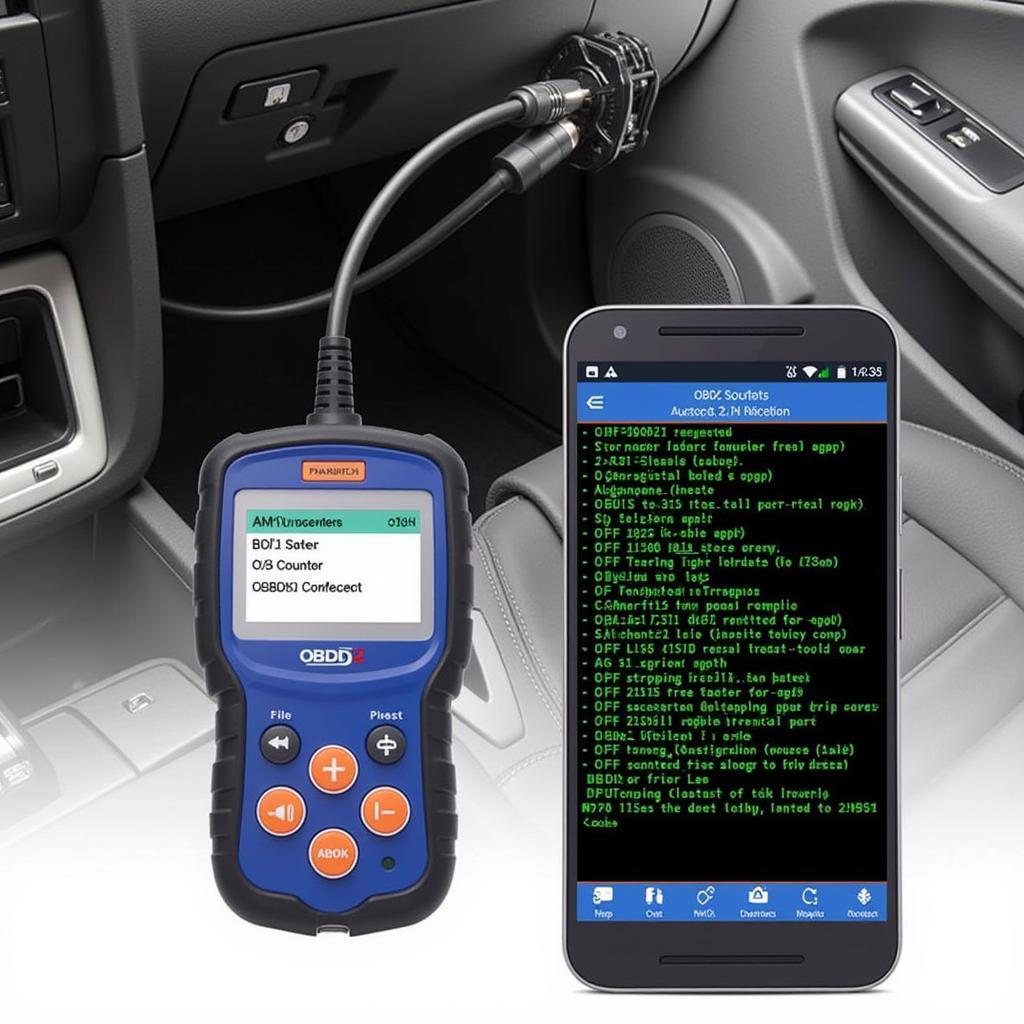
- Select the “Read Codes” option in your OBD2 software: This will initiate a scan of your vehicle’s systems for any stored DTCs.
- Interpret the DTCs: The software will display a list of any codes found, along with their descriptions. You can then research these codes online or use the software’s built-in database to understand their meaning and potential causes.
- Clear the DTCs: Once you’ve addressed the underlying issue, you can use the software’s “Clear Codes” function to erase the DTCs from your vehicle’s ECU.
 Reading OBD2 Diagnostic Trouble Codes
Accessing Real-Time Data and Advanced Diagnostics
Beyond DTCs, OBD2 scanners provide access to a wealth of real-time data about your vehicle’s performance:
- Live Data: Monitor engine parameters like RPM, speed, coolant temperature, oxygen sensor readings, and more, helping you identify potential issues as they happen.
- Data Logging: Record data over time, allowing you to analyze trends and identify intermittent problems.
- Advanced Diagnostics: Some scanners offer advanced functionalities like ABS system checks, airbag system diagnostics, and more.
Tips for Using Your OBD2 Scanner Effectively
- Invest in a quality OBD2 scanner: A reliable scanner with the features you need will provide accurate data and a smoother experience.
- Keep your software updated: Updates often include bug fixes, new features, and improved vehicle compatibility.
- Research DTCs thoroughly: Don’t jump to conclusions based solely on a DTC. Gather additional information and consider all possibilities before attempting repairs.
- Consult a professional mechanic for complex issues: While OBD2 scanners are powerful tools, they can’t replace the expertise of a qualified mechanic.
Conclusion
Connecting your OBD2 scanner to your computer unlocks a wealth of information about your vehicle’s health and performance. By understanding the connection process, software options, and data interpretation, you can become a more informed car owner and potentially save on costly repairs. For those seeking an easy-to-use OBD2 scanner for basic diagnostics, check out our e obd2 facile diagnostics option.
Remember, knowledge is power when it comes to car maintenance. With the insights provided by your OBD2 scanner, you can take control of your vehicle’s well-being and enjoy a smoother, more confident driving experience.

Leave a Reply