Upgrading your older car with OBD1 to the OBD2 diagnostic system can seem daunting. One essential component of this upgrade is the OBD1 to OBD2 jumper harness, a bridge between your car’s older system and the newer OBD2 standard. This guide provides a comprehensive, step-by-step approach to crafting your own OBD1 to OBD2 jumper harness.
Understanding OBD1 and OBD2 Systems
Before we dive into making the harness, it’s crucial to understand the differences between OBD1 and OBD2 systems.
What is OBD1?
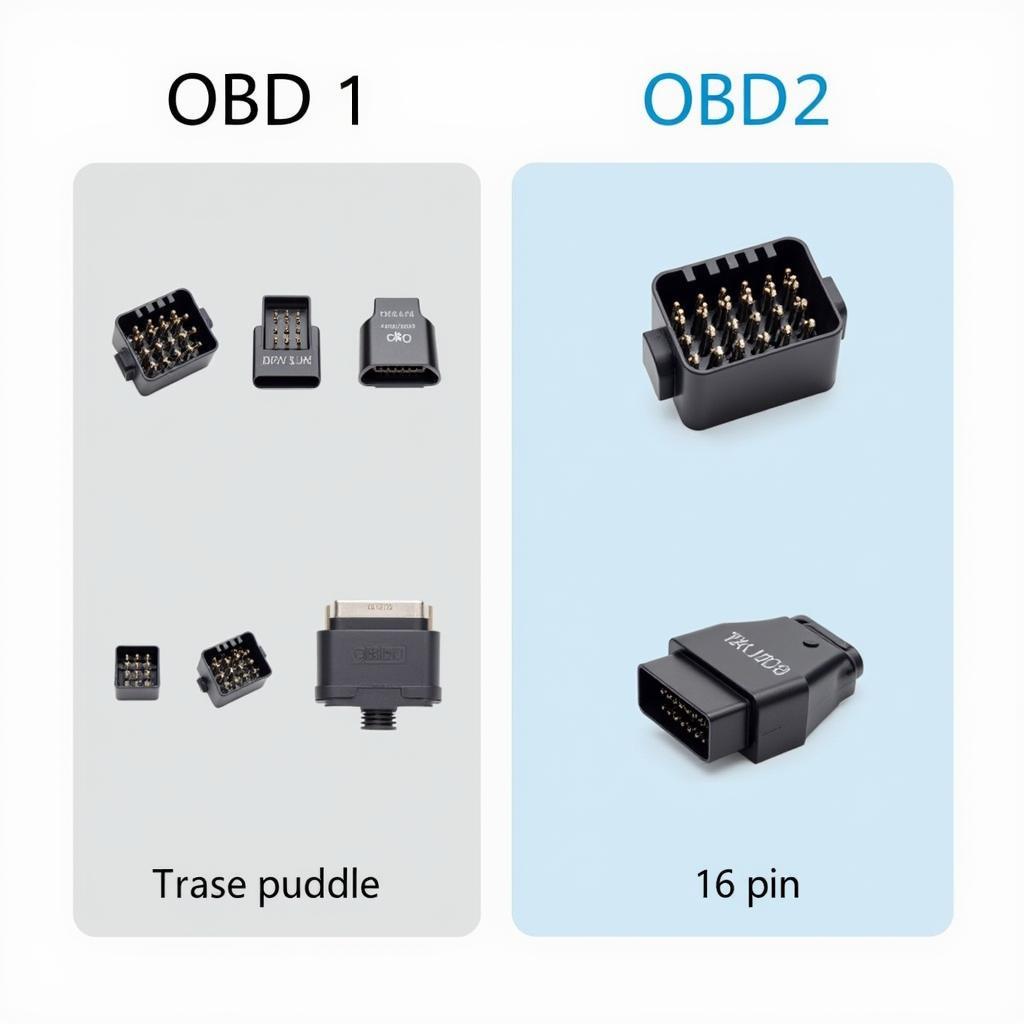
On-Board Diagnostics I (OBD1) was the initial standard for vehicle diagnostics, prevalent in cars manufactured before 1996. It lacked standardization, with each manufacturer implementing its own protocols and connectors. This inconsistency made diagnosing issues complex, often requiring specialized tools for different car models.
What is OBD2?
On-Board Diagnostics II (OBD2), introduced in 1996, brought standardization to vehicle diagnostics. It offered a universal 16-pin connector and standardized diagnostic trouble codes (DTCs), simplifying the process for mechanics and car owners alike.
Why Make an OBD1 to OBD2 Jumper Harness?
An OBD1 to OBD2 jumper harness provides several advantages:
- Access to Modern Diagnostic Tools: By converting to OBD2, you can use a wider range of modern diagnostic scanners, software, and code readers compatible with the OBD2 standard.
- Simplified Diagnostics: OBD2 offers standardized trouble codes, making it easier to identify and troubleshoot issues in your vehicle.
- Enhanced Troubleshooting Capabilities: The standardized nature of OBD2 allows for more in-depth data retrieval, aiding in comprehensive troubleshooting.
Materials Needed for Your OBD1 to OBD2 Jumper Harness
- OBD1 Connector: Source a connector that matches your vehicle’s specific make and model from an auto parts store or online.
- OBD2 OBD2 16 pin female connector: A standard 16-pin female OBD2 connector readily available online or at auto parts stores.
- Wires: Choose wires rated for automotive use, capable of handling the voltage and current requirements of your vehicle’s systems. A minimum of 18-gauge wire is recommended.
- Wire Strippers/Cutters: Essential tools for preparing your wires for connection.
- Soldering Iron and Solder: Ensure a secure and reliable connection between wires and connector pins.
- Heat Shrink Tubing: Provides insulation and protection for soldered connections.
- Multimeter (Optional): Useful for verifying connections and troubleshooting any wiring issues.
Building Your OBD1 to OBD2 Jumper Harness
Follow these detailed steps to construct your jumper harness:
- Identify Pin Assignments: Before you begin, consult your vehicle’s wiring diagram to determine the correct pin assignments for both the OBD1 and OBD2 connectors.
- Prepare the Wires: Cut wires to the appropriate lengths to connect the corresponding pins on the OBD1 and OBD2 connectors. Strip approximately 1/2 inch of insulation from both ends of each wire.
- Connect the OBD1 Connector: Solder each wire to the corresponding pin on the OBD1 connector, ensuring secure connections. Cover each soldered connection with heat shrink tubing and apply heat to shrink it tightly for insulation.
- Connect the OBD2 Connector: Following the pin assignments, solder the other ends of the wires to the corresponding pins on the OBD2 connector. Use heat shrink tubing to insulate each connection as you did with the OBD1 connector.
- Verify Connections: If you have a multimeter, test the continuity between the corresponding pins on both connectors to ensure your connections are solid and accurate.
Important Considerations
- Safety First: Disconnect your vehicle’s battery before working on any electrical components to prevent electrical shocks or damage.
- Double-Check Connections: Accuracy is critical. Double-check your pin assignments and wire connections throughout the process to avoid potential issues.
- Secure Wiring: Ensure the harness is properly secured to prevent it from interfering with other components or becoming damaged during use.
Troubleshooting and Testing
- Check Engine Light Still On: If the Check Engine Light remains illuminated after connecting your new harness, double-check your pin assignments and connections. Ensure the OBD2 scanner you’re using is compatible with your vehicle’s make and model.
- Inaccurate Data: Inaccurate readings might indicate a problem with the connections or the OBD2 scanner itself. Verify the connections, try a different scanner, or consult a professional mechanic for assistance.
Conclusion
Crafting your own OBD1 to OBD2 jumper harness can be a rewarding project, granting you access to a world of modern diagnostic tools and simplifying the troubleshooting process for your older vehicle. By carefully following this guide, you can bridge the gap between legacy and contemporary automotive technology, putting you in the driver’s seat when it comes to diagnosing and resolving issues in your car.
Need assistance with your OBD1 to OBD2 conversion? Our team of experts at OBDFree is here to help! We offer a range of resources, including wiring diagrams, diagnostic tools, and expert advice to guide you through every step of the process.
Contact us via WhatsApp at +1(641)206-8880 or email us at [email protected]. We’re available 24/7 to answer your questions and provide the support you need.


