The OBD2 harness diagram, a roadmap to your vehicle’s onboard diagnostic system, is essential for mechanics and car enthusiasts alike. This guide delves deep into the intricacies of the OBD2 harness, empowering you to diagnose and potentially fix issues yourself.
What is an OBD2 Harness Diagram?
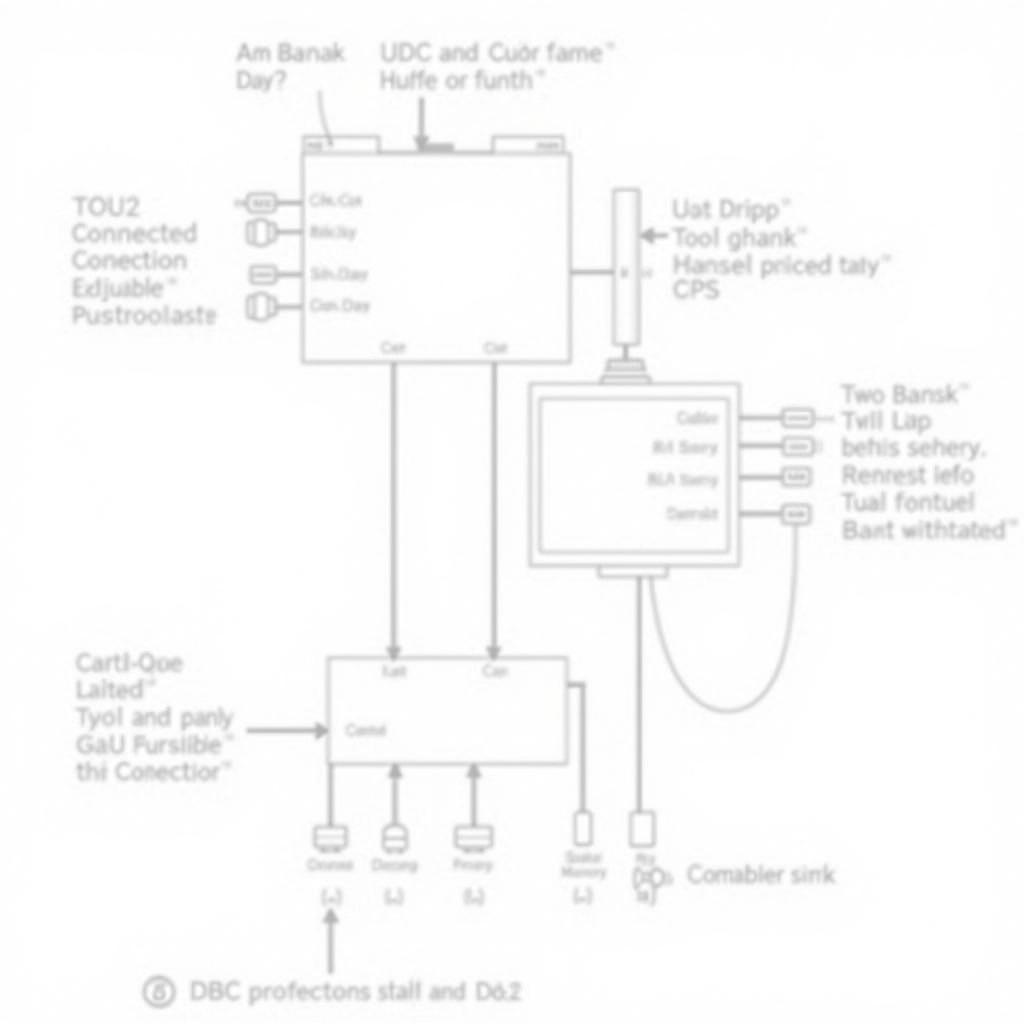
An OBD2 harness diagram is essentially a visual representation of the wiring and connections within your vehicle’s OBD2 system. It shows the path of each wire, the components it connects to, and the function of each component. Think of it as a blueprint that helps you understand how the different parts of your car’s diagnostic system communicate.
Why is an OBD2 Harness Diagram Important?
Understanding the OBD2 harness diagram can be invaluable in several situations:
- Troubleshooting Electrical Issues: When your check engine light illuminates, the OBD2 system generates a specific code. By referring to the harness diagram, you can trace the wiring from the diagnostic connector to the problematic component, aiding in efficient diagnosis.
- Installing Aftermarket Equipment: Installing devices like remote starters or aftermarket alarms often involves tapping into the OBD2 system. A harness diagram helps you identify the correct wires to connect to, preventing potential damage to your vehicle’s electronics.
- DIY Repairs: For the mechanically inclined, an OBD2 harness diagram opens the door for DIY repairs. Whether you’re dealing with a faulty sensor or a wiring issue, the diagram provides the knowledge needed to approach the problem.
Deciphering the Symbols and Components
OBD2 harness diagrams use standardized symbols to represent various components and connections. Familiarizing yourself with these symbols is crucial to interpreting the diagram correctly.
- DLC (Data Link Connector): This is the port where you connect your OBD2 scanner. It’s usually located under the driver’s side dash.
- ECU (Engine Control Unit): This is the brain of your vehicle’s engine management system, receiving data from various sensors and adjusting engine parameters accordingly.
- Sensors: Numerous sensors throughout your vehicle, such as the oxygen sensor, throttle position sensor, and crankshaft position sensor, relay data to the ECU.
- Wiring: The lines on the diagram represent the wires connecting the different components. Different colors or line styles often indicate specific signal types.
Finding the Right OBD2 Harness Diagram for Your Vehicle
Locating an OBD2 harness diagram for your specific car model is easier than you think.
- Owner’s Manual: Your vehicle’s owner’s manual might include a simplified diagram or direct you to its location.
- Online Resources: Reputable automotive websites like OBDFree offer a wealth of information, including OBD2 harness diagrams for many makes and models. You can find specialized diagrams for specific systems, like the OBD2 GSR wiring harness diagram, by searching online.
- Repair Manuals: Dedicated repair manuals, whether in print or digital format, typically provide detailed and comprehensive wiring diagrams.
Working with an OBD2 Harness Diagram Safely
While the OBD2 system uses low voltage, safety should always be a priority:
- Disconnect the Battery: Before working on any electrical components, disconnect the negative terminal of your car battery to avoid the risk of short circuits.
- Use Proper Tools: Employ insulated tools and wear protective gear like gloves and safety glasses.
- Consult a Professional: If you’re unsure about any aspect of the repair or diagnosis, don’t hesitate to seek assistance from a qualified mechanic.
OBD1 to OBD2 Conversion and Jumper Harnesses
In older vehicles with OBD1 systems, enthusiasts often consider converting to the more advanced OBD2 standard. This involves using a specialized OBD1 to OBD2 jumper harness diagram to bridge the gap between the two systems. These conversions, while offering benefits, require careful planning and execution. For those interested in learning more about this process, guides like “How to make OBD1 to OBD2 jumper harness” provide step-by-step instructions.
Conclusion
The OBD2 harness diagram serves as a vital tool for anyone looking to understand, diagnose, or repair their vehicle’s diagnostic system. From tracing down a faulty sensor to confidently installing aftermarket devices, the knowledge gained from deciphering this diagram empowers car owners and mechanics alike.
Remember, always prioritize safety when working with your car’s electrical system. While this guide provides a solid foundation, consulting a professional is always recommended when dealing with complex issues or if you’re unsure about any aspect of the repair.


