Harbor Freight OBD2 scanners are a budget-friendly way to diagnose car problems without visiting a mechanic. Whether you’re a DIY enthusiast or just want to understand your car better, knowing how to use this handy tool can save you time and money. This guide will provide a comprehensive step-by-step walkthrough on using a Harbor Freight OBD2 scanner like a pro.
Understanding Your Harbor Freight OBD2 Scanner
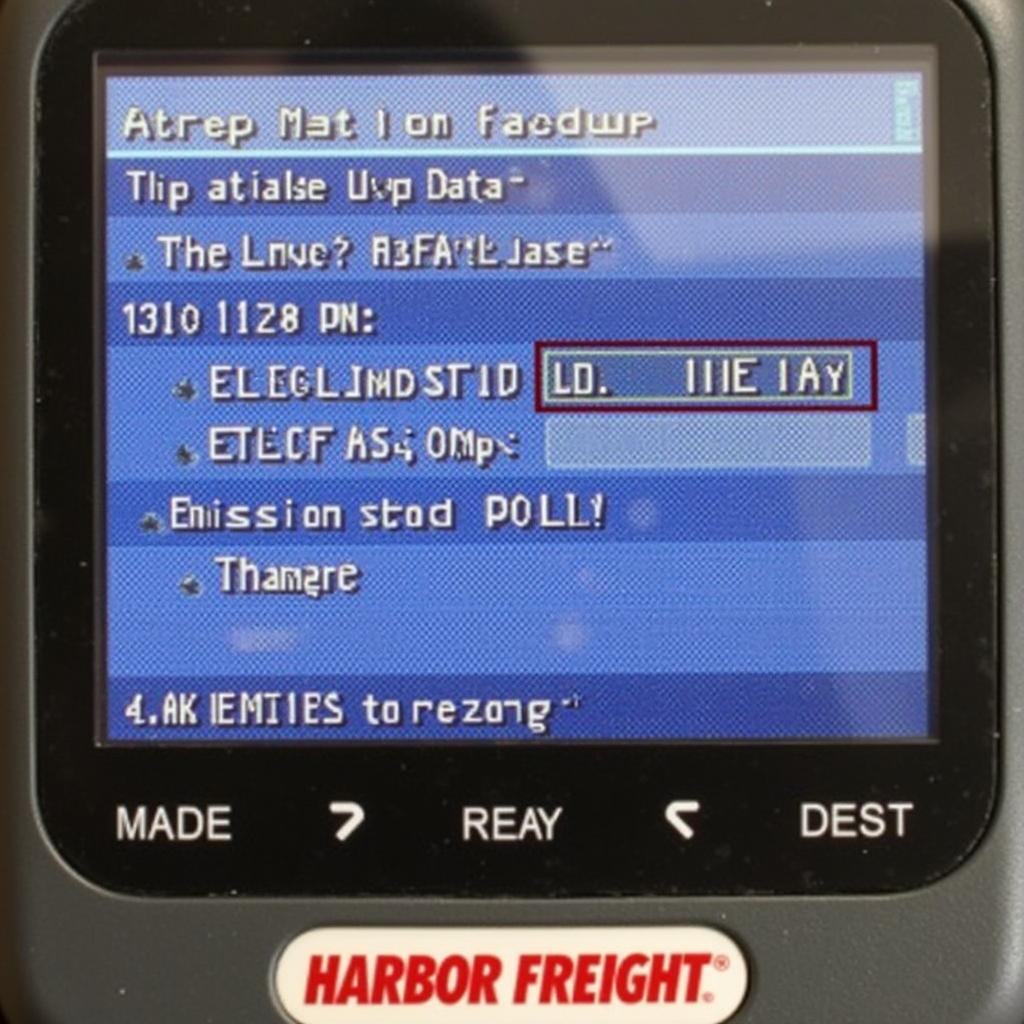
Before plugging in your scanner, it’s helpful to understand its basic functions. Most Harbor Freight OBD2 scanners can:
- Read and Clear Diagnostic Trouble Codes (DTCs): These codes are like your car’s internal error messages, indicating potential issues.
- Display Live Data: Monitor your car’s performance in real-time, such as engine speed, coolant temperature, and oxygen sensor readings.
- Check Emissions Readiness: Determine if your car is ready for an emissions test.
Locating the OBD2 Port
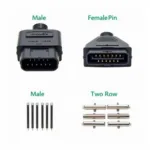
The OBD2 port is typically found under the driver’s side dashboard, near the steering column. It’s a trapezoidal 16-pin connector.
Connecting the Scanner
- Turn off your car’s ignition. This ensures no electrical mishaps occur during the connection.
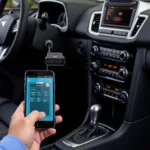
- Plug the OBD2 scanner into the port. You should hear a click when it’s securely connected.
- Turn the ignition to the “On” position. Don’t start the engine yet. This powers up the scanner and allows it to communicate with your car’s computer.
Using the Scanner
The exact menu navigation may vary slightly depending on your specific Harbor Freight OBD2 scanner model. However, the general process remains similar:
-
Select “Read Codes.” The scanner will communicate with your car’s computer and retrieve any stored trouble codes.
-
Interpret the Codes. Each code corresponds to a specific problem. You can often find the meaning of these codes in the scanner’s manual or by searching online. Websites like OBDFree.com provide comprehensive information about OBD2 code reader site harborfreight.com.
“It’s important to remember that trouble codes don’t always pinpoint the exact problem,” says automotive expert John Smith. “They act as a starting point for further diagnosis.”
-
Record the Codes. Write down all the codes displayed, along with their descriptions, for future reference.
-
Clear the Codes. After noting the codes, you can clear them from the car’s computer using the scanner.
-
Further Diagnosis. If the check engine light persists or the problem recurs, further diagnosis may be required.
Exploring Advanced Features
Some Harbor Freight OBD2 scanners offer advanced features like live data monitoring. This data can be invaluable for:
- Identifying intermittent problems: Monitor sensor readings in real-time to catch issues that might not trigger a trouble code.
- Verifying repairs: After fixing a problem, use live data to confirm that the repair was successful.
Tips for Using Your Harbor Freight OBD2 Scanner
- Consult your vehicle’s repair manual. This manual often provides valuable information specific to your car’s diagnostic system.
- Update your scanner regularly. Manufacturers often release updates that improve functionality and compatibility.
- Don’t solely rely on the scanner. While OBD2 scanners are helpful, they shouldn’t be your only diagnostic tool. Use them in conjunction with other methods and your own mechanical knowledge.
Conclusion
Knowing how to use a Harbor Freight OBD2 scanner empowers you to take control of your car’s maintenance. By understanding its functions and following these steps, you can confidently diagnose basic car problems and potentially save yourself a trip to the mechanic. Remember, though, while a great starting point, a scanner is just one tool in a mechanic’s arsenal. For complex issues, consulting a professional is always recommended.


