Understanding your car’s health has never been easier thanks to OBD2 technology. But what if you could take it a step further and delve into the world of DIY diagnostics with an Arduino? This guide will explore the fascinating realm of decoding OBD2 codes using an Arduino, empowering you with the knowledge to interpret those cryptic codes and gain deeper insights into your vehicle’s performance.
What are OBD2 Codes and Why Should You Care?
OBD2, short for On-Board Diagnostics, is a standardized system present in vehicles manufactured since 1996. It acts as your car’s built-in communication network, constantly monitoring various systems and components. When an issue arises, the OBD2 system generates diagnostic trouble codes (DTCs), commonly known as OBD2 codes. These codes act as a starting point for mechanics and car enthusiasts to pinpoint and resolve malfunctions.
Instead of relying solely on mechanics, imagine having the ability to read and interpret these codes yourself. This is where the power of Arduino comes in. By connecting an Arduino board to your car’s OBD2 port, you unlock a gateway to a wealth of information about your vehicle’s health.
Unveiling the Power of Arduino for OBD2 Diagnostics
Arduino, a versatile open-source electronics platform, provides the perfect foundation for building a custom OBD2 scanner. Its affordable hardware, coupled with a vast library of code examples and a supportive online community, makes it an ideal choice for both beginners and experienced makers alike.
With an Arduino-based OBD2 scanner, you can:
- Read and Clear Diagnostic Trouble Codes: Access and clear those pesky check engine lights while gaining a clear understanding of the underlying issues.
- Monitor Live Sensor Data: Track engine speed, coolant temperature, oxygen sensor readings, and a myriad of other parameters in real time, providing valuable insights into your car’s performance.
- Log Data for In-depth Analysis: Record data over time to identify intermittent issues or analyze performance trends, allowing you to make informed decisions about your car’s maintenance.
Essential Components for Your Arduino OBD2 Project
Before embarking on your OBD2 decoding adventure, you’ll need to gather a few essential components:
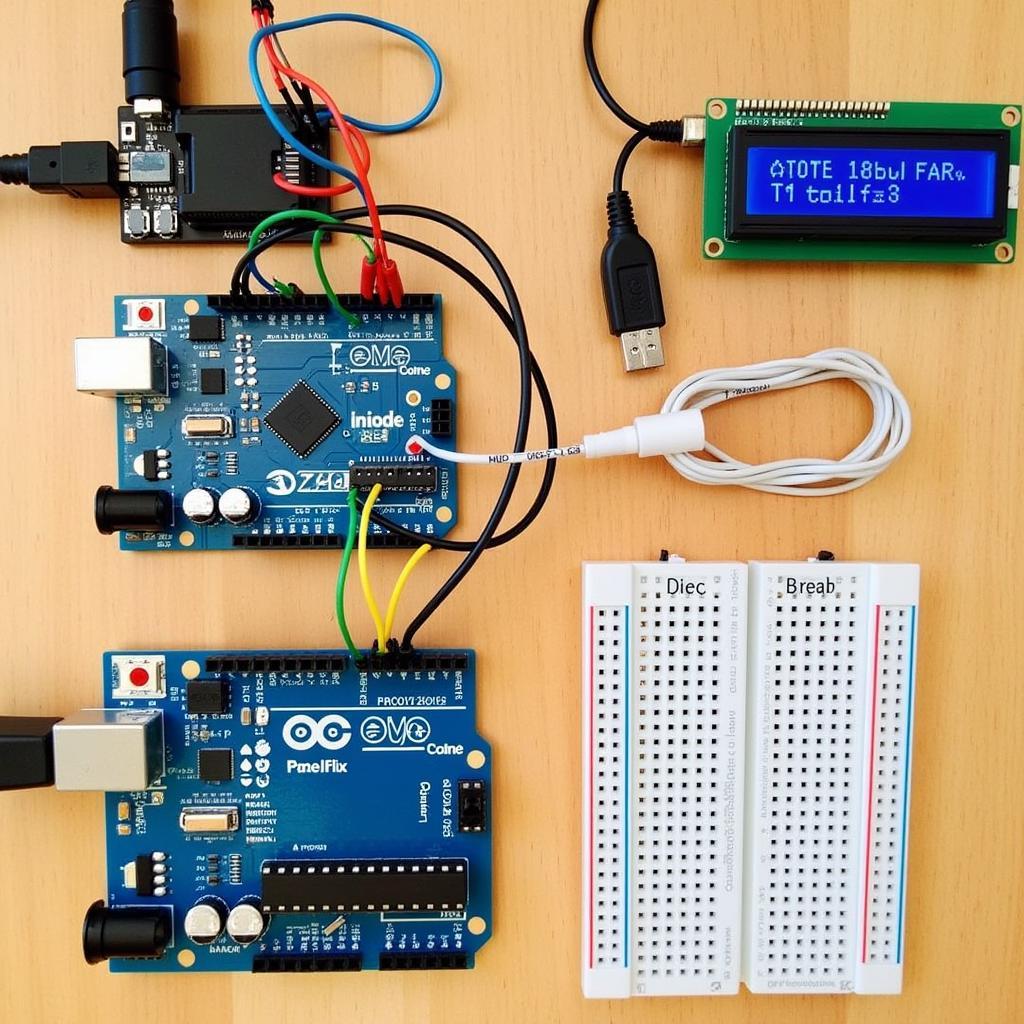
- Arduino Board: The heart of your project. Popular choices include the Arduino Uno, Nano, or Mega, each offering a balance of features and affordability.
- OBD2 to UART Converter: This acts as the bridge between your car’s OBD2 port and the Arduino board. The ELM327 is a widely available and reliable option.
- Jumper Wires: These versatile connectors will help you establish connections between your Arduino board and the OBD2 to UART converter.
- Breadboard (Optional): Useful for prototyping and experimenting with different circuit connections before making permanent connections.
Getting Started: Connecting Your Arduino to Your Car
Connecting your Arduino to your car’s OBD2 port is straightforward:
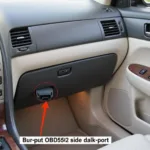
- Locate the OBD2 port in your car. It’s usually found under the dashboard on the driver’s side.
- Connect the OBD2 to UART converter to the OBD2 port.
- Connect the converter to your Arduino board using jumper wires, following the pin configuration specified in your chosen OBD2 library.
- Upload the necessary code to your Arduino board using the Arduino IDE. Numerous libraries and code examples are available online to simplify the communication process with the OBD2 system.
Deciphering the OBD2 Code Language
OBD2 codes might seem like a foreign language at first, but with a little guidance, you’ll be able to interpret them effortlessly. Each code follows a standardized format:
- First Character: Indicates the system related to the fault. For instance, “P” represents powertrain, “B” signifies body, “C” denotes chassis, and “U” indicates network communication.
- Second Character: Specifies whether the code is generic (0) or manufacturer-specific (1).
- Third Character: Identifies the specific system or subsystem affected, such as fuel, ignition, or emissions.
- Fourth and Fifth Characters: Represent the specific fault within the identified system.
For example, the code “P0301” indicates a powertrain-related issue, generic code, related to the ignition system, specifically a misfire detected in cylinder 1.
Beyond Code Reading: Expanding Your Arduino OBD2 Horizons
While reading and clearing codes is a significant step, the capabilities of an Arduino-based OBD2 scanner extend far beyond basic diagnostics. With some creativity and additional sensors, you can transform your setup into a powerful car monitoring system:
- Build a Real-time Data Logger: Log sensor data to an SD card for later analysis, helping you track your car’s performance over time and identify potential issues. Learn more about OBD2 data loggers with SD card functionality here.
- Create a Customizable Dashboard: Design a personalized dashboard using LCD screens or even your smartphone to display real-time engine parameters in an easily digestible format.
- Integrate with GPS for Location-Based Data: Combine your OBD2 data with GPS coordinates to analyze fuel efficiency, track driving routes, or monitor vehicle location.
Expert Insights from John Miller, Automotive Engineer
“Arduino empowers car enthusiasts to demystify the complexities of modern vehicles,” says John Miller, an experienced automotive engineer. “By harnessing the power of open-source hardware and software, individuals can gain a deeper understanding of their cars’ inner workings and take proactive measures to ensure optimal performance.”
Embracing the Future of Car Diagnostics with Arduino
Decoding OBD2 codes with an Arduino opens a world of possibilities for car enthusiasts of all levels. Whether you’re a DIY mechanic looking to diagnose issues independently or a tech enthusiast eager to delve into the world of automotive electronics, an Arduino-based OBD2 scanner empowers you with valuable knowledge and control over your vehicle’s health. So, unleash your inner innovator and embark on a journey to unlock the secrets hidden within your car’s OBD2 system.
Frequently Asked Questions
1. Can I use any Arduino board for OBD2 decoding?
While most Arduino boards can be used, the Arduino Uno, Nano, and Mega are popular choices due to their balance of features, affordability, and ease of use.
2. Is it safe to connect an Arduino to my car’s OBD2 port?
Connecting an Arduino to the OBD2 port is generally safe as long as you follow proper wiring instructions and use a reliable OBD2 to UART converter.
3. Where can I find Arduino code examples for OBD2 communication?
Numerous libraries and code examples are available online, including those provided by the Arduino community and reputable electronics websites.
4. Can I clear OBD2 codes with an Arduino?
Yes, you can clear diagnostic trouble codes using an Arduino and the appropriate commands sent through the OBD2 interface. However, it’s crucial to address the underlying issue causing the code before clearing it.
5. Are there adapters available for older vehicles without OBD2 ports?
While OBD2 became mandatory in 1996, some adapters and converters claim compatibility with older OBD1 systems. However, functionality and code availability might vary. You can find more information about OBD2 and OBD1 adapters here.
Explore Further: Related Topics and Resources
Looking to delve deeper into the world of Arduino and OBD2? Here are some related topics to explore:
- Building an Arduino OBD2 car simulator: Learn how to simulate various car sensor readings and OBD2 responses for testing and development purposes. Discover more about Arduino OBD2 car simulators here.
- Understanding OBD2 data logging: Dive into the world of recording and analyzing sensor data over time to gain comprehensive insights into your car’s performance.
- Exploring advanced OBD2 commands: Go beyond basic code reading and clearing by exploring advanced commands for accessing specific sensor data and controlling various vehicle functions.
For comprehensive information and resources on OBD2 scanners and automotive diagnostics, visit OBDFree.com. Our website offers detailed guides, reviews, and helpful tips to empower you with the knowledge to take control of your car’s health.
Need Help? Contact Us!
If you need assistance with your OBD2 projects or have any automotive diagnostic questions, our team of experts is here to help. You can reach us 24/7 via WhatsApp at +1(641)206-8880 or email us at [email protected].


