Your cart is currently empty!

PC No Detecta HDMI a OBD2: Understanding the Issue
If your computer isn’t detecting your OBD2 scanner via the HDMI port, you’re not alone. This issue, while seemingly simple, can stem from several underlying causes that often leave car owners scratching their heads. The truth is, there’s no direct connection between your PC’s HDMI port and the OBD2 diagnostic port found in vehicles.
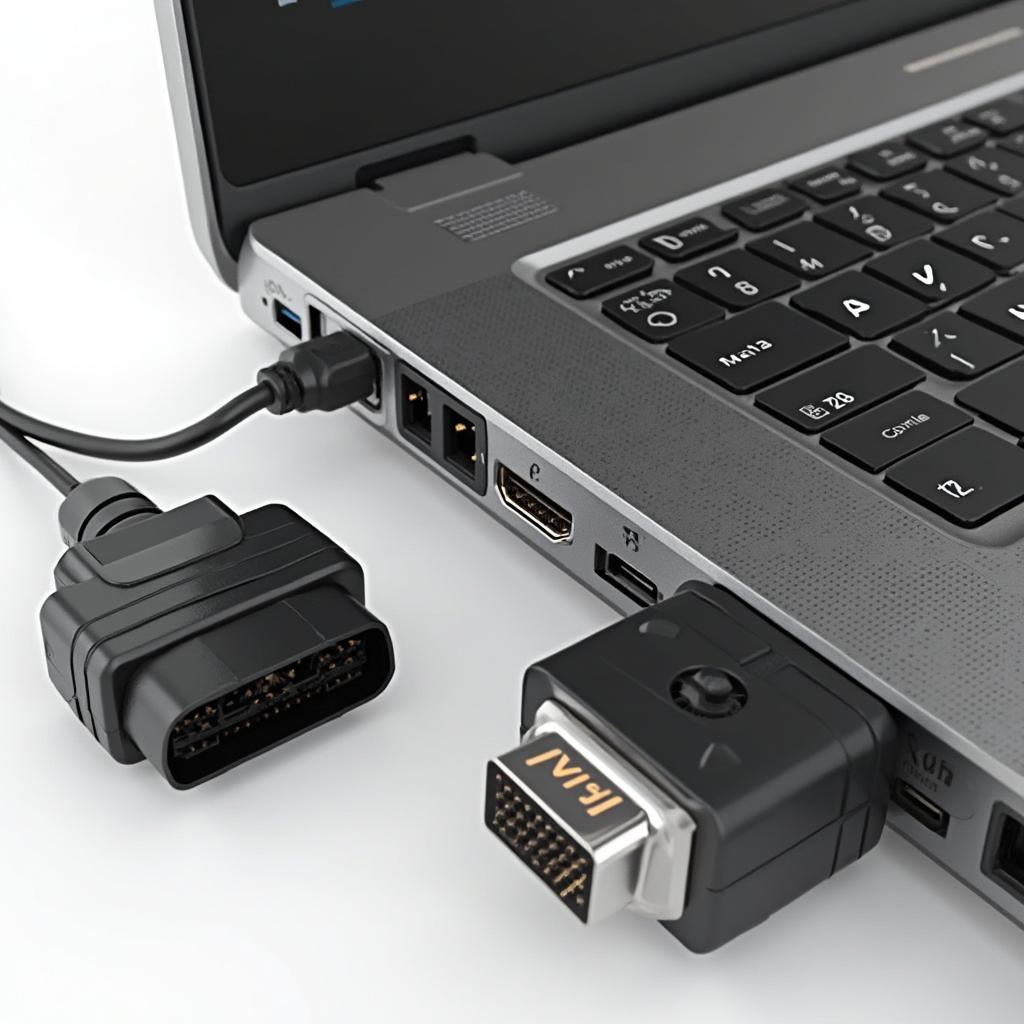
 Computer HDMI Port and OBD2 Connector
Why Your PC Can’t “See” Your OBD2 Scanner via HDMI
Let’s clear up a common misconception. The HDMI port on your computer is designed to transmit high-definition audio and video signals. It’s meant for connecting to monitors, TVs, and projectors, not diagnostic tools. On the other hand, OBD2 scanners primarily use a different communication protocol and interface, most commonly relying on a USB or Bluetooth connection for data transfer.
Trying to connect your OBD2 scanner to your PC’s HDMI port is like attempting to fit a square peg into a round hole – it simply won’t work.
Common Reasons for OBD2 Connection Issues
While the HDMI port isn’t the culprit here, you might still encounter issues connecting your OBD2 scanner to your PC. Here are some potential reasons:
- Incorrect Port Selection: Ensure you’re connecting the scanner to a functional USB port on your computer, not the HDMI port.
- Driver Problems: Outdated, missing, or incompatible drivers can prevent your PC from recognizing the scanner.
- Software Compatibility: The OBD2 software you’re using might not be compatible with your scanner or operating system.
- Faulty Equipment: There’s a possibility that your OBD2 scanner, the connecting cable, or even the USB port itself might be faulty.
Troubleshooting Steps
- Verify Connections: Double-check that the OBD2 scanner is securely plugged into your car’s diagnostic port (usually located under the dashboard) and the other end is correctly connected to a working USB port on your PC.
- Install/Update Drivers: Visit the manufacturer’s website for your OBD2 scanner and download the latest drivers compatible with your operating system. Install them on your computer.
- Check Software Compatibility: Ensure the OBD2 software you’re using is compatible with your scanner model and operating system. Consult the software documentation or the developer’s website if needed.
- Try a Different USB Port/Cable: Sometimes, a faulty USB port or cable can be the issue. Try connecting to a different USB port on your computer or using a different USB cable.
- Restart Your Computer and Scanner: A simple reboot can sometimes resolve minor software glitches that might be hindering communication.
Still Having Trouble?
“It’s important to remember that while technology can be incredibly useful, it’s not always perfect,” says John Smith, Senior Automotive Diagnostic Technician at XYZ Auto. “Don’t hesitate to seek professional help if you’re unable to resolve the connection issues yourself. A qualified mechanic or a computer technician can diagnose the problem accurately and suggest the appropriate solutions.”
Conclusion
While connecting your OBD2 scanner to your PC’s HDMI port might seem logical at first glance, it’s essential to understand that these two technologies operate independently. By ensuring you’re using the correct ports, drivers, and software, and by following basic troubleshooting steps, you can overcome common connectivity hurdles and leverage the power of OBD2 diagnostics effectively.
Remember, if the issue persists, don’t hesitate to reach out to our team of experts for personalized assistance. We’re available 24/7 via WhatsApp at +1(641)206-8880 or email us at [email protected].

Leave a Reply