The world of car diagnostics seems shrouded in mystery for many. But what if you could unlock your car’s secrets and even potentially save on expensive mechanic bills? That’s where the OBD2 port and a handy OBD2 to USB cable come in. While readily available for purchase, building your own cable can be a rewarding project, deepening your understanding of car diagnostics and saving you some money.
However, crafting a homemade OBD2 to USB cable isn’t as simple as connecting a few wires. It requires a good understanding of electronics and the protocols involved in OBD2 communication.
This comprehensive guide will delve into the intricacies of creating your own OBD2 to USB cable, exploring the necessary components, the assembly process, and the safety precautions you need to be aware of.
Understanding OBD2 and Its Significance
Before we dive into the ‘how-to,’ it’s crucial to understand what OBD2 is and why it’s become such a vital tool for car owners and mechanics alike. OBD stands for On-Board Diagnostics, and as the name suggests, it refers to a vehicle’s self-diagnostic and reporting capability.
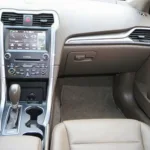
The OBD2 port, typically located under the driver’s side dashboard, serves as the access point to your car’s computer system. It allows you to interface with the Electronic Control Unit (ECU), the brain of your car, to retrieve diagnostic trouble codes (DTCs), monitor engine performance, and even customize certain settings.
Why Build Your Own OBD2 to USB Cable?
While commercially available OBD2 to USB cables are readily accessible, opting for a DIY approach offers several benefits:
- Cost-effectiveness: Building your own cable can be significantly cheaper than purchasing a pre-made one, especially if you already have some electronics components on hand.
- Customization: A homemade cable allows for customization. You can choose the length of the cable, the type of USB connector, and even add extra features like LEDs to indicate activity.
- Learning Experience: The process of building your own cable provides invaluable hands-on experience with electronics, soldering, and understanding the OBD2 communication protocol.
Essential Components for Your DIY OBD2 Cable
Creating your own OBD2 to USB cable isn’t overly complex, but it does require a few essential components:
- OBD2 Connector: A male OBD2 connector is necessary to plug into your car’s OBD2 port. You can salvage one from an old OBD2 cable or purchase one online.
- USB Cable: A standard USB cable, preferably a USB A to USB B type, is needed for connecting to your computer.
- FTDI Chip: This is the heart of your cable, facilitating communication between your car’s OBD2 port and your computer’s USB port. The FTDI232RL chip is a popular choice for this purpose.
- Breadboard or PCB: A breadboard is recommended for prototyping and testing, while a PCB (Printed Circuit Board) offers a more permanent and robust solution.
- Connecting Wires: Jumper wires or solid core wires are needed for connecting the different components.
- Soldering Iron and Solder: These are crucial for making secure and reliable connections between the components.
- Heat Shrink Tubing: Provides insulation and protection for the soldered connections.
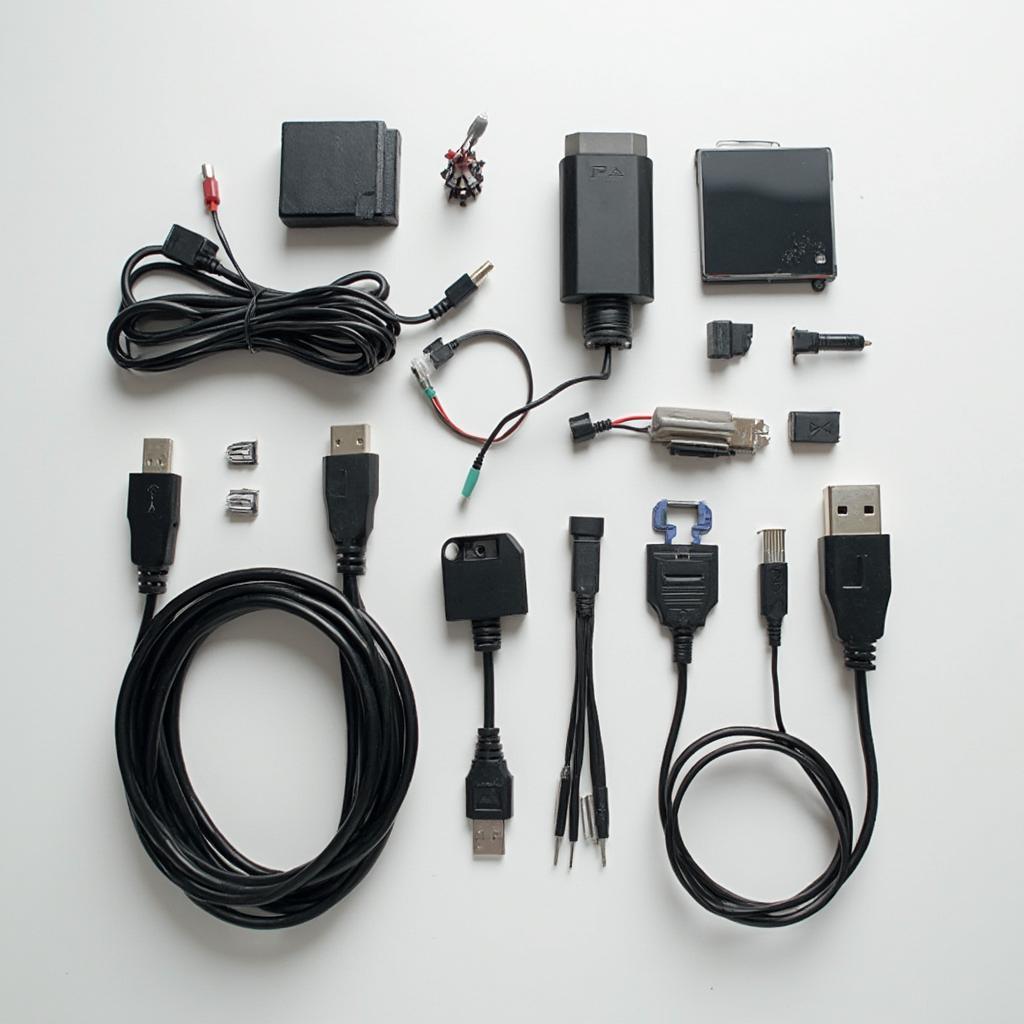 Essential Components for OBD2 to USB Cable
Step-by-Step Guide to Assembling Your Cable
Before you begin, ensure you have a clear understanding of electronics and soldering. If you’re new to soldering, seeking guidance from experienced individuals or online tutorials is highly recommended.
Step 1: Prepare the OBD2 Connector:
- Begin by identifying the pinout of your OBD2 connector. The pin configuration can vary slightly depending on the connector type. Refer to the pinout diagram for your specific connector, which is easily found online.
- Carefully strip a small portion of insulation from the ends of the wires connected to the OBD2 connector pins.
Step 2: Connect the FTDI Chip:
- The FTDI chip acts as a bridge between the OBD2 protocol and the USB protocol. Connect the appropriate pins of the FTDI chip to the corresponding pins of the OBD2 connector using your connecting wires. Refer to the FTDI232RL datasheet and the OBD2 pinout diagram for accurate connections.
Step 3: Connect the USB Cable:
- Cut open the USB cable and expose the four wires inside.
- Connect the red wire (VCC) of the USB cable to the VCC pin of the FTDI chip.
- Connect the black wire (GND) of the USB cable to the GND pin of the FTDI chip.
- Connect the green wire (Data+) of the USB cable to the TXD pin of the FTDI chip.
- Connect the white wire (Data-) of the USB cable to the RXD pin of the FTDI chip.
Step 4: Soldering and Insulation:
- Once all the connections are made, carefully solder each connection point to ensure secure and reliable contact.
- After soldering, insulate all the exposed connections using heat shrink tubing. This step is crucial for preventing short circuits and ensuring the longevity of your cable.
Step 5: Testing Your OBD2 to USB Cable:
- Before plugging your newly assembled cable into your car’s OBD2 port, it’s essential to test it for functionality and safety.
- Connect the cable to your computer and check if the FTDI chip is detected. You can use a terminal emulator program to send and receive data through the cable.
Safety Precautions
Working with electronics and car systems requires caution. Always disconnect the car battery before making any connections to the OBD2 port. Additionally:
- Never work on your car in a poorly ventilated area.
- Always wear safety glasses when soldering.
- Ensure all connections are properly insulated to prevent short circuits.
Conclusion
Building your own OBD2 to USB cable can be a fulfilling project, allowing you to save money, gain valuable skills, and delve deeper into the world of car diagnostics. By following this guide and prioritizing safety, you can create a reliable and functional cable to unlock your car’s secrets.
Remember, while this guide provides a comprehensive overview, specific details might vary depending on the chosen components and your car model. Always double-check the pin configurations and consult relevant documentation for accuracy.
FAQs
1. What can I do with a homemade OBD2 to USB cable?
A homemade OBD2 to USB cable, much like a commercially available one, can be used to read and clear diagnostic trouble codes (DTCs), monitor engine parameters like coolant temperature and RPM, and even customize certain car settings.
2. Can I damage my car by using a homemade OBD2 to USB cable?
While the risk is minimal when done correctly, there’s always a possibility of damaging your car’s electronics if the cable is faulty or incorrectly wired. Always double-check your connections and test the cable before plugging it into your car.
3. Is it legal to build and use a homemade OBD2 to USB cable?
Building and using a homemade OBD2 to USB cable for personal use is generally legal. However, laws and regulations can vary, so it’s always a good idea to check your local regulations to be sure.
4. Where can I find additional resources and support for building my cable?
Numerous online forums and communities dedicated to electronics and DIY projects can provide valuable information and support. Websites like Instructables and Hackaday are excellent resources for finding detailed tutorials and troubleshooting tips.
Need More Help?
For any assistance with OBD2 scanners, diagnostic tools, or automotive technology, don’t hesitate to contact us via WhatsApp: +1(641)206-8880, Email: [email protected]. Our 24/7 customer support team is always ready to assist you.
Explore more about OBD2 scanners and car diagnostics in our other insightful articles:
- Choosing the Right OBD2 Scanner for Your Needs: A comprehensive guide to help you select the perfect scanner based on your requirements and budget.
- Understanding OBD2 Trouble Codes: Learn how to decipher those cryptic codes and gain insights into your car’s health.
- Advanced OBD2 Diagnostics: Dive deeper into the world of car diagnostics and explore advanced techniques for troubleshooting complex issues.