Resetting your car’s computer, also known as the Engine Control Unit (ECU), can sometimes resolve performance issues or clear error codes. Using an OBD2 scanner is a common method to achieve this, and this article will guide you through the process. Want to optimize your car’s performance? Learn how to reset a car computer with an OBD2 scanner.
A car’s computer, like any other computer, can sometimes encounter glitches or store faulty data. This can lead to decreased performance, unusual behavior, or the illumination of the check engine light. Resetting the car computer with an OBD2 scanner can often clear these issues and restore normal operation. This is a relatively simple procedure, but understanding the steps involved is crucial. Using the correct procedure is essential to prevent further complications. After the second paragraph of this guide, we’ll explore how to get the most out of obd2 scanner usage.
It’s worth mentioning that while an OBD2 scanner can reset the car’s computer, it will also clear any stored diagnostic trouble codes (DTCs). These codes provide valuable information about potential problems within the vehicle’s systems. Therefore, it’s recommended to retrieve and document any existing DTCs before performing a reset. This way, you’ll have a record of any potential underlying issues if the problems persist after the reset. A 2000 Honda Civic OBD2 Connector and a suitable scanner will allow you to access this data efficiently.
Understanding the Car Computer Reset Process
Why Would You Need to Reset Your Car Computer?
There are several reasons why you might need to reset your car computer. Common reasons include clearing error codes after repairs, resolving performance issues related to the ECU, and adapting the computer to new parts or modifications. Sometimes, a simple reset can solve seemingly complex problems.
- Improved fuel efficiency
- Smoother engine operation
- Clearing stored error codes
Preparing for the Reset
Before starting the reset process, ensure you have the necessary tools and are in a safe environment. You will need a compatible OBD2 scanner and a clear understanding of your car’s specific requirements. Consulting your vehicle’s owner’s manual is always a good idea. Remember, safety first!
How to Reset a Car Computer with OBD2 Scanner: A Step-by-Step Guide
-
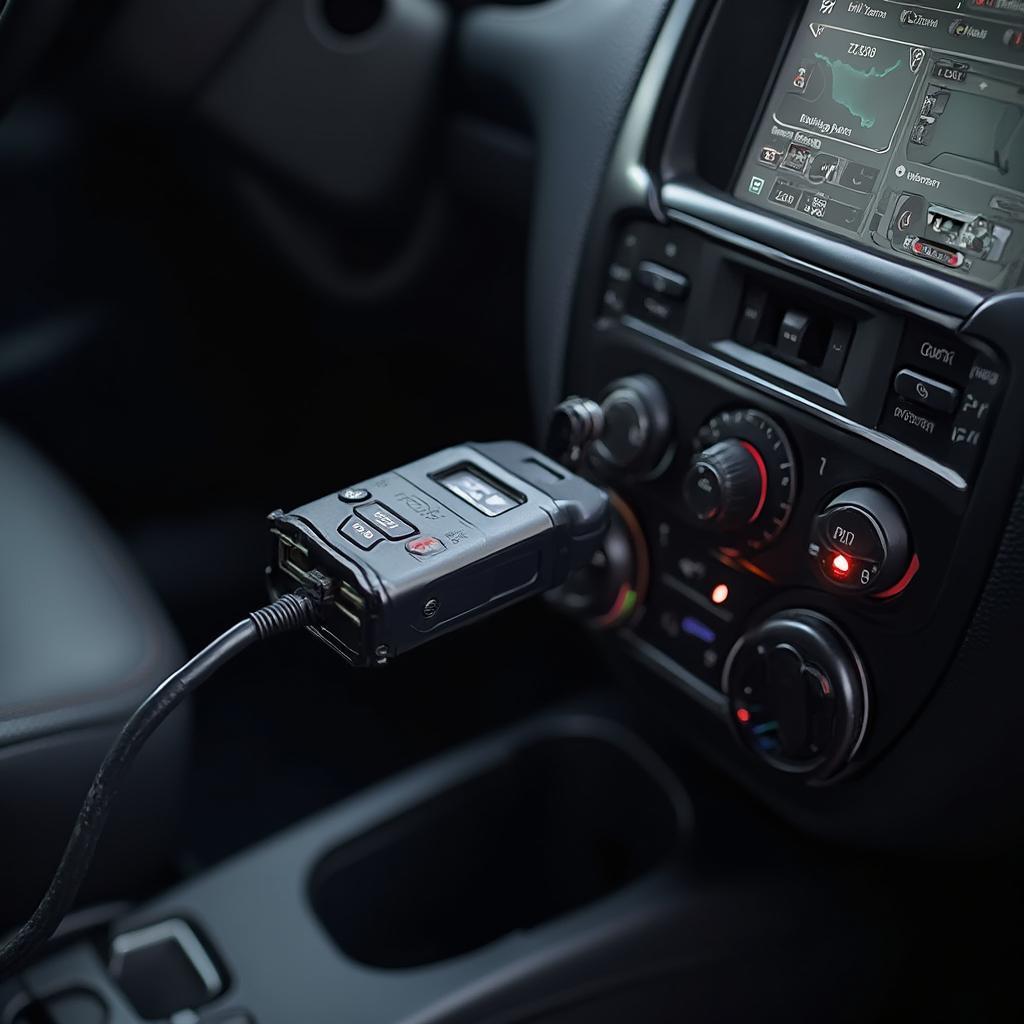
Locate the OBD2 port: The OBD2 port is usually located under the dashboard on the driver’s side.
-
Connect the OBD2 scanner: Plug the scanner into the OBD2 port.
-
Turn on the ignition: Turn the ignition key to the “on” position, but do not start the engine.
-
Establish connection: The OBD2 scanner should establish a connection with the car’s computer.
-
Access the reset function: Navigate through the scanner’s menu to find the “erase codes” or “reset ECU” function. This process might vary slightly depending on the specific scanner model. Understanding how to get the most out of obd2 scanner functionality can be immensely helpful here. Check your scanner’s manual for detailed instructions.
-
Confirm the reset: Once you’ve selected the reset function, confirm the action. The scanner will then communicate with the ECU and initiate the reset process.
-
Disconnect the scanner: After the reset is complete, disconnect the OBD2 scanner.
-
Test drive: Start the engine and take your car for a test drive to verify that the issue has been resolved.
Troubleshooting Common Issues
Sometimes, the reset process might not go as smoothly as planned. Here are a few common issues and how to address them:
- Scanner not connecting: Ensure the OBD2 port is clean and the scanner is properly connected. If you’re trying to use a bluetooth obd2 passkey, make sure it’s paired correctly.
- Reset function not available: Some scanners might not have the capability to reset the ECU. Refer to your scanner’s manual for specific functionalities.
- Problem persists after reset: If the original issue returns after the reset, it indicates a deeper underlying problem that requires further diagnosis.
Conclusion
Resetting your car’s computer with an OBD2 scanner can be a useful troubleshooting step. However, it’s important to remember that this procedure clears diagnostic trouble codes. Always document any existing codes before performing a reset. If the problem persists after resetting the car computer with an OBD2 scanner, consult a qualified mechanic for further diagnosis and repair. Using a 2000 nissan obd2 app can help pinpoint issues more precisely.
FAQ
- Will resetting the car computer void the warranty? No, resetting the computer itself will not void the warranty. However, any modifications made to the vehicle could affect the warranty.
- How often can I reset my car computer? You can reset your car computer as needed, but it’s crucial to address the underlying issue causing the need for a reset.
- What happens if I disconnect the scanner during the reset process? Disconnecting the scanner mid-process could potentially interrupt the reset and cause further issues. Always wait for the process to complete.
- Can I use any OBD2 scanner to reset my car computer? Not all OBD2 scanners have the reset functionality. Refer to your scanner’s manual for specific features.
- Will resetting the computer erase my car’s settings? Some settings, such as radio presets, might be lost during a reset. Refer to your owner’s manual for specific details.
- Is it safe to reset my car computer myself? Yes, generally, it’s a safe procedure if performed correctly. However, if you’re unsure, consult a professional.
- Where can I find information about obd2 wifi api? You can find information on obd2 wifi api on our website.
If you need further support, please contact us via WhatsApp: +1(641)206-8880, or Email: [email protected]. Our customer service team is available 24/7.


