Connecting an Arduino to your car’s OBD2 port opens up a world of possibilities. Arduino OBD2 DIY projects allow you to monitor your vehicle’s performance, diagnose issues, and even create custom features, all without breaking the bank. This article will guide you through the exciting world of Arduino OBD2, covering everything from the basics to advanced projects.
Dive into the world of diagnostics and car data with your Arduino. We’ll explore the necessary hardware, software, and provide practical examples to get you started on your own Arduino OBD2 DIY projects. Learn how to transform your Arduino into a powerful diagnostic tool. You’ll be amazed at what you can achieve with a little ingenuity and this accessible technology. Ready to get started?
Understanding the Power of Arduino OBD2 Interface
The OBD2 port, standard in most cars since 1996, acts as a gateway to your vehicle’s inner workings. By connecting an Arduino, you can tap into this data stream and unlock a wealth of information. This data, ranging from engine speed to fuel consumption, empowers you to understand your car’s performance on a deeper level. An arduino obd2 interface allows you to interpret this data and use it for your DIY projects.
Why Choose Arduino for OBD2 Projects?
Arduino’s versatility, affordability, and extensive community support make it the perfect platform for OBD2 DIY projects. Its simple programming language and readily available libraries simplify the process of reading and interpreting OBD2 data. Furthermore, the open-source nature of Arduino allows for endless customization and experimentation.
What makes Arduino OBD2 DIY projects so appealing is the potential to tailor solutions to your specific needs. Whether you’re a seasoned mechanic or a curious car enthusiast, Arduino offers a powerful and accessible tool for exploring the world of automotive diagnostics.
Building Your First Arduino OBD2 Scanner
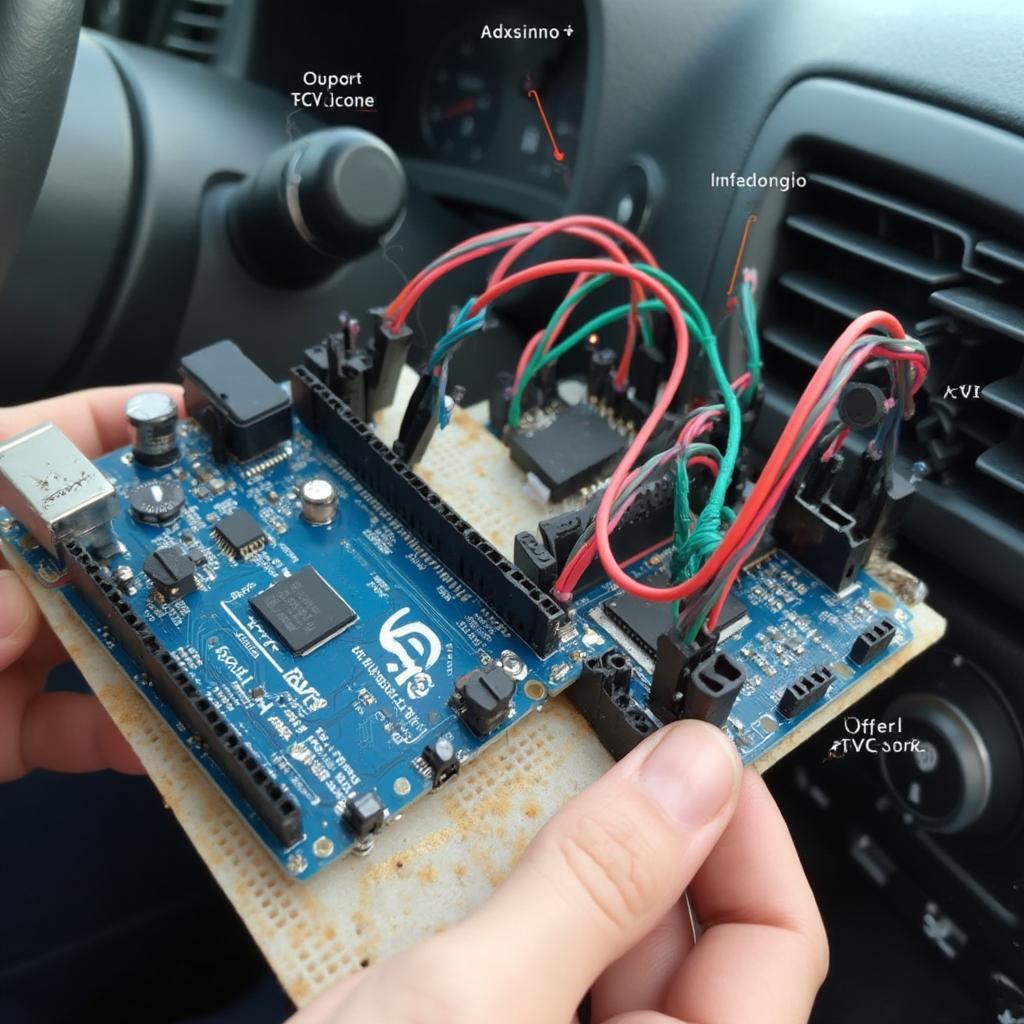
Building your first arduino obd2 scanner instructable is surprisingly straightforward. You’ll need an Arduino board, an OBD2 adapter, and some jumper wires. The OBD2 adapter acts as the bridge between your Arduino and the car’s OBD2 port. With these components in hand, you’re ready to embark on your DIY journey.
Gathering the Necessary Components
- Arduino Uno (or similar board)
- OBD-II UART/I2C Adapter
- Jumper Wires
- USB Cable
Setting Up the Software
Once you have the hardware, you’ll need to install the necessary libraries to communicate with the OBD2 adapter. The OBD2 library simplifies the process of sending and receiving data. With the library installed, you can start writing code to read specific PIDs (Parameter IDs), which represent different data points from your vehicle.
Advanced Arduino OBD2 Projects and Applications
Beyond basic diagnostics, Arduino OBD2 DIY projects offer a range of possibilities. Imagine creating a custom heads-up display (HUD) projecting vital information onto your windshield, or a performance monitor tracking your acceleration and braking. You could even build a system to log your trips and analyze your driving habits. The only limit is your imagination.
Creating Custom Dashboards and Data Loggers
With some advanced coding, you can transform your Arduino into a sophisticated data logger, recording various parameters over time. This data can be invaluable for understanding long-term trends in your car’s performance or diagnosing intermittent issues.
“The beauty of Arduino OBD2 projects lies in their adaptability,” says Dr. Emily Carter, automotive electronics engineer. “You can tailor the system to capture precisely the data you need, creating a truly personalized diagnostic tool.”
Integrating with Other Systems
You can even integrate your arduino to obd2 project with other systems, such as GPS modules or smartphone apps, to create even more powerful solutions. Imagine tracking your car’s location and performance in real-time, or receiving alerts when specific parameters exceed predefined thresholds.
Conclusion: Embracing the Future of DIY Car Diagnostics with Arduino OBD2
Arduino OBD2 DIY projects offer an exciting and affordable way to delve into the world of car diagnostics. Whether you’re a seasoned mechanic or a curious enthusiast, Arduino empowers you to unlock the secrets hidden within your car’s data stream. Start exploring read obd2 with arduino and unleash your inner mechanic. The possibilities are endless, and the rewards are immense.
FAQ
-
What is OBD2?
On-Board Diagnostics II (OBD2) is a standardized system for diagnosing vehicle problems. -
Do all cars have OBD2?
Most cars manufactured since 1996 have OBD2 ports. -
What is an Arduino?
Arduino is an open-source electronics platform based on easy-to-use hardware and software. -
Can I damage my car with Arduino OBD2 projects?
If done correctly, Arduino OBD2 projects are safe. However, always double-check your wiring and code. -
Where can I find more information on Arduino OBD2?
Online resources, forums, and communities dedicated to Arduino and OBD2 offer a wealth of information. -
What kind of data can I read from OBD2 with Arduino?
You can read various data, including engine speed, coolant temperature, fuel consumption, and more. -
Do I need coding experience for Arduino OBD2 projects?
Basic coding knowledge is helpful, but many resources and tutorials are available for beginners.
Need help?
Contact us via WhatsApp: +1(641)206-8880, Email: [email protected]. We have a 24/7 customer support team.
You can find more related articles on our website, such as:
If you have any further questions, please don’t hesitate to contact us.


