Understanding and fixing OBD2 codes P0403, P0224, and P0113 can save you time and money at the mechanic. These codes often appear seemingly unrelated, but sometimes a single underlying issue can trigger them. This guide will walk you through diagnosing and resolving these trouble codes, providing clear explanations and practical steps to get your car back on the road.
Understanding OBD2 Codes P0403, P0224, and P0113
P0403 indicates a problem with the Exhaust Gas Recirculation (EGR) circuit. This often means a malfunctioning EGR valve or a problem with the wiring or sensor related to the EGR system. P0224 signals an issue with the Throttle Position Sensor/Switch “B” Circuit Intermittent. This could be due to a faulty sensor, wiring problems, or a problem with the throttle body itself. Finally, P0113 points to a problem with the Intake Air Temperature (IAT) sensor circuit high input. This suggests the sensor is sending an incorrect signal, potentially due to a faulty sensor, wiring issues, or even something as simple as a dirty air filter.
What Causes These Codes to Appear Together?
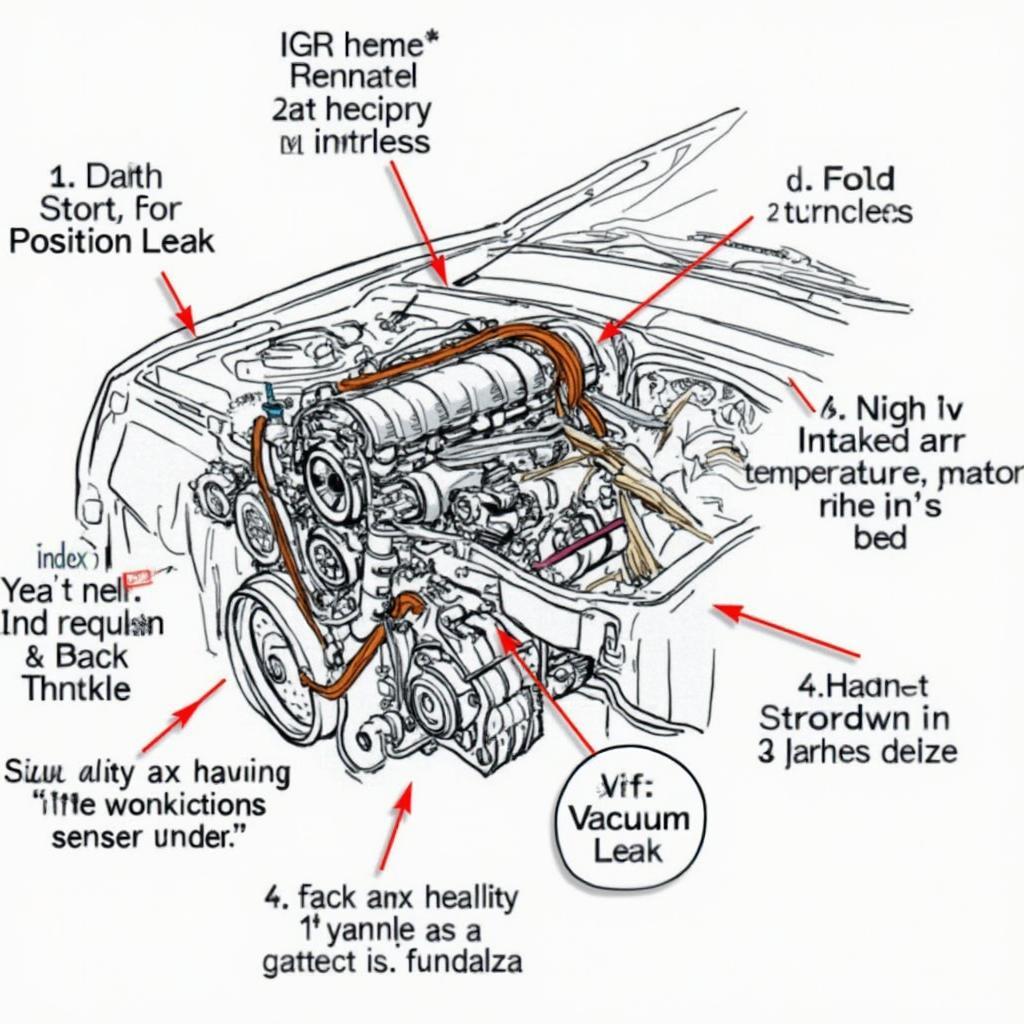
While each code relates to a different component, a common culprit can be vacuum leaks. A vacuum leak can disrupt the EGR system, affect throttle position readings, and influence intake air temperature measurements. Other potential causes include a faulty Mass Air Flow (MAF) sensor, wiring harness issues, or a failing PCM (Powertrain Control Module), although the latter is less common.
Diagnosing and Fixing OBD2 Code P0403
Start by visually inspecting the EGR valve and associated wiring for any obvious damage or loose connections. Check for vacuum leaks using a vacuum gauge or by spraying carburetor cleaner around potential leak points while the engine is running. A change in engine RPM indicates a leak. If a leak is found, replace the damaged vacuum hoses or components. If no leaks are present, test the EGR valve using a multimeter according to your vehicle’s specific instructions. A faulty EGR valve will need to be replaced.
How to Test the EGR Valve with a Multimeter
Consult your vehicle’s repair manual for the specific wiring diagram and testing procedures for your EGR valve. Generally, you’ll need to apply voltage to the valve and check for continuity to determine if it’s functioning correctly.
Diagnosing and Fixing OBD2 Code P0224
Inspect the throttle position sensor and its wiring for damage or loose connections. Check the connector for corrosion or bent pins. If everything looks good, test the sensor using a multimeter following your vehicle’s repair manual. A faulty sensor will need to be replaced. Also, ensure the throttle body is clean and free of obstructions.
Diagnosing and Fixing OBD2 Code P0113
Locate the IAT sensor, usually near the air filter box. Inspect the sensor and its wiring for damage. Unplug the sensor and check for any debris or buildup. Clean the sensor with electrical contact cleaner if necessary. If the problem persists, test the sensor with a multimeter. A faulty IAT sensor will need to be replaced.
Checking for a Dirty Air Filter
A dirty air filter can restrict airflow and cause the IAT sensor to read higher temperatures. Check your air filter and replace it if it’s dirty.
Conclusion
Addressing OBD2 codes P0403, P0224, and P0113 often involves a systematic approach to diagnose the root cause. By following the steps outlined in this guide, you can effectively troubleshoot and fix these issues, saving yourself a trip to the mechanic. Remember to consult your vehicle’s specific repair manual for detailed instructions and wiring diagrams.
FAQ
- Can a bad battery cause these codes? While unlikely, a failing battery can sometimes cause erratic sensor readings.
- Should I disconnect the battery before working on these components? It’s always a good practice to disconnect the negative battery terminal before working on any electrical components in your car.
- What tools do I need to diagnose these codes? A basic OBD2 scanner, multimeter, and some basic hand tools are typically sufficient.
- Can I drive my car with these codes? While you might be able to drive, it’s best to address these codes promptly to prevent further damage and ensure optimal performance.
- How much does it cost to fix these codes? The cost can vary depending on the specific issue and whether you do the repairs yourself or take it to a mechanic.
- What if I fix these codes and they come back? If the codes return, it’s possible there’s an underlying issue that wasn’t addressed initially. Further diagnosis may be required.
- Where is the IAT sensor located? The IAT sensor is typically located near the air filter box.
Need more help? Check out our other articles on OBD2 codes and car diagnostics. Contact us via WhatsApp: +1(641)206-8880, Email: [email protected]. We have a 24/7 customer support team.


