The maestro OBD2 connection is crucial for seamless integration between aftermarket car stereos and your vehicle’s data system. Understanding this connection unlocks a wealth of features and ensures a smooth, integrated experience. This article dives deep into the world of maestro OBD2 connections, covering everything from troubleshooting to advanced functionalities. Let’s get started!
Do you want to upgrade your car stereo but worry about losing important vehicle information displayed on the factory screen? Check out our guide on car stereo obd2.
Understanding the Basics of Maestro OBD2 Connection
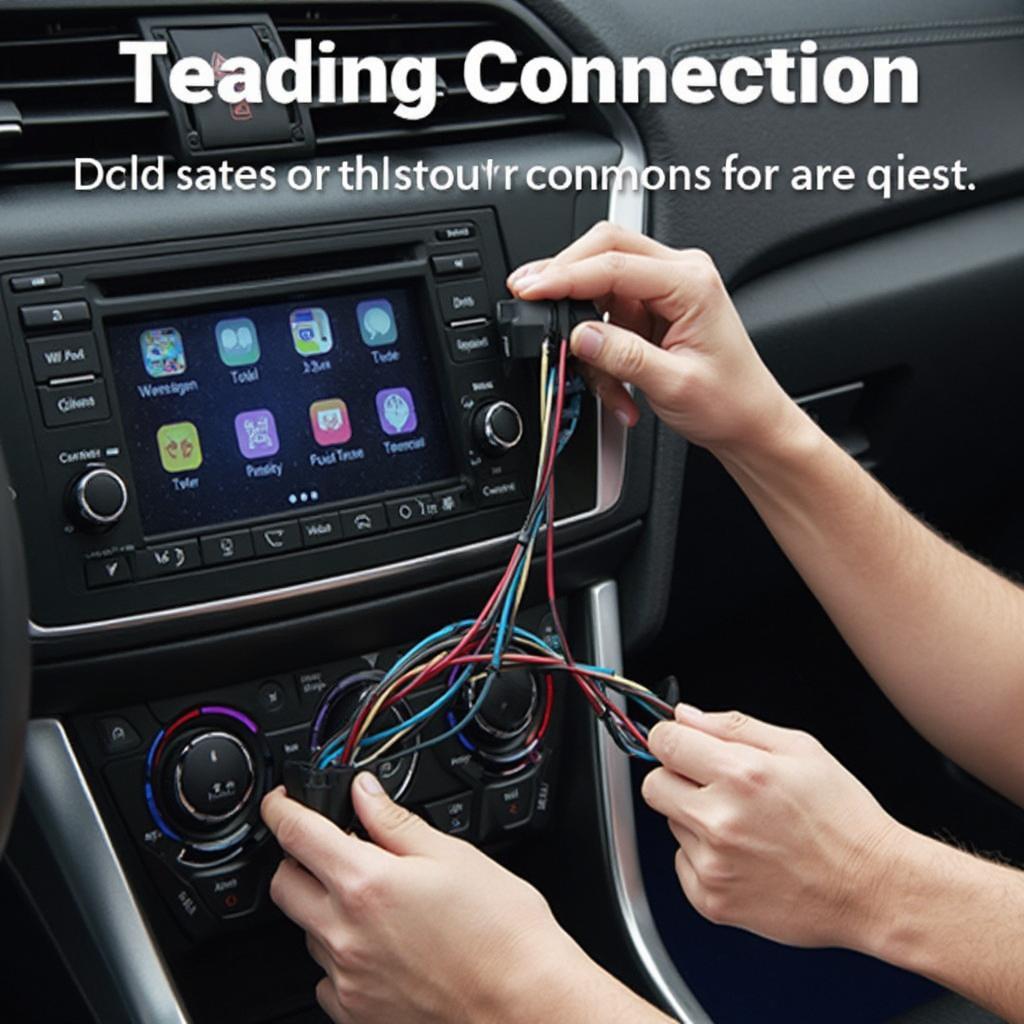
The iDatalink Maestro module leverages the OBD2 port to access vital vehicle data, enabling aftermarket stereos to retain and even enhance factory features. This connection allows for features like steering wheel controls, parking assist chimes, and climate control integration. Essentially, it bridges the gap between your new stereo and your car’s existing systems.
Troubleshooting Common Maestro OBD2 Connection Issues
Sometimes, establishing a solid maestro OBD2 connection can be challenging. Here’s a breakdown of common issues and their solutions:
- Error Messages: Pay attention to specific error codes displayed on your stereo or the Maestro module. These codes often pinpoint the problem. You can find more information on specific error codes like maestro obd2 error 2 on our website.
- Firmware Updates: Ensure both your Maestro module and car stereo have the latest firmware. Outdated firmware can cause compatibility issues and connection problems.
- Wiring Harness: Double-check the wiring harness connections between the Maestro module, the car stereo, and the OBD2 port. Loose or incorrect connections are a frequent culprit.
- Vehicle Compatibility: Verify that the Maestro module you’ve chosen is compatible with your specific vehicle’s make, model, and year. The iDatalink website provides a comprehensive compatibility guide.
Advanced Features Unlocked by the Maestro OBD2 Connection
Beyond retaining factory features, the maestro OBD2 connection opens doors to advanced functionalities:
- Performance Monitoring: Access real-time vehicle data like engine RPM, coolant temperature, and speed directly on your aftermarket stereo display.
- Gauge Customization: Customize the appearance and layout of gauges on compatible stereos, creating a personalized dashboard experience.
- Diagnostics: Some Maestro modules offer basic diagnostic capabilities, allowing you to read and clear trouble codes from your vehicle’s OBD2 system.
If you’re interested in using OBD2 while driving, our article on can you use obd2 while driving offers valuable insights.
Why is a Stable Maestro OBD2 Connection Important?
A stable maestro OBD2 connection is paramount for a fully integrated and functional aftermarket stereo system. Without it, you may lose essential vehicle information and convenient features. A proper connection ensures a seamless and enjoyable driving experience.
Setting up Your Maestro OBD2 Connection
Follow these general steps to set up your maestro OBD2 connection. However, always consult the specific instructions provided with your Maestro module for detailed guidance:
- Connect the Maestro Module: Connect the Maestro module to your car’s OBD2 port.
- Connect the Wiring Harness: Connect the Maestro’s wiring harness to your aftermarket stereo and the vehicle’s wiring harness.
- Flash the Firmware: Use the iDatalink website to flash the latest firmware onto the Maestro module, ensuring compatibility and optimal performance.
- Configure Settings: Configure the Maestro’s settings to match your vehicle and stereo using the provided software or interface.
For a specific installation guide, you might find our article on idatalink maestro rr pioneer obd2 install guide helpful.
Conclusion
The maestro OBD2 connection is the key to unlocking the full potential of your aftermarket car stereo. By understanding its functionalities and troubleshooting common issues, you can enjoy a truly integrated and enhanced driving experience. A stable maestro OBD2 connection transforms your aftermarket stereo into a comprehensive information and entertainment hub.
Are you considering using iDatalink with your OBD2 setup? Read our article on cam you use idatalink on obd2 for further information.
FAQ
- What is the purpose of a maestro OBD2 connection? It integrates aftermarket stereos with the vehicle’s data system, retaining and enhancing factory features.
- How do I troubleshoot connection problems? Check error codes, update firmware, verify wiring, and ensure vehicle compatibility.
- What advanced features does the connection offer? Performance monitoring, gauge customization, and sometimes diagnostics.
- Why is a stable connection important? It ensures full functionality and access to essential vehicle information.
- Where can I find specific installation instructions? Consult the guide provided with your Maestro module.
- What if my Maestro OBD2 isn’t working after installation? Recheck all connections, consult online resources, and contact iDatalink support if necessary.
- Can I install a Maestro OBD2 connection myself? Yes, but professional installation is recommended for complex setups.
Other potential questions:
- Can I use a Maestro OBD2 connection with any aftermarket stereo?
- How do I update the firmware on my Maestro OBD2 module?
- What are the most common Maestro OBD2 error codes and how do I fix them?
- Does using a Maestro OBD2 connection void my car’s warranty?
For more helpful information about OBD2 scanners and related topics, explore other articles on our website.
Need assistance? Contact us via WhatsApp: +1(641)206-8880 or Email: [email protected]. Our customer support team is available 24/7.


