Connecting an Arduino to your car’s OBD2 port via the CAN bus opens a world of possibilities, from monitoring engine performance to building custom diagnostics tools. This guide explores the fascinating intersection of Arduino, OBD2, and CAN bus technology.
Understanding how to leverage these technologies empowers you to gain deeper insights into your vehicle’s inner workings. Whether you’re a seasoned programmer or a curious car enthusiast, this article will provide you with the knowledge you need to get started. We’ll cover everything from basic concepts to practical implementation, helping you harness the power of arduino obd2 can bus communication. Soon, you’ll be able to unlock a treasure trove of data hidden within your car’s electronic systems. Now, let’s dive into the world of arduino obd2 can bus. After reading this article, can bus obd2 arduino projects will be within your reach!
Understanding the Basics of OBD2 and CAN Bus
OBD2, short for On-Board Diagnostics II, is a standardized system that allows external devices to access vehicle diagnostic information. This system uses the CAN bus, or Controller Area Network, as its primary communication protocol. The CAN bus is a robust and efficient network designed for real-time data exchange in automotive environments. It allows various electronic control units (ECUs) within the vehicle, like the engine control module and transmission control module, to communicate with each other.
What is CAN Bus and How Does it Relate to OBD2?
The CAN bus protocol uses a differential signaling system, meaning it transmits data using two wires with opposite polarities. This helps to minimize noise and interference, ensuring reliable communication even in harsh automotive conditions. In the context of OBD2, the CAN bus acts as the highway for diagnostic data, allowing your Arduino to tap into the stream of information flowing between the car’s ECUs.
Getting Started with Arduino and OBD2
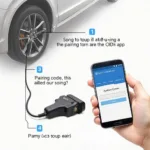
To connect your Arduino to the OBD2 port, you’ll need a few essential components. Firstly, you’ll need a CAN bus transceiver, a small electronic chip that converts the Arduino’s digital signals into the format understood by the CAN bus. Secondly, you’ll need an OBD2 connector, which physically plugs into your car’s OBD2 port. Finally, you’ll need some connecting wires and, of course, an Arduino board.
Choosing the Right Hardware for Your Project
Several CAN bus transceivers are compatible with Arduino, including the MCP2515 and the CAN-BUS Shield. Selecting the appropriate transceiver depends on your specific project requirements and budget. Similarly, various OBD2 connectors are available, ranging from simple breakout boards to more sophisticated modules with built-in signal conditioning. Choosing the right hardware is the first step towards a successful arduino obd2 can bus project. Check out our article on arduino can bus obd2 for more in-depth information about compatible hardware.
Writing the Code to Communicate with the OBD2 System
Once you have your hardware assembled, the next step is to write the Arduino code that will allow you to communicate with the OBD2 system. This involves sending specific requests over the CAN bus and interpreting the responses received from the vehicle’s ECUs.
Decoding OBD2 Data with Arduino
OBD2 data is transmitted in a specific format called PIDs, or Parameter IDs. Each PID corresponds to a specific piece of information, such as engine speed, coolant temperature, or fuel level. Your Arduino code needs to be able to send requests for these PIDs and then decode the responses to extract the relevant data. This process involves understanding the structure of OBD2 messages and the specific PIDs you want to access.
For more complex projects, such as simulating specific OBD2 scenarios, our obd2 monitor simulator resource might be useful.
Advanced Topics in Arduino OBD2 CAN Bus Communication
Beyond basic data retrieval, there are numerous advanced applications for Arduino OBD2 CAN bus communication. For instance, you could use your Arduino to log data over time, creating a historical record of your vehicle’s performance. You could also use it to trigger alerts based on specific conditions, such as a low fuel level or high engine temperature.
Building Custom Diagnostics Tools with Arduino
With a deeper understanding of the OBD2 protocol and the CAN bus, you can even build custom diagnostic tools tailored to your specific needs. This opens up a realm of possibilities for monitoring and analyzing your vehicle’s performance in ways not possible with standard OBD2 scanners. This could involve creating a custom dashboard display or even developing algorithms for predictive maintenance.
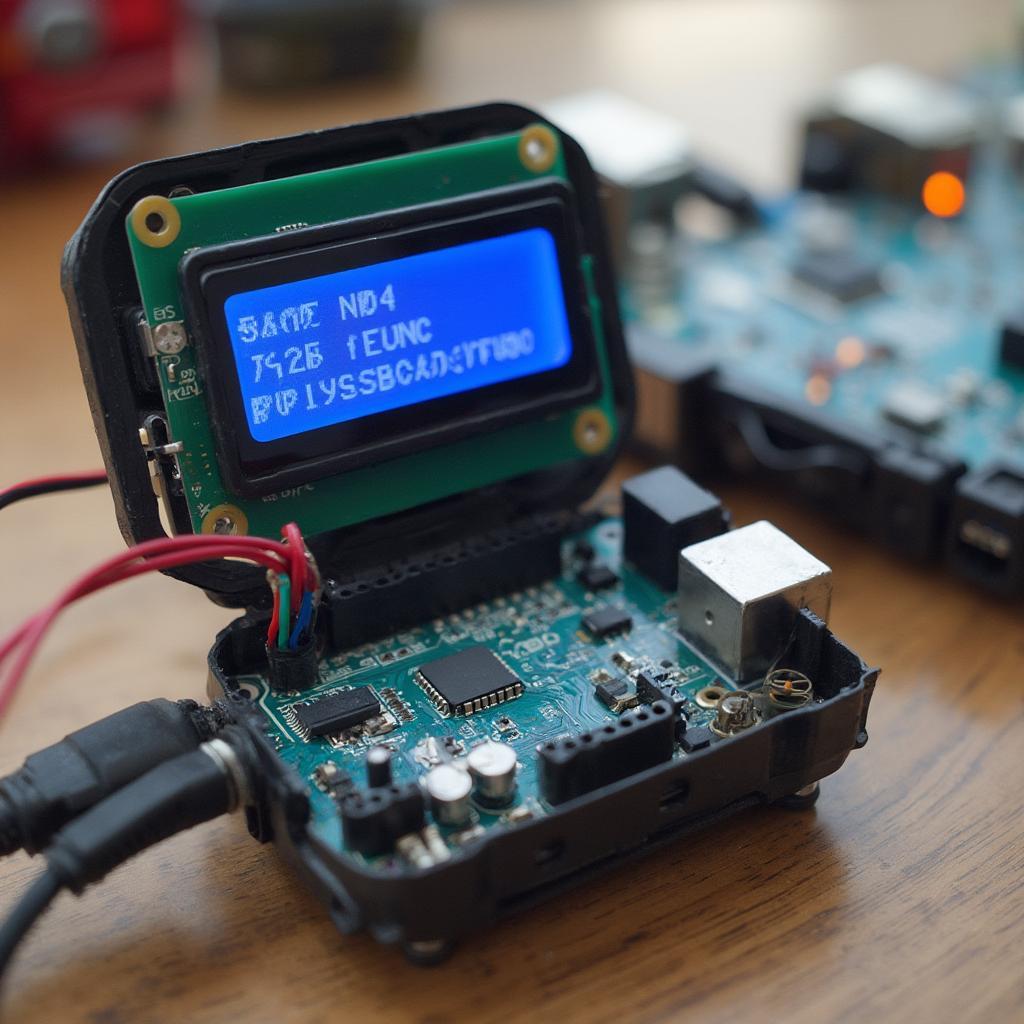 Custom OBD2 Diagnostic Tool Built with Arduino
Conclusion
Connecting an Arduino to your car’s OBD2 system via the CAN bus provides a powerful platform for exploring and interacting with your vehicle’s inner workings. From simple data monitoring to complex diagnostics, the possibilities are vast. By understanding the basics of arduino obd2 can bus communication, you can unlock a wealth of information and gain deeper insights into your car’s performance. For further reading about common OBD2 issues related to the CAN bus, you might find our article on can obd2 p0014 helpful.
FAQ
- What hardware do I need to connect Arduino to OBD2?
- How can I decode OBD2 data using Arduino?
- What are some advanced applications of Arduino OBD2 communication?
- Is it safe to connect Arduino to my car’s OBD2 port?
- Where can I find more information on OBD2 PIDs?
- Can I use Arduino to clear OBD2 codes?
- What is the difference between CAN High and CAN Low signals?
Common Scenarios and Questions
Scenario: Difficulty connecting Arduino to OBD2.
Question: My Arduino isn’t connecting to my car’s OBD2. What should I check?
Scenario: Trouble decoding OBD2 data.
Question: I’m receiving data, but it doesn’t make sense. How do I decode it correctly?
Scenario: Interested in building a custom diagnostic tool.
Question: I want to build a tool that displays specific data. Where do I start?
Further Exploration
Check out our articles on obd2 can bus for more general information on this topic.
For support, please contact us via WhatsApp: +1(641)206-8880 or Email: [email protected]. We have a 24/7 customer support team.