Your cart is currently empty!

Building OBD2 Interface: A Comprehensive Guide
The world of automotive diagnostics has undergone a revolution with the advent of OBD2 technology. This standardized interface allows access to a vehicle’s electronic control unit (ECU), providing invaluable insights into its performance and potential issues. Building an OBD2 interface opens up a realm of possibilities for enthusiasts and professionals alike, enabling custom diagnostics, data logging, and even performance tuning.
Understanding the Basics of OBD2
Before diving into building an interface, it’s crucial to grasp the fundamentals of OBD2. OBD2, short for On-Board Diagnostics, second generation, is a standardized system for monitoring and reporting vehicle emissions and performance. All gasoline vehicles sold in the United States since 1996 and diesel vehicles since 1997 are equipped with OBD2 ports. These ports, typically located under the dashboard on the driver’s side, provide access to a wealth of data from the vehicle’s various sensors and control modules.
Why Build Your Own OBD2 Interface?
While commercial OBD2 scanners are readily available, building your own interface offers distinct advantages:
- Customization: Tailor the interface to your specific needs, whether it’s for specialized diagnostics, data logging, or integration with other systems.
- Cost-effectiveness: Building an interface can be significantly more affordable than purchasing a high-end commercial scanner, especially for hobbyists and DIY enthusiasts.
- Learning Opportunity: The process of building an OBD2 interface provides invaluable insights into automotive electronics, communication protocols, and software development.
 OBD2 Interface Components
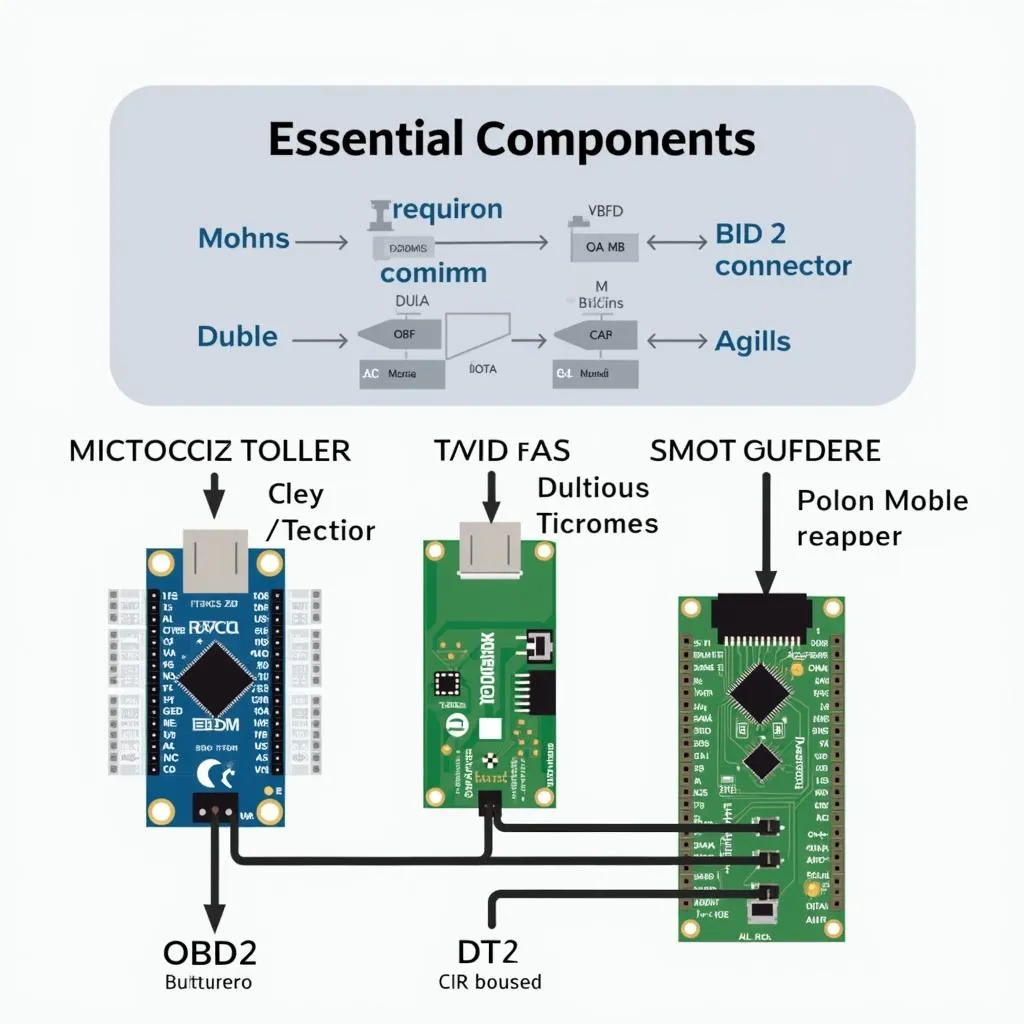
Essential Components for Building an OBD2 Interface
Building an OBD2 interface requires a few key components:
- Microcontroller: The brains of the operation, a microcontroller processes data received from the vehicle’s ECU and sends commands. Popular choices include Arduino, ESP32, and Raspberry Pi Pico.
- CAN Transceiver: The OBD2 interface communicates with the vehicle’s ECU using the Controller Area Network (CAN) protocol. A CAN transceiver converts signals between the microcontroller and the CAN bus.
- OBD2 Connector: This connector physically interfaces with the vehicle’s OBD2 port. It’s crucial to choose a connector that matches the port on your vehicle.
Connecting the Components
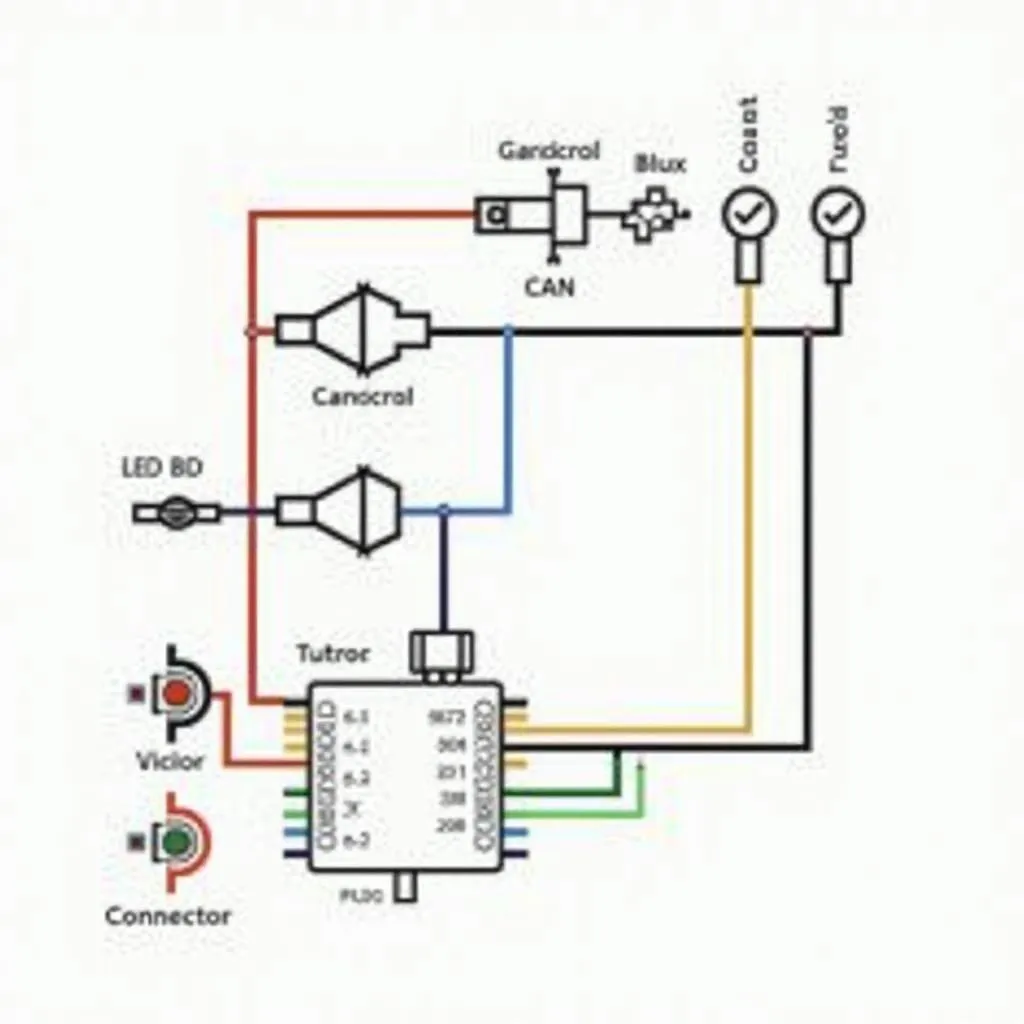
The connection between the components forms the backbone of the OBD2 interface:
- Microcontroller to CAN Transceiver: The microcontroller communicates with the CAN transceiver via SPI or I2C protocols. Ensure proper pin connections and configure the communication settings in your code.
- CAN Transceiver to OBD2 Connector: Connect the CAN High (CANH) and CAN Low (CANL) pins of the transceiver to the corresponding pins on the OBD2 connector.
 OBD2 Interface Wiring Diagram
Software Development: Bringing Your Interface to Life
Once the hardware is assembled, it’s time to breathe life into your OBD2 interface with software. This involves:
- Selecting a Programming Language: Popular choices include C++, Python, and Arduino IDE, depending on your microcontroller and experience level.
- Implementing Communication Protocols: Your code needs to handle communication with the vehicle’s ECU using the OBD2 and CAN protocols. This involves sending requests for specific data points (PIDs) and interpreting the responses.
- Data Processing and Visualization: Once you’re receiving data from the ECU, process it into a user-friendly format. This might involve converting raw sensor readings into meaningful units or displaying data graphically.
Testing and Troubleshooting Your OBD2 Interface
After completing the software, it’s essential to thoroughly test your interface:
- Connect to a Vehicle: Connect your interface to a vehicle’s OBD2 port and run your software.
- Monitor Data Stream: Verify that your interface can successfully request and receive data from the ECU. Check for errors in the communication or unexpected data values.
- Troubleshooting: If you encounter issues, carefully review your hardware connections, code, and communication settings. Online forums and communities can be invaluable resources for troubleshooting.
Applications of Your Custom OBD2 Interface
With a functional OBD2 interface, you unlock a world of possibilities:
- Real-time Diagnostics: Monitor engine parameters, sensor readings, and fault codes in real-time to identify potential issues.
- Data Logging: Record data from various sensors over time for performance analysis, fuel efficiency tracking, or identifying intermittent problems.
- Performance Tuning: Some interfaces allow adjustments to certain ECU parameters for performance enhancements. However, exercise caution when modifying these settings.
Conclusion
Building an OBD2 interface is a rewarding endeavor that provides a deep dive into automotive technology. By understanding the fundamentals, selecting the right components, and developing robust software, you can create a powerful tool for diagnostics, data logging, or even performance tuning.
FAQs
1. What is the difference between OBD2 and CAN?
OBD2 is a standardized system for vehicle diagnostics, while CAN (Controller Area Network) is a communication protocol used by the OBD2 system to transmit data between the ECU and other modules.
2. Can I build an OBD2 interface for my motorcycle?
While OBD2 is primarily for cars and light trucks, some motorcycles manufactured after 2001 may have OBD2-compliant systems. Check your motorcycle’s documentation for compatibility.
3. Is it legal to build and use my own OBD2 interface?
In most jurisdictions, it’s legal to build and use your own OBD2 interface for personal use. However, modifying emissions-related settings or using the interface for commercial purposes may have legal implications.
Need Help? Contact Us!
For any questions or assistance with your OBD2 projects, our team of experts is here to help.
Contact us via WhatsApp: +1(641)206-8880 or Email: [email protected].
We offer 24/7 customer support to assist you with all your OBD2 needs.
You can also check out our other informative articles like “obd2 can esp32” and “how to make can bus usb for obd2” for more insights and guidance.

Leave a Reply