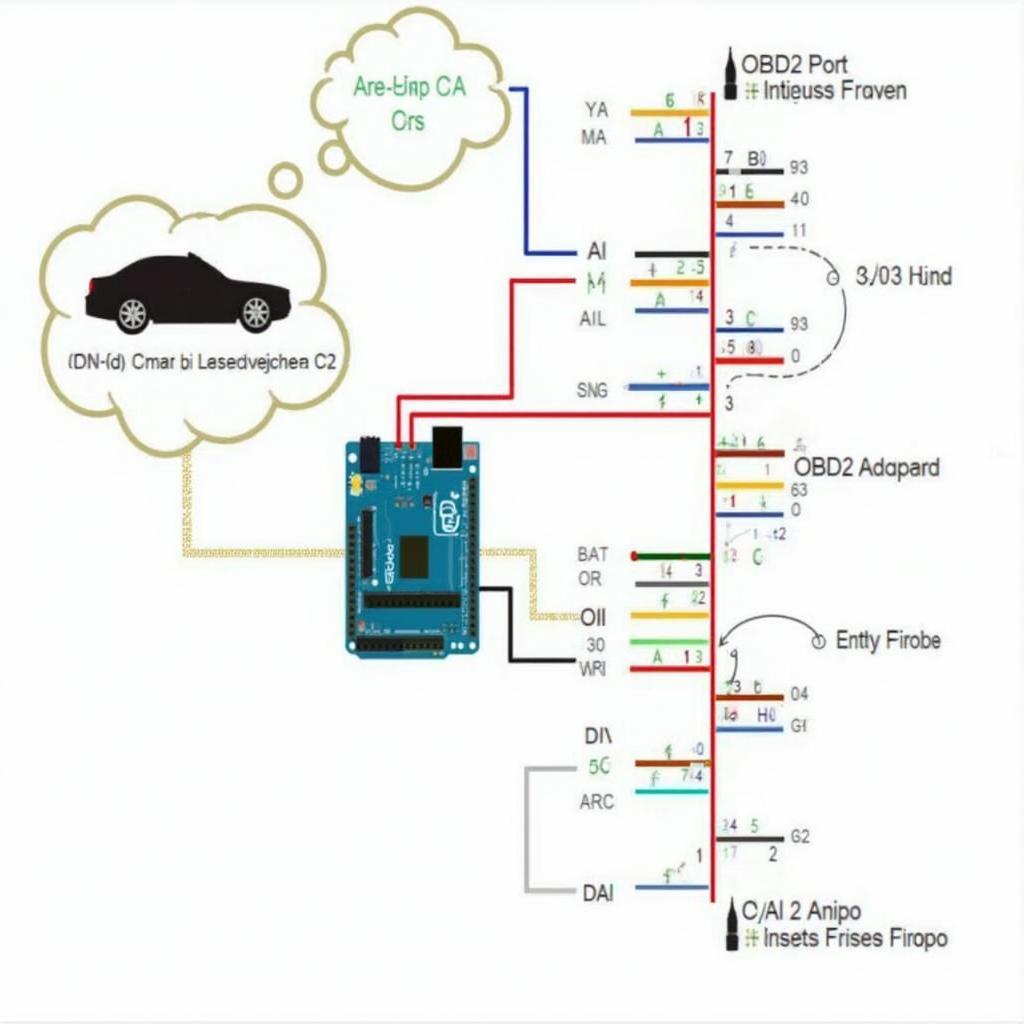
Reading OBD2 data with an Arduino opens up a world of possibilities for car enthusiasts and DIYers. This guide explores the intricacies of using an Arduino to access and interpret data from your vehicle’s OBD2 port, empowering you to diagnose issues, monitor performance, and even create custom car applications.
Understanding OBD2 and its Potential with Arduino
OBD2, or On-Board Diagnostics, version 2, is a standardized system that allows external devices to access a vehicle’s diagnostic data. By connecting an Arduino to the OBD2 port, you can tap into a wealth of information about your car’s engine, transmission, emissions, and more. This data can be used for anything from simple code reading to complex performance monitoring.
What makes using an Arduino for reading obd2 with arduino so appealing? It’s the combination of affordability, flexibility, and the vast open-source community. Arduino’s low cost makes it accessible to hobbyists, while its programmable nature allows for customization and experimentation. The extensive online community provides support, libraries, and code examples to help you get started quickly.
Setting Up Your Arduino OBD2 Reader
Building your own arduino obd2 code reader requires a few key components: an Arduino board (Uno, Nano, or Mega), an OBD2 to UART adapter (such as the ELM327), and some jumper wires. The OBD2 adapter acts as the bridge between your car’s OBD2 port and the Arduino, translating the signals into a format the Arduino can understand.
Connecting the components is straightforward. The OBD2 adapter typically has TX and RX pins that need to be connected to the Arduino’s digital pins. You’ll also need to connect the adapter’s power and ground pins to the Arduino’s corresponding pins. Specific connection instructions will vary based on the adapter used, so refer to the adapter’s documentation.
What Arduino board should I use?
While many Arduino boards are suitable, the Arduino Uno is an excellent starting point due to its simplicity and ample resources.
How do I connect the OBD2 adapter to my car?
Simply locate your car’s OBD2 port (usually under the dashboard) and plug in the adapter.
Coding Your Arduino to Read OBD2 Data
Once your hardware is set up, the next step is to write the Arduino code. You’ll need an OBD2 library to handle communication with the adapter. Several libraries are available, with the most popular being the OBD2 library. This library provides functions to send and receive OBD2 commands, making it easy to request specific data from your vehicle.
#include <OBD2.h>

OBD2 obd;

void setup() {
  Serial.begin(9600);
  obd.begin();
}

void loop() {
  int engineRPM = obd.getRPM();
  Serial.print("Engine RPM: ");
  Serial.println(engineRPM);
  delay(1000);
}
This example code demonstrates how to retrieve the engine RPM. By modifying the code and using different commands, you can access a variety of data points. reading obd2 with arduino is this easy!
Advanced Applications of Arduino OBD2
Beyond simple code reading, you can utilize the data obtained from your arduino obd2 code reader for more sophisticated applications. For example, you can log data over time to track performance trends, create custom dashboards, or even trigger alerts based on specific conditions.
Building a Custom Car Data Logger
By storing the OBD2 data on an SD card or transmitting it wirelessly, you can create a comprehensive log of your vehicle’s performance over time. This data can then be analyzed to identify potential problems or optimize driving habits.
Designing a Personalized Car Dashboard
Combine your Arduino with a display to create a personalized dashboard showcasing real-time data like speed, fuel consumption, and engine temperature.
“Integrating an Arduino with a car’s OBD2 system provides a powerful and cost-effective platform for vehicle diagnostics and custom applications,” says Dr. Emily Carter, an automotive electronics expert. “The ability to access and interpret real-time data opens up endless possibilities for innovation.”
Troubleshooting Common Issues
While reading obd2 with arduino is generally straightforward, you may encounter some issues along the way. Common problems include communication errors between the Arduino and the OBD2 adapter, incorrect wiring, or incompatible libraries.
“One common mistake is using incorrect baud rates,” adds John Miller, a seasoned Arduino developer. “Make sure the baud rate in your code matches the adapter’s default rate.”
Conclusion
Arduino read obd2 projects offer an exciting and accessible way to explore the inner workings of your vehicle. By following this guide, you can unlock the power of OBD2 data and gain valuable insights into your car’s performance. Whether you’re a seasoned programmer or just starting out, read obd2 with arduino is a project that can enhance your understanding of automotive technology.
FAQ
- What is OBD2?
- How can I read OBD2 data with an Arduino?
- What are the necessary components?
- Which Arduino board is best for this project?
- Where can I find OBD2 libraries for Arduino?
- What are some common troubleshooting tips?
- What advanced applications can I build with Arduino and OBD2?
Need support? Contact us via WhatsApp: +1(641)206-8880, Email: [email protected] or visit us at 789 Elm Street, San Francisco, CA 94102, USA. We offer 24/7 customer service.

