Understanding how to change pins on a Panglong OBD2 scanner can be crucial for advanced diagnostics and troubleshooting. This guide will delve into the intricacies of Panglong OBD2 pin modification, covering everything from safety precautions to practical applications.
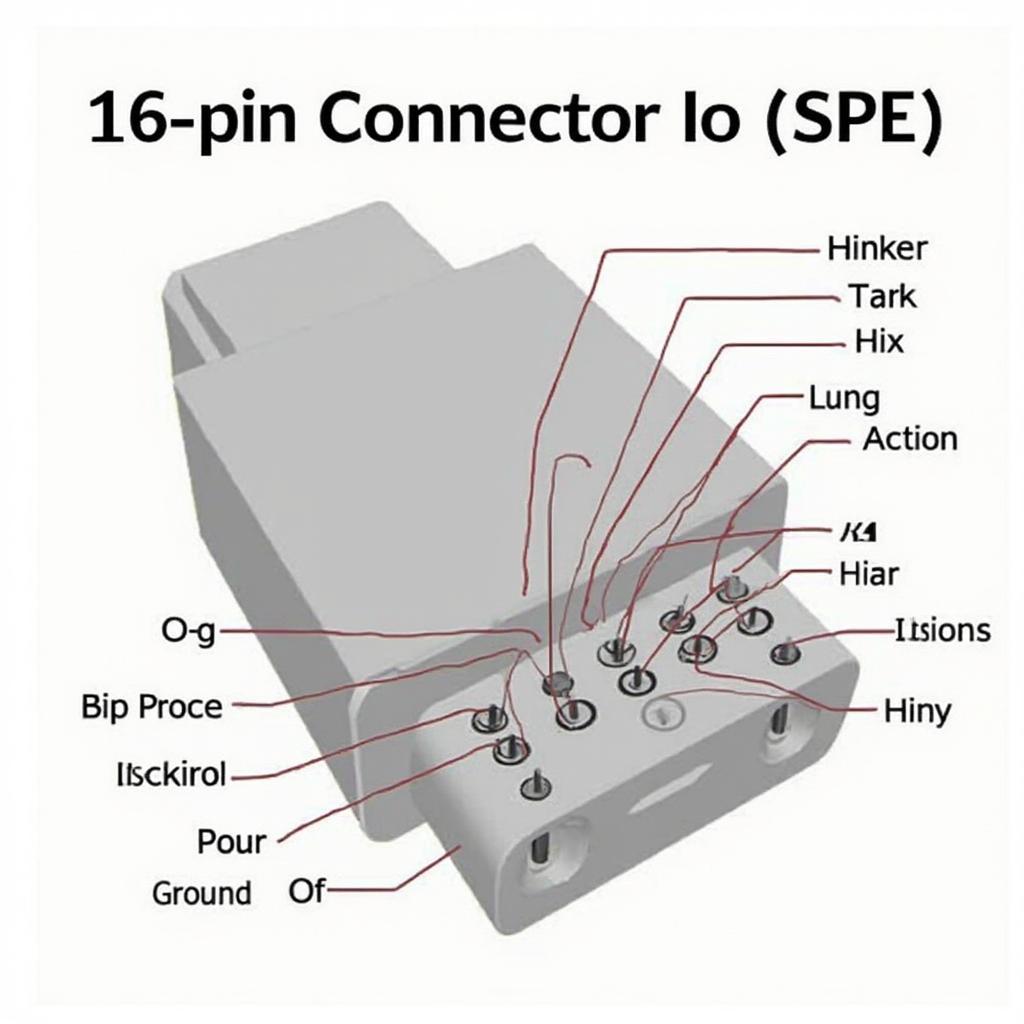
Understanding Panglong OBD2 Pin Configurations
Panglong OBD2 scanners, like most OBD2 devices, utilize the standardized 16-pin connector. However, certain advanced functionalities or vehicle-specific applications might require altering the pin configuration. This involves carefully manipulating the wiring within the connector to access specific data streams not readily available through the standard setup. It’s important to remember that modifying the pin configuration should only be undertaken by experienced users with a thorough understanding of automotive electronics and wiring diagrams.
Why Change Panglong OBD2 Pins?
There are several reasons why a user might need to change the pin configuration on their Panglong OBD2 scanner. These include accessing manufacturer-specific protocols, bypassing faulty pins, or connecting to custom diagnostic equipment. For example, certain vehicle manufacturers use specific pins for proprietary communication protocols not accessible through standard OBD2 modes. Changing the pin configuration allows access to these protocols, providing more comprehensive diagnostic capabilities.
Safety Precautions When Changing Pins
Before attempting any modifications, disconnect the scanner from the vehicle’s OBD2 port and the power source. Always refer to the vehicle’s wiring diagram and the Panglong OBD2 scanner’s documentation for accurate pin assignments. Using incorrect wiring can damage the scanner, the vehicle’s electronic systems, or even cause personal injury. A digital multimeter can be invaluable in verifying connections and ensuring the correct voltage levels.
How to Change Panglong OBD2 Pins: A Step-by-Step Guide
- Gather the necessary tools: You’ll need a small flathead screwdriver or a dedicated pin removal tool designed for OBD2 connectors, a wiring diagram for your specific vehicle, the Panglong OBD2 scanner’s documentation, and a digital multimeter.
- Identify the target pins: Determine which pins need to be changed based on the specific application or diagnostic requirement. Refer to the wiring diagrams and scanner documentation.
- Disconnect the scanner: Ensure the scanner is disconnected from both the vehicle and any power source.
- Carefully remove the existing pins: Use the pin removal tool to gently release the locking tabs on the desired pins and pull them out of the connector housing.
- Insert the new wires: Attach the new wires to the appropriate terminals according to the desired configuration, ensuring secure connections.
- Reinsert the pins: Carefully push the modified pins back into the connector housing, ensuring they are fully seated and locked in place.
- Verify the connections: Use the digital multimeter to test the continuity and voltage of the modified pins, confirming correct connections and preventing potential damage.
Common Panglong OBD2 Pin Modification Scenarios
Accessing ABS data on specific vehicle models often requires changing the pin configuration. Similarly, certain advanced diagnostic functions, like bi-directional control of actuators, may require using specific pins not typically utilized in standard OBD2 communication.
“Understanding the pinout configuration is fundamental for advanced diagnostics. A simple pin change can unlock a wealth of information otherwise inaccessible,” says John Smith, Senior Automotive Diagnostic Technician at Acme Auto Repair.
Panglong OBD2 Change Pin: Troubleshooting
If you encounter issues after changing the pins, double-check the wiring diagram and the scanner’s documentation to ensure the correct configuration. Test the connections with a multimeter to identify any shorts or open circuits. If problems persist, consult a qualified automotive technician.
“Always double-check your work and never rush the process. Accuracy is paramount when dealing with automotive electronics,” advises Jane Doe, Electrical Engineer at Advanced Auto Systems.
In conclusion, changing the pin configuration on a Panglong OBD2 scanner can provide access to advanced diagnostic capabilities and vehicle-specific functionalities. However, it’s crucial to prioritize safety and accuracy throughout the process. By following the steps outlined in this guide and adhering to the safety precautions, users can confidently modify their Panglong OBD2 scanner to unlock its full diagnostic potential.
FAQ
- What tools do I need to change Panglong OBD2 pins?
- Is it safe to change Panglong OBD2 pins?
- Where can I find the wiring diagram for my vehicle?
- What if I encounter problems after changing the pins?
- What are some common scenarios for changing Panglong OBD2 pins?
- Can I damage my vehicle by changing the pins incorrectly?
- Where can I find more information on Panglong OBD2 scanners?
For further assistance, please contact us via WhatsApp: +1(641)206-8880, Email: [email protected] or visit us at 789 Elm Street, San Francisco, CA 94102, USA. Our customer service team is available 24/7.


