OBD2 cablage, the backbone of your vehicle’s diagnostic system, plays a crucial role in connecting your OBD2 scanner to the vehicle’s Electronic Control Unit (ECU). Understanding its intricacies can be invaluable for both car owners and professionals. This guide delves into the world of OBD2 cabling, providing a detailed overview of its function, pinouts, common issues, and troubleshooting tips.
Decoding the OBD2 Cable: Pinouts and Protocols
The OBD2 cable isn’t just a simple wire; it’s a sophisticated communication pathway. Each pin within the connector has a specific function, facilitating the transfer of data between the scanner and the ECU. This data allows you to diagnose and troubleshoot vehicle problems, monitor performance, and even access hidden features.
OBD2 Cable Pinout Explained
The standardized 16-pin OBD2 connector ensures compatibility across different vehicle makes and models. Here’s a breakdown of each pin’s function:
- Pin 1: Manufacturer Discretionary Use
- Pin 2: J1850 Bus(+)
- Pin 3: Manufacturer Discretionary Use
- Pin 4: Chassis Ground
- Pin 5: Signal Ground
- Pin 6: CAN (J-2284) High Line
- Pin 7: ISO 9141-2 K-Line
- Pin 8: Manufacturer Discretionary Use
- Pin 9: Manufacturer Discretionary Use
- Pin 10: J1850 Bus(-)
- Pin 11: Manufacturer Discretionary Use
- Pin 12: Manufacturer Discretionary Use
- Pin 13: Manufacturer Discretionary Use
- Pin 14: CAN (J-2284) Low Line
- Pin 15: ISO 9141-2 L-Line
- Pin 16: Battery Power
Understanding this pinout can be crucial when troubleshooting connection problems or adapting your OBD2 setup.
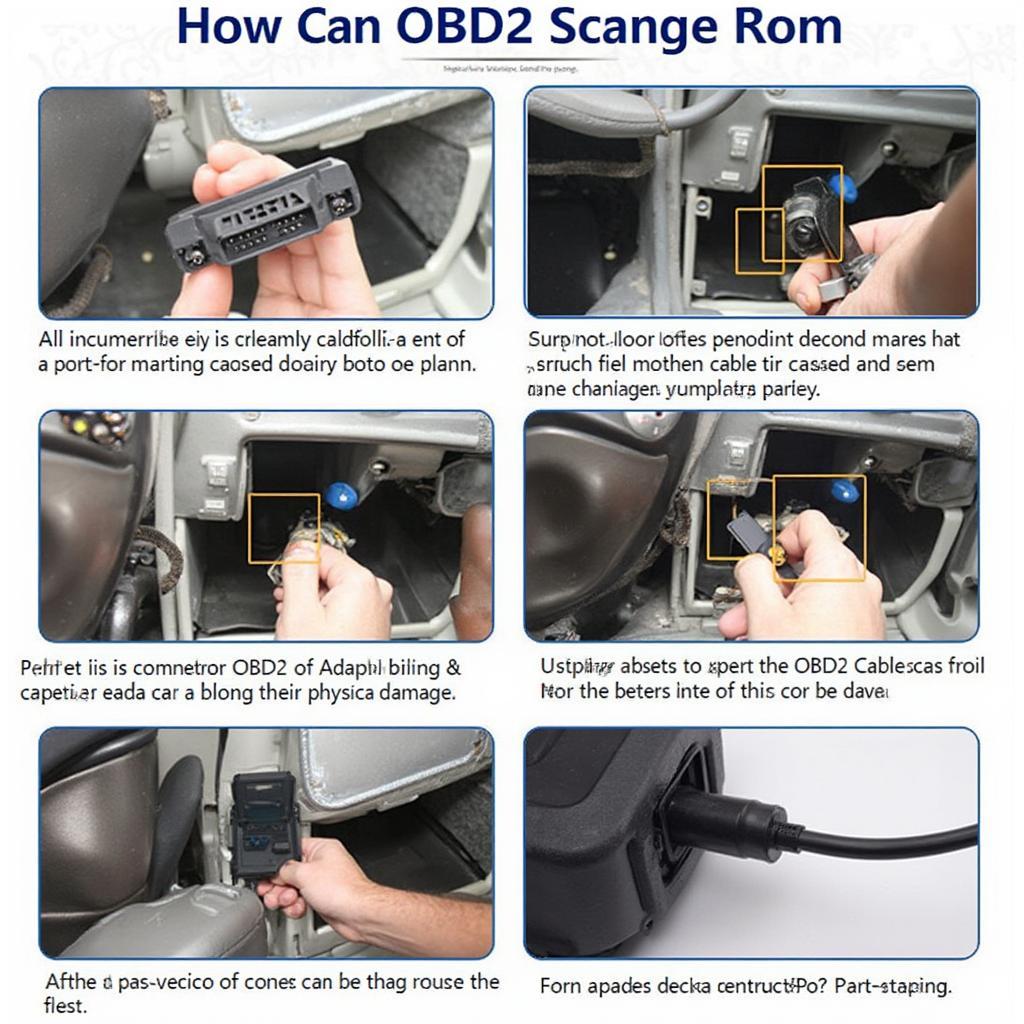
Common OBD2 Cablage Issues and Troubleshooting
Encountering problems with your OBD2 cablage can be frustrating. Here are some common issues and how to resolve them:
- Loose Connection: Ensure the OBD2 connector is firmly seated in the port. A loose connection can interrupt communication and lead to inaccurate readings.
- Damaged Cable: Inspect the cable for any signs of physical damage, such as cuts, fraying, or bent pins. A damaged cable needs to be replaced.
- Compatibility Issues: While OBD2 is standardized, some vehicles may have unique communication protocols. Ensure your OBD2 scanner is compatible with your vehicle’s make and model.
- Blown Fuse: A blown fuse in the OBD2 circuit can prevent the scanner from powering on. Check your vehicle’s fuse box and replace any blown fuses.
Troubleshooting Steps for OBD2 Cablage Problems
If you’re experiencing issues, follow these troubleshooting steps:
- Check the connection: Make sure the OBD2 connector is properly plugged into the vehicle’s port.
- Inspect the cable: Look for any signs of damage to the cable or connector.
- Verify compatibility: Ensure your scanner is compatible with your vehicle.
- Check the vehicle’s fuse box: Replace any blown fuses related to the OBD2 circuit.
- Consult a professional: If the problem persists, seek assistance from a qualified mechanic.
 Troubleshooting OBD2 Cable Connection
“A properly functioning OBD2 cablage is essential for accurate diagnostics. Regular inspection and maintenance can prevent frustrating connection issues and ensure reliable performance,” says John Smith, Senior Automotive Diagnostic Technician at AutoTech Solutions.
Advanced OBD2 Cablage Applications
Beyond basic diagnostics, understanding obd2 cablage opens up a world of possibilities. From data logging and performance monitoring to accessing hidden vehicle features, the OBD2 port is a gateway to a wealth of information.
Data Logging and Performance Monitoring
Using specialized software and an OBD2 cable, you can log data from various vehicle sensors, providing valuable insights into performance, fuel efficiency, and driving habits.
“Data logging through the OBD2 port is a powerful tool for understanding your vehicle’s performance and identifying potential issues before they become major problems,” adds Maria Garcia, Lead Engineer at Vehicle Dynamics Innovations.
Conclusion
Understanding obd2 cablage is crucial for anyone who wants to unlock the diagnostic potential of their vehicle. From basic troubleshooting to advanced data logging, a solid understanding of this essential component can empower you to maintain, monitor, and enhance your vehicle’s performance. By following the tips and information provided in this guide, you can confidently navigate the world of OBD2 cabling and make the most of your diagnostic tools.
FAQ
- What is the standard OBD2 connector type? (16-pin)
- Can I use any OBD2 scanner with any vehicle? (No, compatibility is important)
- Where is the OBD2 port usually located? (Under the dashboard, driver’s side)
- What does OBD2 stand for? (On-Board Diagnostics, second generation)
- What can I do with an OBD2 scanner and cable? (Diagnose problems, monitor performance, access hidden features)
- How can I troubleshoot OBD2 connection issues? (Check connections, cable, compatibility, and fuses)
- What are the different communication protocols used by OBD2? (CAN, J1850, ISO 9141-2)
Need support? Contact us via WhatsApp: +1(641)206-8880, Email: [email protected] or visit us at 789 Elm Street, San Francisco, CA 94102, USA. We offer 24/7 customer support.