Understanding how to wire up an OBD2 knock sensor is crucial for maintaining your vehicle’s performance and fuel efficiency. A malfunctioning knock sensor can lead to decreased power, increased fuel consumption, and even engine damage. This guide provides a comprehensive overview of the process, offering practical advice and troubleshooting tips.
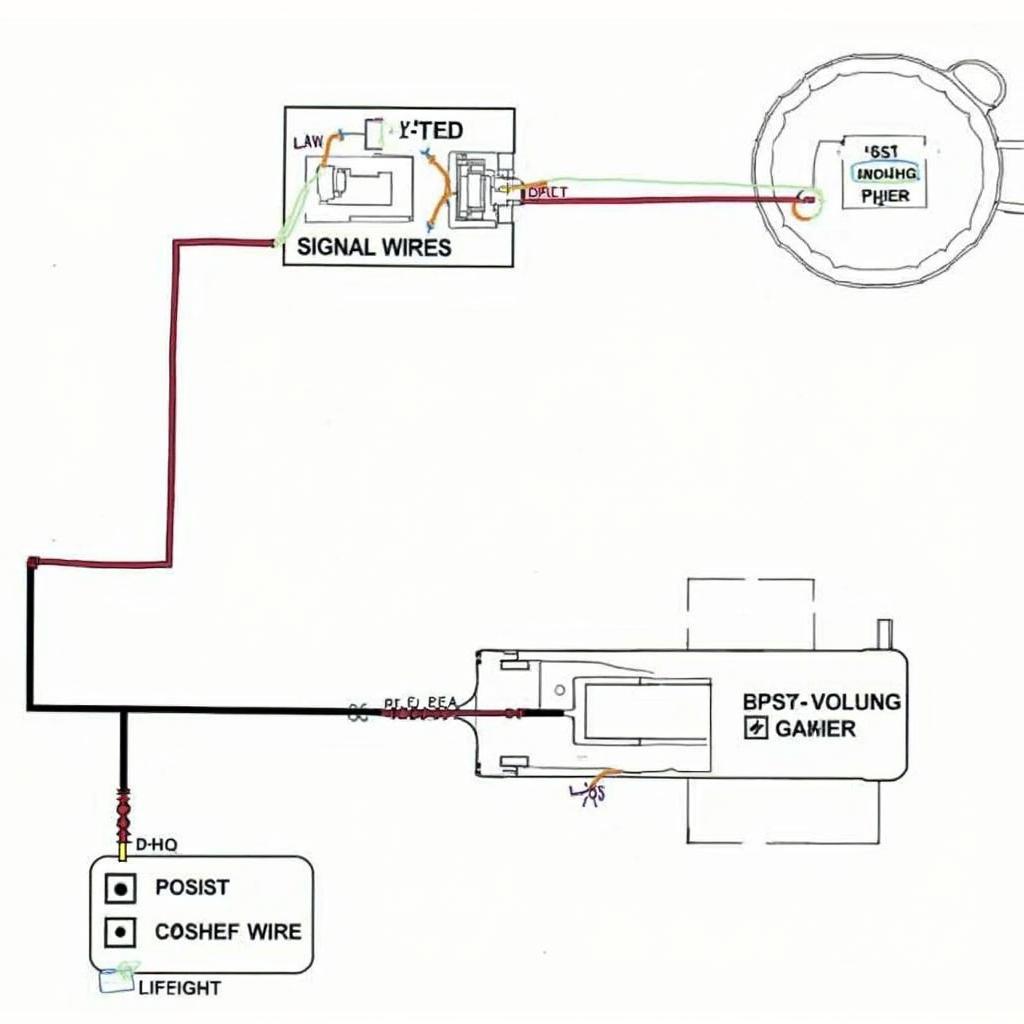 OBD2 Knock Sensor Wiring Diagram
Understanding the Knock Sensor’s Role
The knock sensor is a small, but vital component in your vehicle’s engine management system. It detects engine knocking, also known as detonation, which is the uncontrolled explosion of fuel in the combustion chamber. This can cause serious damage. The sensor sends a signal to the Engine Control Unit (ECU), which adjusts the timing to prevent further knocking. Knowing how to properly wire this sensor ensures accurate readings and optimal engine performance. obd2 codes po324 can indicate a problem with the knock sensor circuit.
Locating the Knock Sensor
Typically, the knock sensor is located on the engine block, often near the cylinders. Its exact position can vary depending on the make and model of your vehicle. Consult your vehicle’s repair manual for specific location information. A faulty knock sensor can trigger obd2 code 0325.
Wiring Up the Knock Sensor: A Step-by-Step Guide
- Disconnect the battery: Before starting any electrical work, always disconnect the negative terminal of your car battery. This crucial safety step prevents accidental short circuits.
- Locate the knock sensor connector: Identify the wiring harness connector for the knock sensor. It’s usually a single-wire connector or a two-wire connector.
- Identify the wires: If your sensor has two wires, one will be the signal wire and the other the ground wire. Single-wire sensors use the engine block as the ground.
- Connect the wires: Carefully connect the sensor’s signal wire to the corresponding wire on the wiring harness. If there’s a ground wire, connect it securely. For single-wire sensors, ensure good contact with the engine block.
- Reconnect the battery: After all connections are secure, reconnect the negative battery terminal.
Troubleshooting Common Knock Sensor Wiring Issues
- No signal: Check the wiring for breaks or loose connections. elm327 bluetooth obd2 v1 5 can be helpful in diagnosing this.
- Intermittent signal: This could indicate a loose connection or a faulty sensor.
- Incorrect sensor readings: Ensure the correct sensor is installed for your vehicle. obd2 codesp0401 may suggest other issues affecting engine performance.
“A common mistake is using the wrong type of knock sensor. Always consult your vehicle’s specifications to ensure compatibility,” says automotive expert, John Miller, ASE Certified Master Technician.
Testing the Knock Sensor after Installation
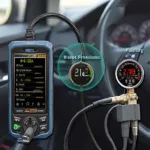
After wiring the knock sensor, use an obd2 spark advance tool to monitor the sensor readings. You can also induce a light knock on the engine block (using a plastic mallet) to see if the sensor registers the vibration. “Regularly checking your knock sensor can prevent costly repairs down the road,” advises Sarah Johnson, Lead Diagnostic Technician at AutoTech Solutions.
Conclusion
Wiring up an obd2 how to wire up knock sensor correctly is vital for optimal engine performance and longevity. Following this guide and using the right tools can help ensure your vehicle runs smoothly and efficiently.
FAQ
- What happens if I wire the knock sensor incorrectly? Incorrect wiring can lead to inaccurate readings, impacting engine performance and potentially causing damage.
- Can I replace the knock sensor myself? Yes, with basic mechanical skills and the right tools, you can replace the sensor yourself.
- How often should I check my knock sensor? It’s a good idea to check the knock sensor during regular maintenance checks.
Need further assistance? Contact us via WhatsApp: +1(641)206-8880, Email: [email protected] or visit our office at 789 Elm Street, San Francisco, CA 94102, USA. Our 24/7 customer support team is ready to help.