
Replacing a faulty or damaged OBD2 connector on your Nissan can seem daunting, but with the right knowledge and tools, it’s a manageable task. This guide will walk you through the entire process of changing a Nissan OBD2 connector, covering everything from diagnosis to installation.
Understanding Your Nissan’s OBD2 System
Before diving into the replacement process, let’s understand the role of the OBD2 port. The OBD2 (On-Board Diagnostics, second generation) port is a standardized 16-pin connector used to access your vehicle’s diagnostic data. It’s essential for troubleshooting issues, checking engine performance, and ensuring your Nissan is running smoothly.
Diagnosing OBD2 Connector Problems
Sometimes, the problem isn’t the car itself, but the connector. A loose, damaged, or corroded OBD2 connector can prevent your scanner from communicating with the vehicle’s computer. Common signs of a faulty connector include:
- Inability to connect a scanner
- Intermittent connection problems
- Error codes related to communication failures
 Diagnosing OBD2 Connector Problems
Gathering the Necessary Tools and Materials
Before starting the replacement, ensure you have the following:
- Replacement OBD2 connector (compatible with your Nissan model)
- Screwdrivers (Phillips and flathead)
- Wire cutters/strippers
- Soldering iron and solder
- Heat shrink tubing
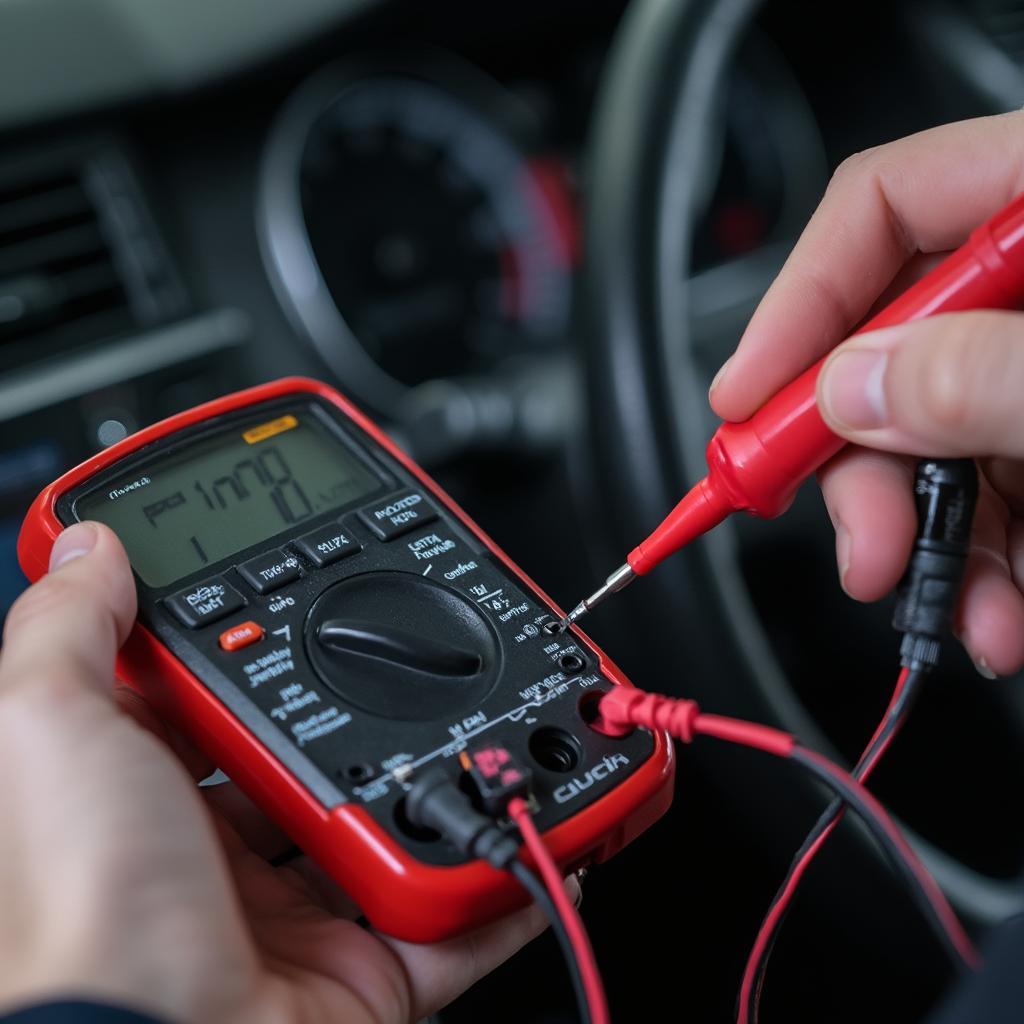
- Multimeter (optional, for testing)
- Wiring diagram for your Nissan model
Step-by-Step Guide to Replacing the Connector
- Locate the OBD2 Connector: In most Nissans, the OBD2 connector is located under the dashboard, near the steering column.
- Disconnect the Battery: For safety, disconnect the negative terminal of your car’s battery.
- Remove the Old Connector: Carefully detach the old connector from its housing. This might involve unscrewing it or releasing clips, depending on your Nissan model.
- Identify the Wires: Refer to your wiring diagram to identify each wire’s function on the old connector. Take photos for reference.
- Prepare the New Connector: If your new connector doesn’t come pre-wired, you’ll need to solder the wires to the corresponding pins on the connector. Use heat shrink tubing to insulate each connection.
- Connect the Wires: Carefully match and connect the wires from the car’s wiring harness to the new OBD2 connector, following your wiring diagram and photos.
- Secure the New Connector: Mount the new connector into its housing and secure it with screws or clips.
- Reconnect the Battery: Reconnect the negative battery terminal.
- Test the Connection: Use an OBD2 scanner to test the new connection.
Common Issues and Troubleshooting
- No Connection: Double-check all wiring connections and ensure the battery is connected properly.
- Intermittent Connection: Check for loose wires or a poorly secured connector.
- Error Codes: If you’re still getting error codes, consult a professional mechanic.
Conclusion
Changing your Nissan’s OBD2 connector is a relatively straightforward task that can save you time and money. By following this comprehensive guide, you can restore your OBD2 system’s functionality and ensure your Nissan is properly diagnosed and maintained. Remember to always consult your vehicle’s specific wiring diagram and take necessary safety precautions.
FAQ
- How often should I replace my OBD2 connector? You should only replace it if it’s damaged or malfunctioning.
- Can I use any OBD2 connector? No, ensure compatibility with your Nissan model.
- What if I’m not comfortable doing this myself? Consult a qualified mechanic.
- Where can I find a wiring diagram for my Nissan? Check your owner’s manual or online resources.
- Why is my OBD2 scanner not working after replacing the connector? Double-check the wiring connections.
- Is it essential to disconnect the battery? Yes, it’s crucial for safety.
- What should I do if I damage a wire during the replacement? Consult a professional for repair.
Need assistance? Contact us via WhatsApp: +1(641)206-8880, Email: [email protected] or visit our office at 789 Elm Street, San Francisco, CA 94102, USA. We have a 24/7 customer support team ready to help.