iDiagnose OBD2 scanners are essential tools for anyone who owns or works on a vehicle. Understanding how these devices work and choosing the right one can save you time and money on car repairs. This guide provides a comprehensive overview of iDiagnose OBD2, helping you navigate the world of vehicle diagnostics.
What is iDiagnose OBD2?
iDiagnose is a brand of OBD2 scanners that offer a range of functionalities, from reading and clearing diagnostic trouble codes (DTCs) to providing live data streams and performing advanced diagnostic tests. These devices connect to your vehicle’s OBD2 port, allowing you to access a wealth of information about your car’s systems. Whether you’re a professional mechanic or a DIY enthusiast, an iDiagnose OBD2 scanner can be an invaluable asset.
Why Choose iDiagnose OBD2?
iDiagnose scanners are known for their user-friendly interfaces, broad vehicle compatibility, and competitive pricing. They offer a balance between affordability and functionality, making them a popular choice among car owners and mechanics alike. Whether you need to diagnose a check engine light or monitor your vehicle’s performance in real-time, iDiagnose offers a solution.
Key Features and Benefits of iDiagnose OBD2 Scanners:
- Read and Clear DTCs: Quickly identify and clear diagnostic trouble codes, saving you trips to the mechanic.
- Live Data Streaming: Monitor various vehicle parameters in real-time, such as engine speed, coolant temperature, and fuel pressure.
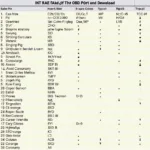
- Smog Check Readiness: Determine if your vehicle is ready to pass emissions testing.
- Wide Vehicle Compatibility: Supports a wide range of vehicle makes and models.
- User-Friendly Interface: Easy to navigate and understand, even for beginners.
- Affordable Pricing: Offers excellent value for money.
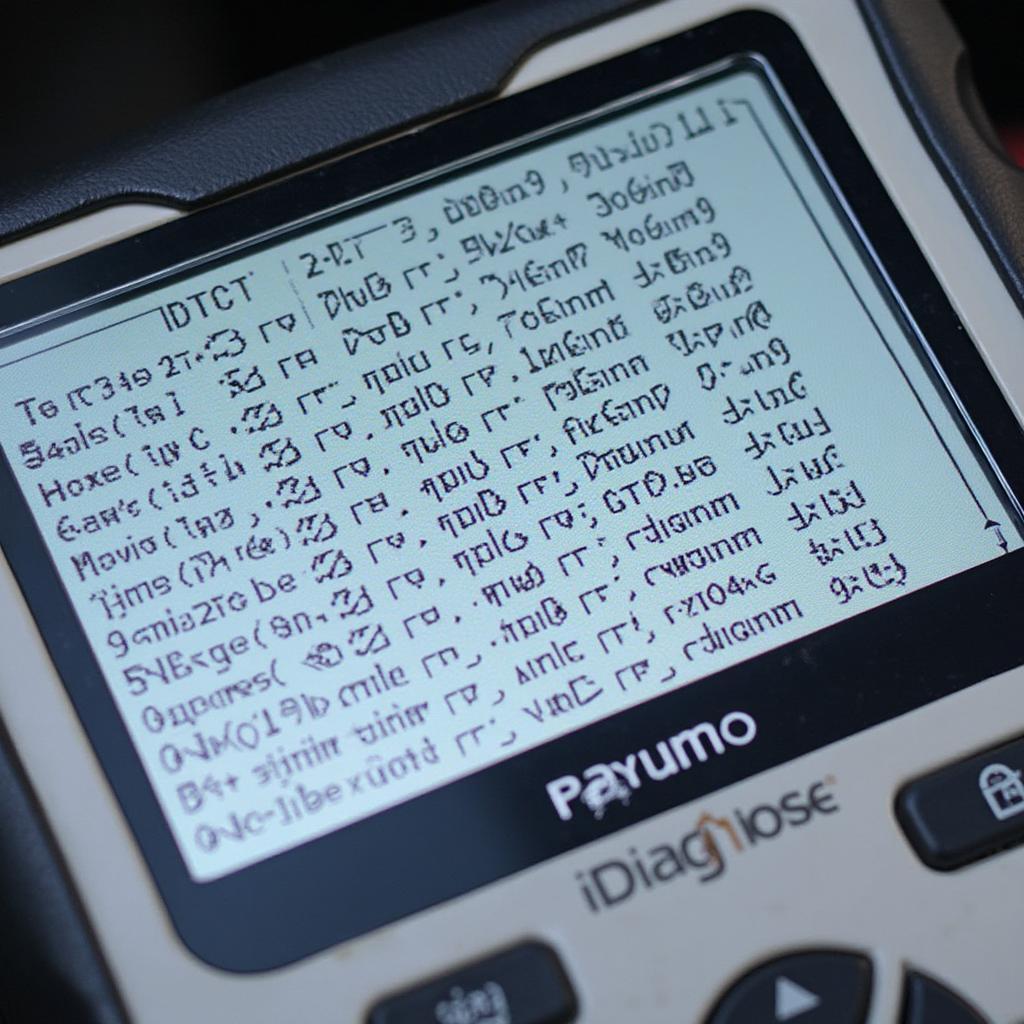 iDiagnose OBD2 scanner screen showing a diagnostic trouble code
How to Use an iDiagnose OBD2 Scanner
Using an iDiagnose OBD2 scanner is straightforward. Simply locate your vehicle’s OBD2 port (usually located under the dashboard on the driver’s side), plug in the scanner, and turn on your vehicle’s ignition. The scanner will then communicate with your car’s computer and display diagnostic information.
Step-by-Step Guide:
- Locate the OBD2 port in your vehicle.
- Plug the iDiagnose OBD2 scanner into the port.
- Turn the ignition key to the “on” position (do not start the engine).
- The scanner will power on and begin communicating with your vehicle’s computer.
- Follow the on-screen prompts to read and clear DTCs, view live data, or perform other diagnostic functions.
Choosing the Right iDiagnose OBD2 Scanner
iDiagnose offers a range of OBD2 scanners with varying features and capabilities. Choosing the right one depends on your specific needs and budget. Consider factors such as the type of vehicle you own, the level of diagnostic functionality you require, and your technical expertise.
Conclusion
iDiagnose OBD2 scanners provide a powerful and affordable solution for vehicle diagnostics. Whether you’re a professional mechanic or a car enthusiast, understanding how to use these tools can empower you to take control of your vehicle’s maintenance and repair. Investing in an iDiagnose OBD2 scanner is a smart choice for anyone looking to save time and money on car repairs.
FAQ
- What is an OBD2 port?
- What are diagnostic trouble codes (DTCs)?
- How do I clear DTCs with an iDiagnose scanner?
- Can I use an iDiagnose scanner on any car?
- Where can I purchase an iDiagnose OBD2 scanner?
- What is live data streaming?
- How do I interpret live data from my vehicle?
For further assistance, please contact us via WhatsApp: +1(641)206-8880, Email: [email protected] or visit us at 789 Elm Street, San Francisco, CA 94102, USA. We have a 24/7 customer support team.