The OBD2 port is the gateway to your car’s computer system, providing access to a wealth of diagnostic information. When this vital connection point fails, it can be incredibly frustrating. A faulty OBD2 port cable can lead to communication errors, inaccurate readings, and even prevent your OBD2 scanner from connecting altogether.
This comprehensive guide will walk you through everything you need to know about OBD2 port cable replacement, from identifying the problem to choosing the right replacement and tackling the installation process.
Common Signs Your OBD2 Port Cable Needs Replacement
Before diving into the replacement process, it’s crucial to confirm that the cable is indeed the culprit. Here are some telltale signs that your OBD2 port cable might need replacing:
- Intermittent or lost connection: Your OBD2 scanner frequently disconnects or fails to establish a connection with your vehicle’s computer.
- Inaccurate or inconsistent readings: The data displayed on your scanner seems erratic, unreliable, or doesn’t align with your vehicle’s symptoms.
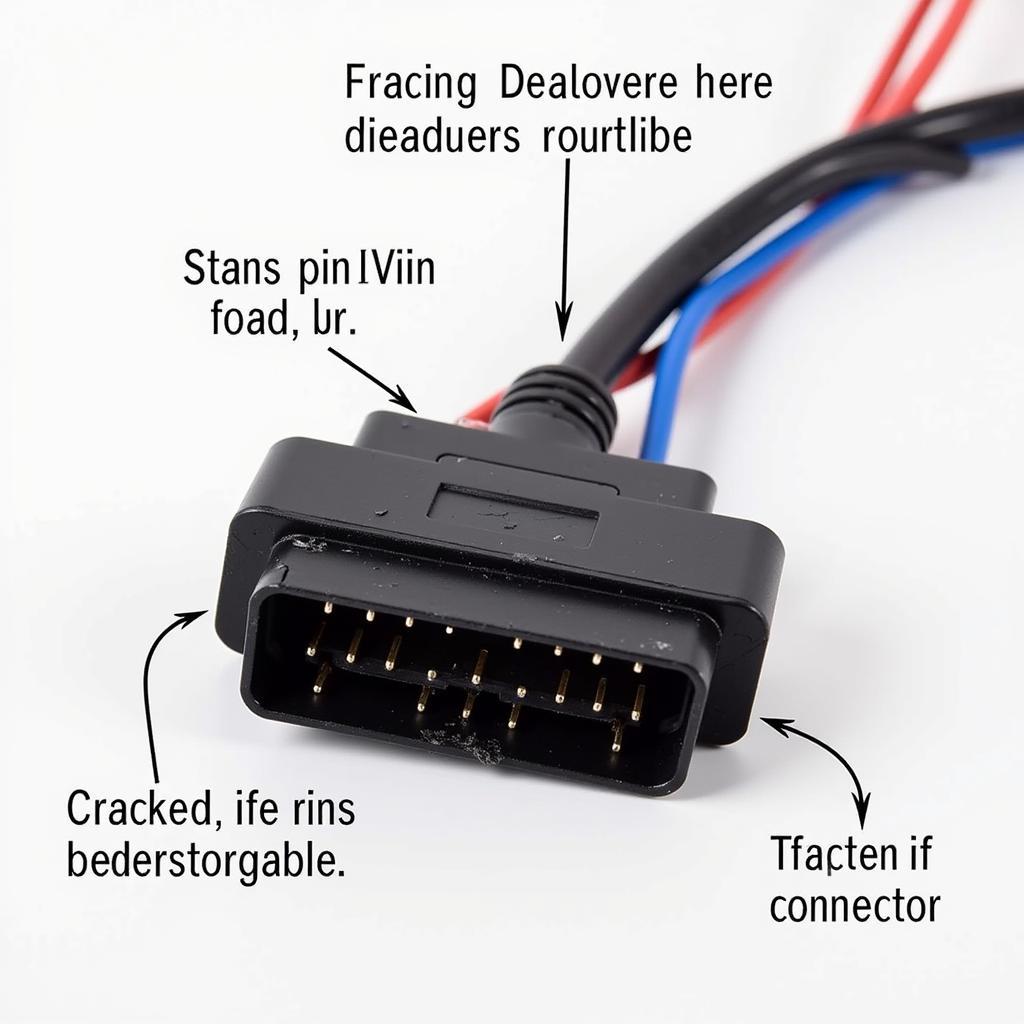
- Physical damage to the cable: Visible wear and tear, such as frayed wires, bent pins, or a cracked connector, indicate a compromised cable.
- Loose connection: The OBD2 connector feels loose or wobbly when plugged into the port.
Choosing the Right OBD2 Port Cable Replacement
Selecting the appropriate replacement cable ensures compatibility and optimal performance. Here’s what to consider:
1. Vehicle Compatibility:
Ensure the replacement cable is designed for your vehicle’s specific make, model, and year. Using an incompatible cable can lead to communication issues or even damage your vehicle’s electronics.
2. Cable Quality:
Invest in a high-quality cable from a reputable manufacturer. A well-built cable with durable materials will provide a reliable connection and last longer.
3. Cable Length:
Consider the intended use and choose a cable length that provides sufficient reach without being excessively long or prone to tangling.
4. Additional Features:
Some replacement cables offer additional features like LED indicators, right-angle connectors, or enhanced shielding for improved signal integrity.
OBD2 Port Cable Replacement: A Step-by-Step Guide
Replacing your OBD2 port cable can be a straightforward DIY project with the right tools and guidance. Here’s a step-by-step breakdown of the process:
1. Gather Your Tools and Materials:
- Replacement OBD2 port cable
- Small flat-head screwdriver
- Needle-nose pliers (optional)
2. Locate the OBD2 Port:
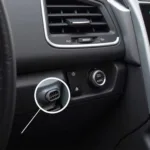
The OBD2 port is typically located under the driver’s side dashboard, near the steering column. Consult your vehicle’s owner’s manual if you have trouble finding it.
3. Disconnect the Old Cable:
Gently pry open the plastic retaining clip on the old cable’s connector using the flat-head screwdriver. Once the clip is released, carefully slide the connector out of the OBD2 port.
4. Connect the New Cable:
Align the new cable’s connector with the OBD2 port and firmly push it in until you hear a click, indicating a secure connection. Ensure the retaining clip snaps back into place.
5. Test the Connection:
Plug your OBD2 scanner into the new cable and turn on your vehicle’s ignition. Check if the scanner establishes a stable connection and retrieves data without any errors.
When to Seek Professional Help
While replacing an OBD2 port cable is often a manageable DIY task, there are instances when seeking professional assistance is recommended:
- You’re uncomfortable working with automotive electronics.
- The OBD2 port or surrounding wiring is damaged.
- The problem persists even after replacing the cable.
Conclusion
A functioning OBD2 port cable is essential for accessing vital diagnostic information about your vehicle. By following the steps outlined in this guide, you can confidently replace a faulty cable and restore seamless communication with your OBD2 scanner. Regular inspection and timely replacement of a damaged cable can save you from potential headaches and ensure accurate vehicle diagnostics.


