Converting OBD2 from 24V to 12V is a crucial process for certain diagnostic situations. Whether you’re working with heavy-duty trucks or specialized equipment, understanding this conversion is essential for effective vehicle diagnostics. This guide will delve into the specifics of obd2 24v to 12v conversion, covering everything from why it’s necessary to the best practices for ensuring safe and accurate readings.
Why Convert OBD2 from 24V to 12V?
Many heavy-duty vehicles and some equipment operate on a 24V electrical system. Standard OBD2 scanners, however, are typically designed for 12V systems. Connecting a 12V scanner directly to a 24V system can damage the scanner, potentially rendering it useless. Therefore, a 24V to 12V converter becomes necessary to protect your investment and ensure accurate diagnostic readings. This allows you to use your obd2 12v scanner with a wider range of vehicles.
Protecting Your OBD2 Scanner
A 24V to 12V converter acts as a buffer, stepping down the voltage from the vehicle’s system to a level compatible with your OBD2 scanner. This protects the scanner’s delicate circuitry from voltage overload.
How to Convert OBD2 from 24V to 12V
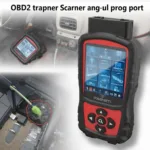
Converting from 24V to 12V is relatively straightforward. The most common method involves using a dedicated 24V to 12V OBD2 converter. These converters are typically inline devices that connect between the vehicle’s OBD2 port and your scanner.
Choosing the Right Converter
Selecting the correct converter is paramount. Look for a converter specifically designed for OBD2 applications. Ensure it has a sufficient amperage rating to handle the scanner’s power requirements. A high-quality converter will minimize voltage fluctuations, ensuring accurate and stable communication between the vehicle and the scanner. Sometimes, after successful conversion, you might see a obd2 pass on screen message, indicating a successful diagnostic test.
Installation and Usage
- Locate the vehicle’s OBD2 port.
- Connect the 24V to 12V converter to the vehicle’s OBD2 port.
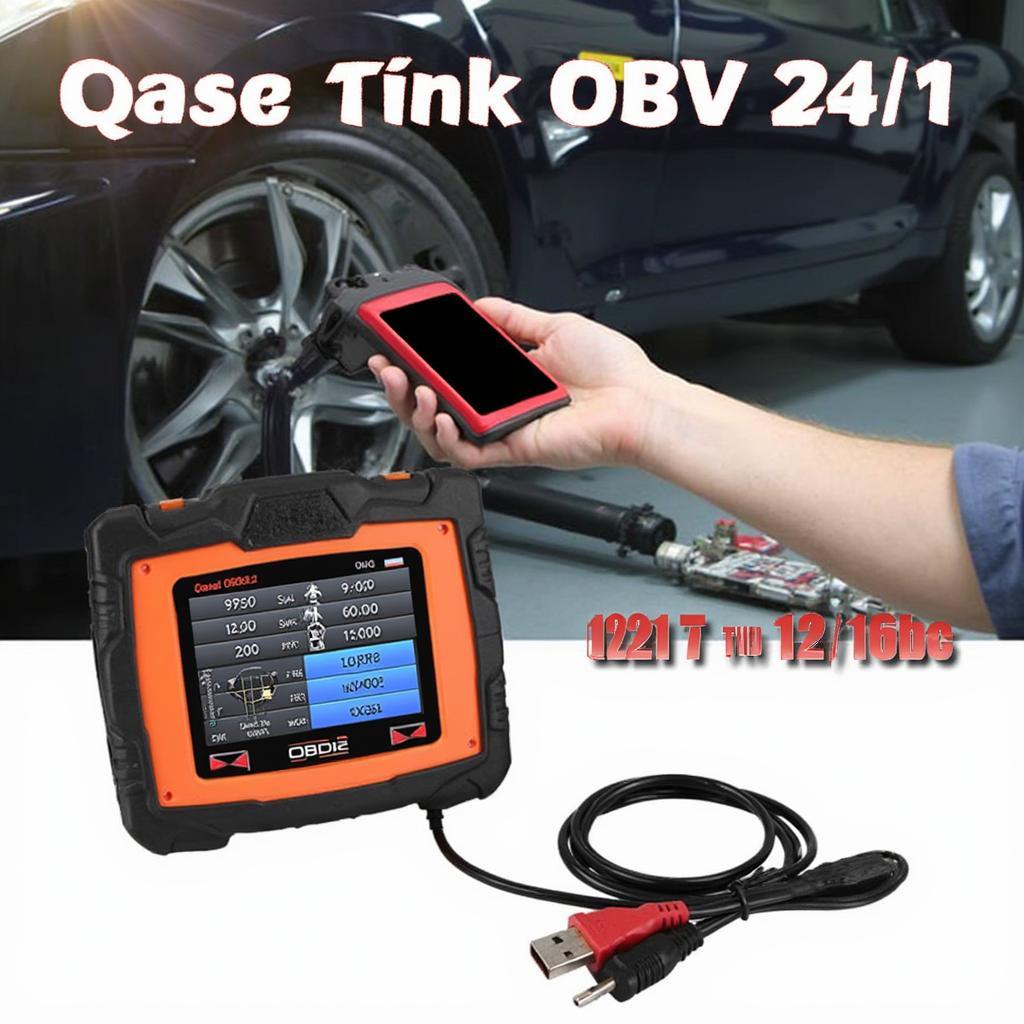
- Connect your obd2 12v 24v scanner to the converter.
- Turn on the vehicle’s ignition.
- Begin your diagnostic scan.
Best Practices for OBD2 24V to 12V Conversion
While the conversion process is simple, following best practices will ensure safe and reliable operation.
- Always use a high-quality 24V to 12V OBD2 converter.
- Double-check the converter’s specifications to ensure compatibility with your scanner and the vehicle’s electrical system.
- Never connect a 12V scanner directly to a 24V system without a converter.
- If you notice any unusual behavior from the scanner or the vehicle, disconnect the converter immediately.
“Using a reliable converter is paramount for accurate diagnostics. It’s a small investment that protects your valuable equipment,” says automotive electronics expert, Robert Johnson. This is especially important when dealing with sensitive electronics and readings such as a boost in obd2 reader.
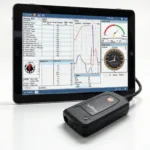
 Performing an OBD2 Diagnostic Scan
Conclusion
Converting OBD2 from 24V to 12V is essential for diagnosing vehicles with 24V systems using standard 12V OBD2 scanners. By using a dedicated converter and following best practices, you can ensure accurate readings and protect your obd2 scanner i m using. Remember, a properly executed conversion is key to successful diagnostics and informed vehicle maintenance.
When you need further assistance, don’t hesitate to contact us via WhatsApp: +1(641)206-8880, Email: [email protected], or visit us at 789 Elm Street, San Francisco, CA 94102, USA. Our dedicated customer support team is available 24/7.