The iDataLink Maestro RR and its compatibility with a 1998 Mustang is a popular topic for owners seeking to upgrade their classic ride with modern technology. This article dives deep into the process, benefits, and challenges of integrating an iDataLink Maestro RR OBD2 interface into your 1998 Mustang.
Understanding the iDataLink Maestro RR and its Purpose
The iDataLink Maestro RR is designed to retain crucial vehicle features when upgrading to an aftermarket car stereo. This is particularly relevant for older vehicles like the 1998 Mustang, where factory integration with features like steering wheel controls, door chimes, and amplifier turn-on signals can be lost when replacing the original head unit. The Maestro RR acts as a bridge, translating the signals between the aftermarket stereo and the car’s existing wiring, ensuring these features continue to function seamlessly.
Why Choose the Maestro RR for your 1998 Mustang?
Several advantages make the iDataLink Maestro RR a compelling choice for 1998 Mustang owners:
- Retention of Factory Features: Keep your steering wheel controls, door chimes, and other integrated systems functioning as intended.
- Simplified Installation: The Maestro RR simplifies the wiring process, reducing the risk of damaging your vehicle’s electrical system.
- Enhanced Sound Quality: The Maestro RR can provide improved audio output by optimizing the signal path between the aftermarket stereo and the car’s speakers.
- Future-Proofing: The Maestro RR can accommodate future upgrades and changes to your car audio system.
Installing the iDataLink Maestro RR in a 1998 Mustang: A Step-by-Step Guide
- Gather your tools and materials: You’ll need the iDataLink Maestro RR, a compatible wiring harness for your specific aftermarket stereo, basic hand tools, and a computer with internet access for firmware updates.
- Disconnect the negative battery terminal: This is crucial for safety and prevents accidental short circuits.
- Remove the factory radio: Consult your Mustang’s service manual for specific instructions on removing the dashboard and accessing the radio.
- Connect the Maestro RR wiring harness: Follow the included instructions to connect the Maestro RR to the vehicle’s wiring harness and the aftermarket stereo’s wiring harness.
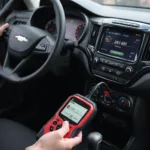
- Connect the Maestro RR to the OBD2 port: Locate the OBD2 port under the dashboard and connect the Maestro RR module.
- Flash the Maestro RR with the latest firmware: Use the iDataLink website and provided software to update the Maestro RR with the correct firmware for your 1998 Mustang and chosen stereo.
- Reconnect the negative battery terminal: After confirming all connections are secure, reconnect the battery.
- Test the system: Turn on the ignition and test all functions, including steering wheel controls, door chimes, and audio output.
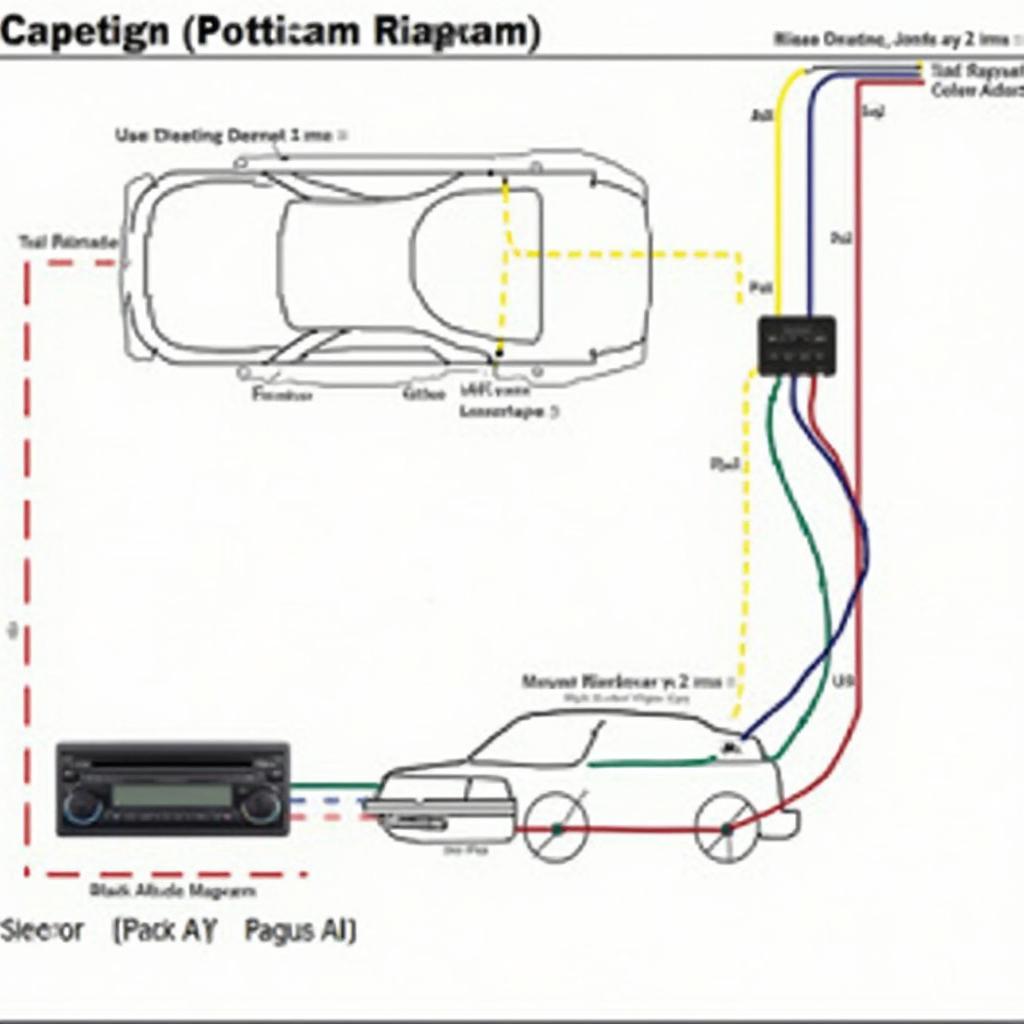 Wiring Diagram for iDataLink Maestro RR in a 1998 Mustang
Common Challenges and Troubleshooting Tips
While installation is typically straightforward, some challenges may arise:
- Firmware incompatibility: Always ensure the Maestro RR has the latest firmware compatible with your Mustang and stereo.
- Wiring issues: Double-check all connections to avoid loose wires or incorrect pin assignments.
- Vehicle-specific quirks: Some 1998 Mustangs may have unique wiring configurations that require additional adaptation.
John Miller, a seasoned car audio installer at Custom Sounds Inc., advises, “Always double-check your wiring and firmware compatibility before starting the installation. This will save you a lot of time and potential headaches.”
Conclusion
Integrating an iDataLink Maestro RR OBD2 interface into your 1998 Mustang is a valuable upgrade that allows you to enjoy modern car stereo technology while retaining the essential functions of your classic car. By following the steps outlined above and addressing potential challenges proactively, you can ensure a smooth and successful installation. The iDataLink Maestro RR OBD2 is the bridge between the past and present, providing a seamless blend of old-school charm and new-age technology for your 1998 Mustang.
FAQ
- What is the iDataLink Maestro RR?
- Why do I need the Maestro RR for my 1998 Mustang?
- Where is the OBD2 port located in a 1998 Mustang?
- How do I update the firmware on the Maestro RR?
- What if my steering wheel controls don’t work after installation?
- Where can I find a compatible wiring harness for my aftermarket stereo?
- Can the Maestro RR improve the sound quality in my Mustang?
Need Further Assistance?
For further assistance, please contact us via WhatsApp: +1(641)206-8880, Email: [email protected] or visit us at 789 Elm Street, San Francisco, CA 94102, USA. We have a 24/7 customer support team ready to help. We also have articles on various other OBD2 scanners and their compatibility with different vehicles. Check out our website for more information!