The transition from OBD1 to OBD2 systems in Honda vehicles, particularly concerning the alternator wiring, often sparks questions among car enthusiasts. This comprehensive guide delves into the intricacies of the Honda OBD2 to OBD1 alternator wiring conversion, providing clarity and practical insights.
For many Honda owners, particularly those with older models, the desire to replace an aging OBD1 system with a more modern OBD2 setup is common. While the benefits of OBD2, such as enhanced diagnostics and emissions control, are appealing, the wiring conversion, especially for the alternator, can seem daunting.
Why Convert to OBD1 Alternator Wiring?
There are several scenarios where converting your Honda’s alternator wiring from OBD2 back to OBD1 might be necessary or preferable:
- Engine Swaps: Swapping an older OBD1 engine into a newer OBD2 Honda often requires adapting the alternator wiring to ensure compatibility.
- Simplified Setup: Some find the OBD1 alternator wiring less complex and easier to troubleshoot than its OBD2 counterpart.
- Parts Availability: In certain cases, sourcing an OBD1 alternator or compatible parts might be simpler and more cost-effective.
Key Differences: OBD2 vs. OBD1 Alternator Wiring
Understanding the fundamental differences between OBD2 and OBD1 alternator wiring systems is crucial for a successful conversion:
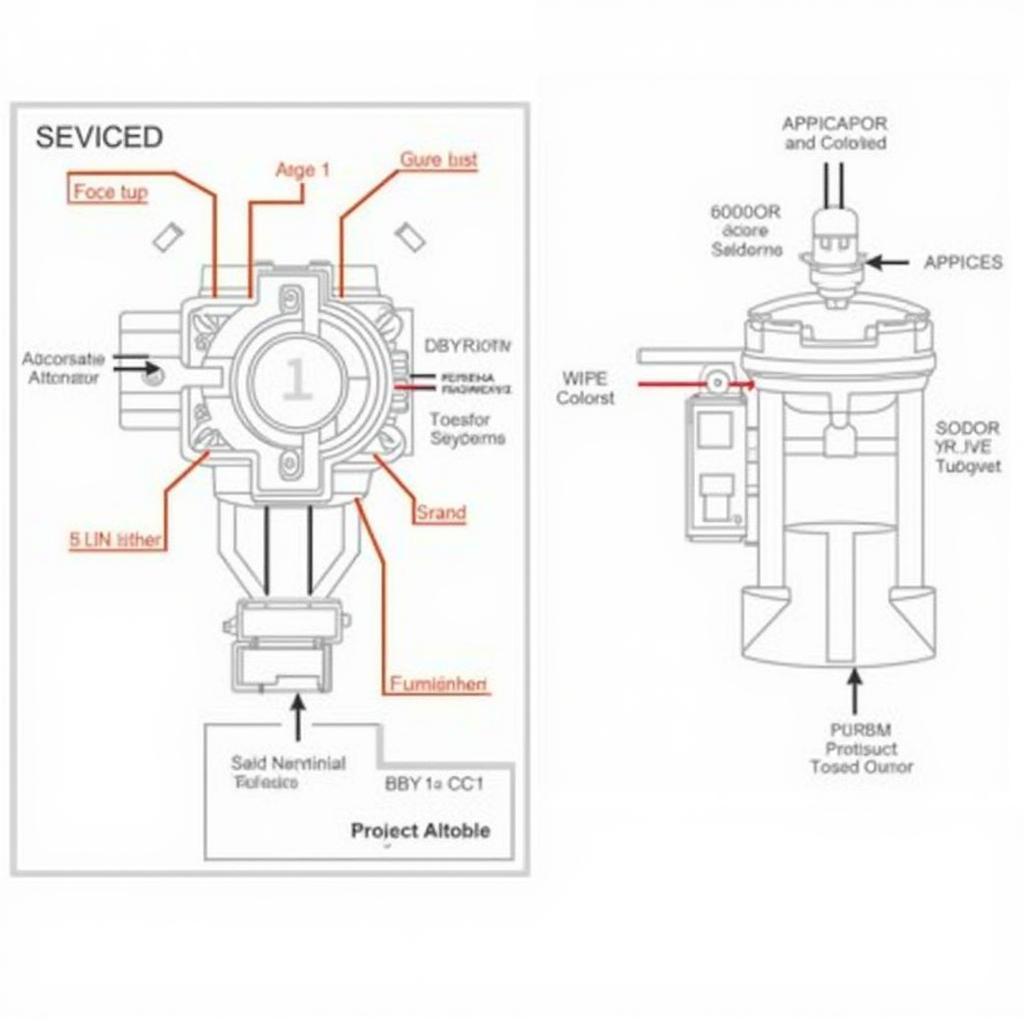
- Voltage Regulator: OBD1 systems typically employ an external voltage regulator, whereas in OBD2 systems, the regulator is integrated within the alternator itself.
- Wiring Harness: The wiring harnesses for OBD2 and OBD1 alternators differ significantly in terms of connector types and wire functions.
- Charging System Control: OBD2 systems utilize the Engine Control Unit (ECU) to monitor and regulate the alternator’s charging function, while OBD1 systems rely on simpler, standalone components.
Performing the Conversion: A Step-by-Step Guide
Before attempting the conversion, ensure you have a clear understanding of automotive wiring and take necessary safety precautions. Here’s a simplified guide:
- Disconnect the Battery: Always disconnect the negative battery terminal before working on any electrical components.
- Identify the Wires: Locate and identify the alternator output wire, ignition wire, and ground wire on both the OBD2 and OBD1 harnesses.
- Wiring Adaptation: Depending on your specific Honda model, you may need to splice, extend, or repin certain wires to ensure proper connection between the alternator and the harness.
- Voltage Regulator: If your OBD1 setup requires an external voltage regulator, connect it according to the wiring diagram for your specific model.
- Reconnect Battery and Test: Once the wiring is complete, reconnect the battery and start the engine to verify the alternator is charging correctly.
Common Issues and Troubleshooting
- No Charging: Check all connections, especially the alternator output wire and the ignition wire. Ensure the voltage regulator (if applicable) is functioning correctly.
- Overcharging: This issue could indicate a faulty voltage regulator or a problem with the alternator itself.
- Battery Light On: Verify the connection to the charging system warning light wire and ensure the alternator is properly grounded.
“Remember,” says veteran mechanic John Davis, “meticulous attention to detail and a thorough understanding of your Honda’s specific wiring diagram are paramount for a successful OBD2 to OBD1 alternator wiring conversion.”
Conclusion
Converting your Honda’s alternator wiring from OBD2 to OBD1 may seem challenging, but with careful planning, the right knowledge, and attention to detail, it’s an achievable task. Always consult a qualified mechanic if you’re uncertain about any aspect of the conversion process. By understanding the differences between these systems and following the steps outlined in this guide, you can confidently tackle this conversion and enjoy the benefits of your chosen setup.
FAQs
- Do I need to change the alternator when converting from OBD2 to OBD1 wiring? Not necessarily. The need to change the alternator depends on the specific models and the compatibility of the existing alternator with the OBD1 wiring harness.
- What tools do I need for the conversion? Essential tools include a wire stripper/crimper, electrical tape, a multimeter, and the correct wiring diagram for your Honda model.
- Can I reverse the conversion if needed? Yes, the conversion process is reversible if you decide to revert to the original OBD2 setup.
For further assistance or to explore a wide range of OBD2 scanners tailored for your Honda, visit OBDFree. We offer insightful resources, expert advice, and top-quality diagnostic tools to empower you on your automotive journey. Contact our 24/7 customer support team through WhatsApp: +1(641)206-8880 or Email: [email protected].


