Diagnosing car troubles can be a daunting task, especially when faced with the complexity of modern vehicles. Fortunately, the OBD2 (On-Board Diagnostics 2) system provides a relatively simple way to understand what’s happening under the hood. This article delves into the world of OBD2 codes, specifically focusing on a resourceful technique that uses a simple paperclip to retrieve these codes.
While OBD2 scanners offer a more comprehensive approach to reading and understanding these codes, using a paperclip can be a surprisingly effective method, especially in a pinch. This guide will provide a step-by-step walkthrough on how to check OBD2 codes with a paperclip, demystifying the process and empowering you with the knowledge to take the first step in diagnosing your car problems.
Understanding OBD2 Codes
Before we delve into the “how-to,” it’s essential to understand what OBD2 codes are and why they’re crucial for car maintenance. OBD2 codes are essentially standardized trouble codes that your car’s computer generates when it detects a malfunction within a system. These codes are designed to help you, or your mechanic, quickly identify the root cause of a problem.
Imagine your car’s engine as a well-oiled machine, with various components working in harmony. When something goes awry, the OBD2 system acts like a vigilant watchdog, detecting the anomaly and generating a specific code corresponding to the issue.
For instance, a code like “P0420” indicates a potential problem with your catalytic converter system, while “P0301” points to a misfire in cylinder 1. These codes, while seemingly cryptic, provide valuable clues for effective troubleshooting.
Gathering Your Tools
Using a paperclip to check OBD2 codes is a surprisingly simple process that requires minimal tools:
- A paperclip: Choose a standard-sized paperclip that can be easily manipulated.
- A pen and paper: You’ll need these to jot down the codes as they flash.
- Your vehicle’s owner’s manual: This invaluable resource provides the location of your OBD2 port and may also offer insights into interpreting specific codes for your car model.
Locating the OBD2 Port
The OBD2 port, typically a trapezoidal 16-pin connector, is usually located under the driver’s side dashboard. However, its exact location can vary depending on your car’s make and model. Consulting your owner’s manual is the surest way to find it.
Bridging the Right Pins
Now comes the part where the paperclip comes into play. Inside the OBD2 port, you’ll find a series of pins. To retrieve the codes, you need to connect two specific pins using the unfolded paperclip. These pins are typically labeled on the port’s casing itself or detailed in your owner’s manual.
In most cases, you’ll need to bridge pins 4 and 16. Pin 4 is generally associated with the chassis ground, while pin 16 is usually linked to the battery positive. Bridging these pins essentially completes a circuit, prompting the car’s computer to enter diagnostic mode and flash the stored trouble codes.
Reading the Flashing Codes
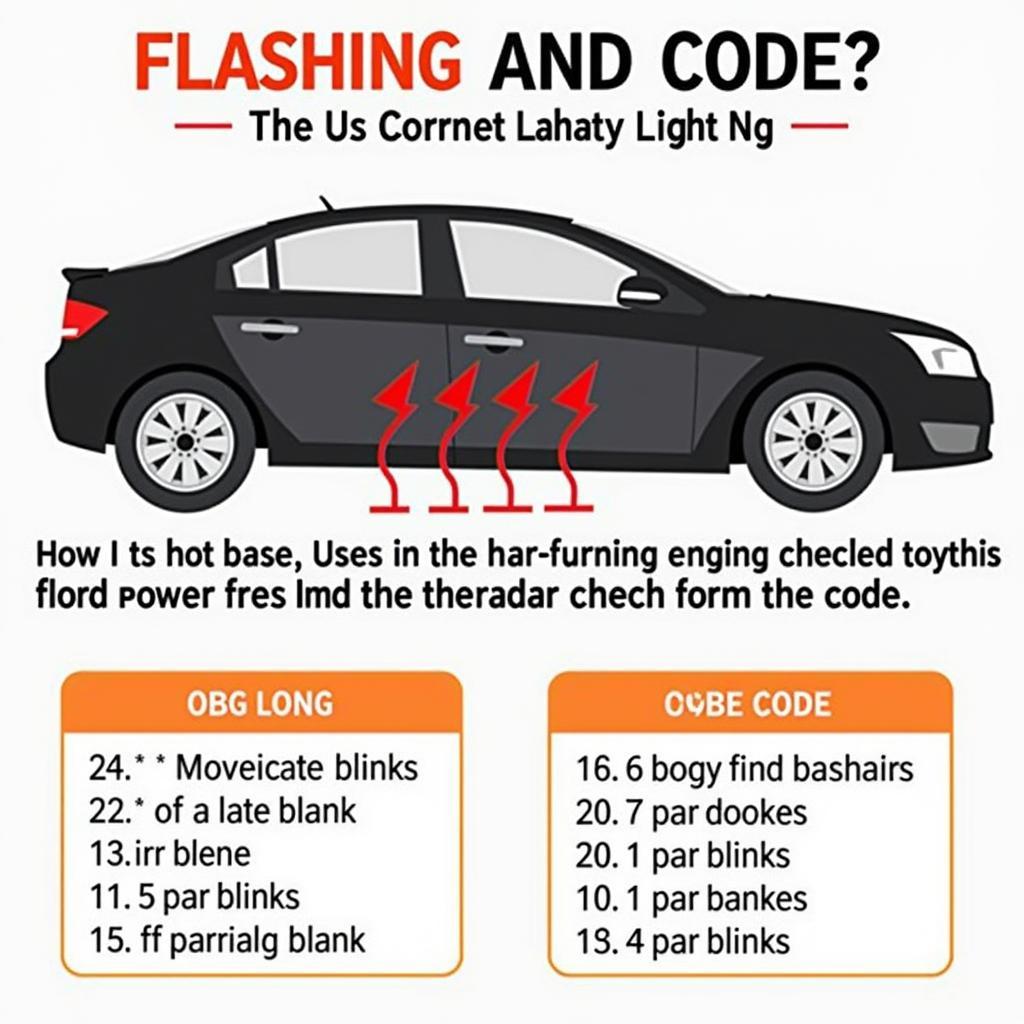
Once you’ve successfully bridged the pins, turn the ignition to the “on” position, without starting the engine. At this point, the “check engine” light on your dashboard should begin to flash in a specific sequence. This flashing sequence is not random; it represents the stored OBD2 codes.
The flashing pattern will typically consist of a series of long blinks and short blinks. A long blink usually represents a “10,” while a short blink signifies a “1.” For instance, one long blink followed by four short blinks would translate to the code “14.”
Carefully note down the sequence of blinks, as you’ll need these to decipher the codes later.
 understanding-the-flashing-obd2-codes
Decoding the OBD2 Codes
Now that you have the sequence of blinks, you can decode them into meaningful OBD2 codes. The first character of the code will typically be a letter:
- P: Refers to the powertrain, which encompasses the engine, transmission, and related components.
- B: Indicates a problem with the body, such as issues with airbags, power windows, or central locking.
- C: Points to malfunctions in the chassis, which includes the ABS, traction control, and other related systems.
- U: Represents issues with the network communication, including problems with the CAN bus or modules communicating with each other.
The remaining characters are numerical and correspond to specific components or systems. For example, the code “P0100” indicates a problem with the Mass Air Flow (MAF) sensor.
To decipher the codes, you can refer to online OBD2 code databases or consult your vehicle’s owner’s manual, which might provide a list of codes specific to your car model.
Limitations of the Paperclip Method
While the paperclip method can be surprisingly effective for retrieving OBD2 codes, it’s essential to understand its limitations. This method typically only retrieves the stored codes and doesn’t offer any additional information about the severity of the problem, freeze frame data, or live sensor readings.
Furthermore, the paperclip method might not work on all car models, especially newer vehicles with more sophisticated diagnostic systems.
Conclusion
Checking OBD2 codes with a paperclip is a resourceful technique that can provide a quick glimpse into your car’s health. While it’s a valuable tool to have in your arsenal, it’s essential to approach it with a clear understanding of its limitations.
If the paperclip method doesn’t work for your vehicle, or if you encounter a code that you’re unsure about, it’s best to consult a qualified mechanic or invest in a dedicated OBD2 scanner for more comprehensive diagnostics.
Frequently Asked Questions (FAQ)
1. Is it safe to use a paperclip to check OBD2 codes?
While generally safe, it’s crucial to handle the process carefully. Ensure the ignition is off when connecting and disconnecting the paperclip to avoid any potential electrical mishaps.
2. Can I clear the codes using the paperclip method?
No, the paperclip method only allows you to read the stored codes. To clear the codes, you’ll need an OBD2 scanner or disconnect the car’s battery for a short period.
3. My check engine light is not flashing after bridging the pins. What should I do?
Double-check that you’ve bridged the correct pins and that the ignition is turned to the “on” position without starting the engine. If the issue persists, your car model might not support this method, or there might be a problem with the OBD2 system itself.
4. I’m getting a code that’s not listed in any database. What does it mean?
Some manufacturers use proprietary codes not listed in generic databases. Refer to your vehicle’s service manual or consult a dealership mechanic for assistance.
5. Can I drive my car with the check engine light on?
It depends on the severity of the issue. While some codes might indicate minor problems, others could signal severe malfunctions that require immediate attention.
For any further assistance or inquiries, feel free to reach out to our expert team through WhatsApp at +1(641)206-8880 or email us at [email protected]. We offer 24/7 customer support to assist you with all your car diagnostic needs.
