The OBD2 port on your Dodge Ram is your gateway to understanding your vehicle’s health and performance. It’s how you connect your OBD2 scanner to access diagnostic information, read and clear trouble codes, and monitor vital engine data. But what happens when this crucial connection point wears out, gets damaged, or becomes incompatible with your scanner?
You change it, of course!
This comprehensive guide will walk you through the process of changing the OBD2 connector on your Dodge Ram, empowering you to regain control over your vehicle’s diagnostics.
Understanding the OBD2 Connector
Before we dive into the replacement process, let’s understand the OBD2 connector itself. The connector is a standardized 16-pin interface found in all vehicles manufactured after 1996. Its role is to facilitate communication between your vehicle’s onboard computer and external diagnostic tools.
When to Change Your OBD2 Connector
Over time, the OBD2 connector on your Dodge Ram can experience wear and tear, leading to potential issues like:
- Loose Connection: A loose connection can interrupt communication between your scanner and the vehicle, resulting in incomplete or inaccurate readings.
- Bent or Damaged Pins: Bent or damaged pins within the connector can prevent a secure connection with your scanner, rendering it unusable.
- Corrosion: Exposure to moisture or harsh environments can lead to corrosion on the connector’s pins, hindering proper electrical contact.
If you encounter any of these issues, replacing the OBD2 connector is essential to ensure accurate diagnostics and avoid potential complications.
Tools You’ll Need
Before you begin, gather the following tools:
- Replacement OBD2 Connector: Ensure the replacement connector is compatible with your Dodge Ram’s model year.
- Wire Strippers/Cutters: For preparing the wires on the new connector.
- Soldering Iron and Solder: To create secure and reliable connections.
- Heat Shrink Tubing: For insulating soldered connections.
- Electrical Tape: For securing the wiring harness.
- Screwdrivers: For accessing the existing connector and securing the new one.
- Multimeter (Optional): For testing continuity after making connections.
Step-by-Step Guide
Follow these steps to replace the OBD2 connector on your Dodge Ram:
- Locate the OBD2 Connector: In most Dodge Ram models, the OBD2 connector is located under the dashboard on the driver’s side.
- Disconnect the Battery: Disconnect the negative terminal of your Dodge Ram’s battery as a safety precaution.
- Remove the Existing Connector: Carefully detach the existing connector from the wiring harness. This may involve releasing a clip or unscrewing a retaining nut.
- Prepare the New Connector: Using wire strippers, carefully strip a small portion of insulation from the wires of the new connector.
- Match and Connect Wires: Match the wire colors from the new connector to the corresponding wires on the vehicle’s wiring harness. Solder each connection securely and use heat shrink tubing to insulate them.
- Secure the New Connector: Once all connections are soldered and insulated, carefully secure the new connector to the wiring harness using the provided clips or screws.
- Reconnect the Battery: Reconnect the negative terminal of your battery.
- Test the Connection: Plug in your OBD2 scanner and turn on the ignition (do not start the engine). Verify that your scanner establishes communication with the vehicle’s computer.
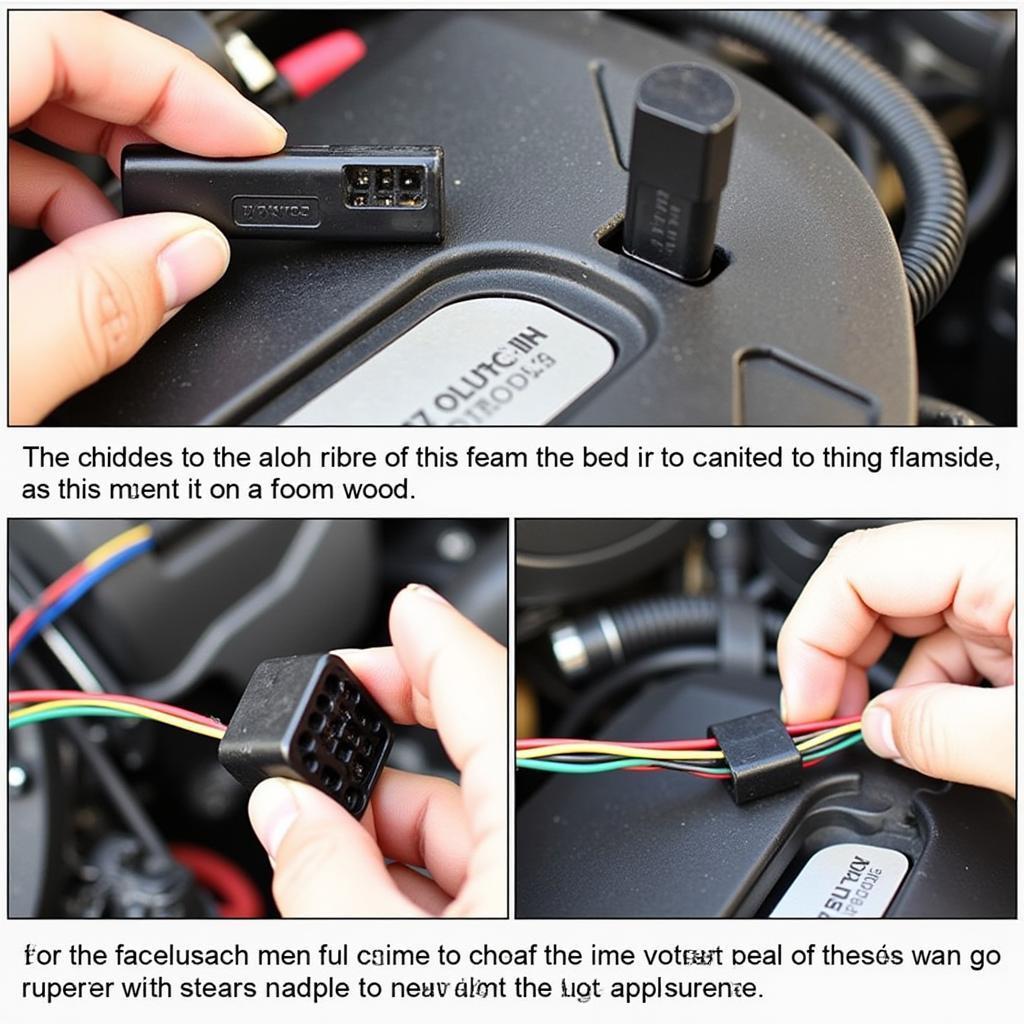
 Soldering OBD2 Connector Wires
Tips for a Successful Replacement
Keep these tips in mind for a smooth and successful replacement:
- Consult Your Vehicle’s Repair Manual: Refer to your Dodge Ram’s repair manual for specific instructions and diagrams related to the OBD2 connector.
- Double-Check Wire Connections: Before soldering, double-check that you have correctly matched the wire colors to avoid potential damage.
- Take Your Time: This is not a race. Work carefully and methodically to ensure all connections are secure and properly insulated.
Conclusion
Changing the OBD2 connector on your Dodge Ram is a manageable task that can save you from diagnostic headaches down the road. By following this guide and taking your time, you can regain a reliable connection to your vehicle’s vital data. Remember, a properly functioning OBD2 port is essential for accurate diagnostics, timely repairs, and keeping your Dodge Ram running smoothly.
FAQs
1. Can I drive my Dodge Ram with a damaged OBD2 connector?
While you might still be able to drive your vehicle, it’s highly discouraged. A damaged connector can lead to inaccurate readings or, in some cases, prevent your vehicle from starting.
2. How often should I replace my OBD2 connector?
Unless you experience issues like a loose connection or damaged pins, the OBD2 connector itself doesn’t require regular replacement.
3. What if my scanner still doesn’t connect after replacing the connector?
If you’ve replaced the connector and your scanner still doesn’t connect, the issue might lie elsewhere, such as a blown fuse or a problem with the vehicle’s ECU.
4. Can I use any OBD2 connector for my Dodge Ram?
No, it’s crucial to use a connector that’s compatible with your specific Dodge Ram model year. Consult your vehicle’s repair manual or a reputable parts supplier.
5. Is it safe to handle the wiring while the battery is connected?
No, always disconnect the negative terminal of your battery before handling any wiring to prevent electrical shock or damage to your vehicle’s electrical system.
Need More Help?
We understand that working on your vehicle’s electrical system can be daunting. If you have any questions or need further assistance, our team of expert technicians is just a message away.
Contact us via WhatsApp: +1(641)206-8880 or Email: [email protected]. We’re available 24/7 to provide you with the support you need.
Don’t forget to check out our other articles and resources on OBD2 scanners and vehicle diagnostics on our website. We’re your one-stop shop for all things OBD2!

