Connecting your Arduino to your car’s OBD2 port via the CAN bus opens a world of possibilities, from building custom diagnostic tools to tracking vehicle data and even controlling certain car functions. This guide delves into the world of Arduino CAN bus OBD2, providing you with the knowledge and resources to embark on your own automotive projects. We’ll explore the hardware and software requirements, discuss common challenges, and showcase exciting applications.
Understanding the Basics of Arduino CAN Bus OBD2
Before diving into the practical aspects, let’s clarify the key components involved: Arduino, CAN bus, and OBD2. An Arduino is a microcontroller board, ideal for DIY electronics projects. The CAN (Controller Area Network) bus is a robust communication system used in vehicles to connect various electronic control units (ECUs). OBD2 (On-Board Diagnostics, second generation) is a standardized system that provides access to vehicle data through a diagnostic port, usually located under the dashboard.
Combining these three elements allows you to tap into a wealth of vehicle information, opening doors for custom diagnostics, data logging, and even controlling certain aspects of your car’s functionality. It’s crucial to understand these basics before proceeding. This understanding will enable you to troubleshoot effectively and develop innovative solutions.
By interfacing an Arduino with the CAN bus through the OBD2 port, you can access various parameters like engine speed, coolant temperature, fuel level, and much more. Imagine building your own custom dashboard display, a performance data logger, or even a system that alerts you to potential maintenance issues. The possibilities are virtually limitless. For those looking for specific examples, you might find our resource on can bus obd2 arduino helpful.
Setting Up Your Arduino CAN Bus OBD2 Project
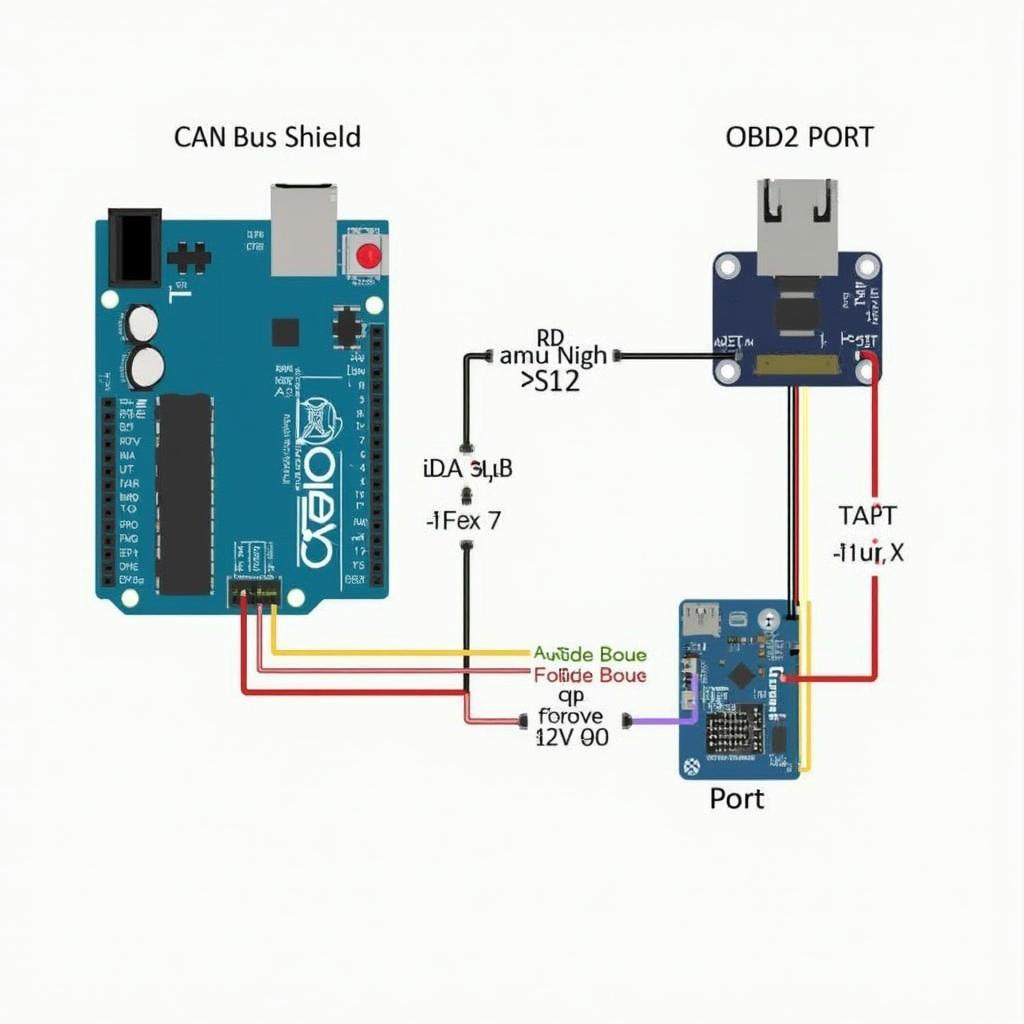
Now, let’s discuss the hardware and software requirements for your project. You’ll need an Arduino board (Uno, Mega, Nano, etc.), a CAN bus shield (e.g., MCP2515), and an OBD2 connector. The CAN bus shield acts as the interface between the Arduino and the vehicle’s CAN bus. Additionally, you’ll need the appropriate Arduino libraries to handle CAN communication.
You can find numerous online resources, including [obd2 scanner arduino instructable], that provide step-by-step instructions for setting up the hardware and software. Remember to connect the CAN bus shield correctly to both the Arduino and the OBD2 connector. Using a breadboard for prototyping is highly recommended.
Once the hardware is connected, you need to program the Arduino to send and receive CAN messages. Several libraries, like the MCP_CAN library, simplify this process. You’ll need to familiarize yourself with the specific CAN IDs for the data you want to access.
Decoding and Utilizing OBD2 Data
Once you’ve established communication, the next step is decoding the OBD2 data. OBD2 data is transmitted in a specific format using PIDs (Parameter IDs). Each PID corresponds to a particular piece of vehicle information. You’ll need a PID lookup table to interpret the received data correctly.
You can then utilize this decoded data in numerous ways. You could display it on an LCD screen, log it to an SD card for later analysis, or even send it to a cloud server for remote monitoring. Consider exploring resources like [github obd2] for code examples and project inspiration. This platform provides a vast repository of community-developed projects related to OBD2 and Arduino.
For specific troubleshooting scenarios, like addressing a can obd2 p0014 code, understanding CAN bus communication is essential. Another practical example involves using an MCP2515 to interface with a specific vehicle, such as a [mcp2515 to obd2 chevy silverado]. This demonstrates the versatility of the system.
Conclusion
The combination of Arduino, CAN bus, and OBD2 offers a powerful and versatile platform for automotive enthusiasts and developers. From simple data logging to complex control systems, the possibilities are endless. By understanding the fundamentals, carefully setting up your hardware and software, and learning to decode OBD2 data, you can unlock the full potential of this exciting technology and bring your automotive projects to life.
FAQ
- What is the CAN bus? The CAN bus is a robust vehicle communication system connecting various electronic control units.
- What is OBD2? OBD2 is a standardized system providing access to vehicle data.
- What hardware do I need for this project? You need an Arduino, a CAN bus shield, and an OBD2 connector.
- Where can I find OBD2 PIDs? OBD2 PID lookup tables are readily available online.
- What are some example projects? Custom dashboards, data loggers, and diagnostic tools.
- How can I troubleshoot communication issues? Double-check wiring, library installation, and CAN ID settings.
- Where can I find more resources? Online forums, tutorials, and GitHub repositories.
For additional assistance, don’t hesitate to contact our 24/7 customer support team via WhatsApp: +1(641)206-8880 or Email: [email protected]. We are here to help you with any questions or challenges you may encounter. You might also want to explore related articles on our website, such as those covering specific vehicle applications and troubleshooting guides. We encourage you to delve deeper into the world of OBD2 and discover its potential for your next automotive project.


