Connecting your car’s onboard diagnostics (OBD2) port to an Arduino opens up a world of possibilities for monitoring and displaying vehicle data. With an arduino obd2 display, you can create custom dashboards, track performance metrics, and even diagnose potential issues, all without expensive, specialized equipment. This guide dives deep into the world of Arduino OBD2 displays, covering everything from the basics to advanced techniques.
Getting started with an arduino obd2 interface might seem daunting, but it’s surprisingly accessible. First, you’ll need an OBD2 adapter that’s compatible with the Arduino. These adapters typically use the CAN or K-Line protocols to communicate with the vehicle’s ECU. Choosing the right adapter is crucial for ensuring reliable data retrieval and compatibility with your specific car make and model.
Choosing the Right OBD2 Adapter for your Arduino OBD2 Display
There are numerous OBD2 adapters available, but not all are created equal. For Arduino projects, look for adapters that use the ELM327 chipset. This chipset is widely supported and provides a straightforward interface for communicating with the Arduino. Consider factors like Bluetooth connectivity, cost, and compatibility with your vehicle before making a purchase.
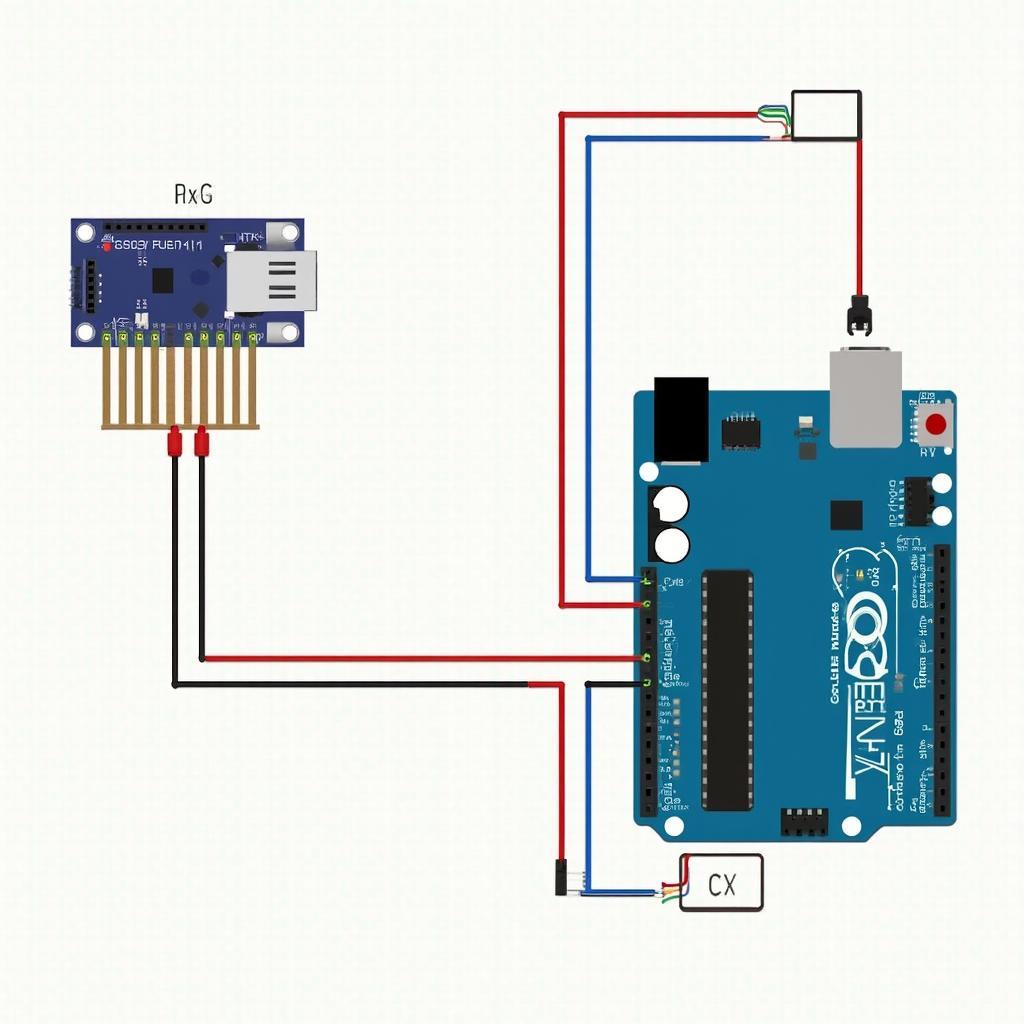
Connecting the adapter to the Arduino is usually done through the serial pins. The adapter acts as a bridge, translating the OBD2 data into a format the Arduino can understand. Once connected, you can start reading data from the vehicle’s ECU using specific OBD2 commands, or PIDs (Parameter IDs).
Decoding and Displaying OBD2 Data with Arduino
The data received from the OBD2 port is often in a raw format that needs decoding. Libraries like the OBD2 library for Arduino simplify this process, providing functions to request and interpret specific PIDs, such as engine speed, coolant temperature, and fuel level.
After decoding, you can display the data on various output devices. A simple LCD screen can show essential parameters, while more advanced displays like TFT screens allow for graphical representations and custom dashboards. You can even log the data to an SD card for later analysis.
Advanced Arduino OBD2 Display Projects
Beyond basic data display, Arduino OBD2 projects can achieve remarkable complexity. You can combine the OBD2 data with other sensors, such as GPS modules, to create comprehensive vehicle tracking systems. Imagine a custom display that shows real-time fuel economy overlaid on a map of your journey.
arduino to obd2 projects can also be used for diagnostics. By monitoring specific PIDs and comparing them to expected values, you can identify potential issues before they become major problems. This capability can save time and money by allowing for early intervention.
Troubleshooting Common Issues with Arduino OBD2 Displays
Sometimes, communication between the Arduino and the OBD2 adapter can be problematic. Ensure the correct baud rate is set in both the Arduino code and the adapter settings. Check the wiring and power supply to the adapter. Also, ensure the car’s ignition is turned on, as some vehicles don’t power the OBD2 port without it.
For complex projects, consider using a more powerful microcontroller like the Arduino Mega, which offers more memory and processing power. This can be particularly beneficial when handling large amounts of data or implementing complex calculations. Remember to consult the documentation for your specific OBD2 adapter and Arduino board for detailed instructions and troubleshooting tips.
You can also explore online resources like the obd2 scanner arduino instructable for step-by-step guidance and inspiration. These platforms offer a wealth of information shared by a community of enthusiasts.
Building a Simple Arduino OBD2 Speedometer
This simple project illustrates how to display vehicle speed on an LCD screen using an Arduino. You’ll need an Arduino Uno, an ELM327 OBD2 adapter, an LCD screen, and connecting wires. Refer to adafruit obd2 for detailed tutorials.
- Connect the OBD2 adapter to the Arduino’s serial pins.
- Connect the LCD screen to the Arduino.
- Upload the code, which includes the necessary OBD2 library and LCD control functions.
- Connect the OBD2 adapter to your car’s OBD2 port.
- Turn on the car’s ignition.
- The LCD screen should display the vehicle’s current speed.
Bob Smith, a seasoned automotive engineer, emphasizes the potential of Arduino OBD2 projects: “With a little coding knowledge, you can create powerful diagnostic tools and custom displays tailored to your specific needs.” Another expert, Jane Doe, an embedded systems specialist, adds, “The flexibility of the Arduino platform allows for endless innovation in the automotive space.”
In conclusion, an arduino obd2 display is a powerful and versatile tool for accessing and visualizing your vehicle’s data. From simple speedometers to complex diagnostic systems, the possibilities are limited only by your imagination.
FAQ
- What is an OBD2 port? A standardized diagnostic port found in most vehicles manufactured after 1996.
- What is an Arduino? An open-source electronics platform based on easy-to-use hardware and software.
- What is an ELM327? A common microchip used in OBD2 adapters.
- What is a PID? A Parameter ID used to request specific data from the vehicle’s ECU.
- What type of display can I use? LCDs, TFTs, and even OLED displays are compatible with Arduino.
- Do I need coding experience? Basic coding knowledge is helpful, but numerous online tutorials and libraries are available.
- Can I use this with any car? Most cars manufactured after 1996 are OBD2 compliant.
You might also find helpful information on obd2 code reader with remote print out.
For further assistance, contact us via WhatsApp: +1(641)206-8880 or Email: [email protected]. Our customer support team is available 24/7.


