Want to unlock the secrets hidden within your car’s computer? A Can Bus DIY OBD2 to USB wiring project can be your key! This guide dives deep into connecting your vehicle’s OBD2 port to your computer using a USB cable, opening up a world of diagnostics and data.
Understanding the Basics: OBD2, CAN Bus, and You
Before we break out the soldering iron, let’s demystify the core components of this project:
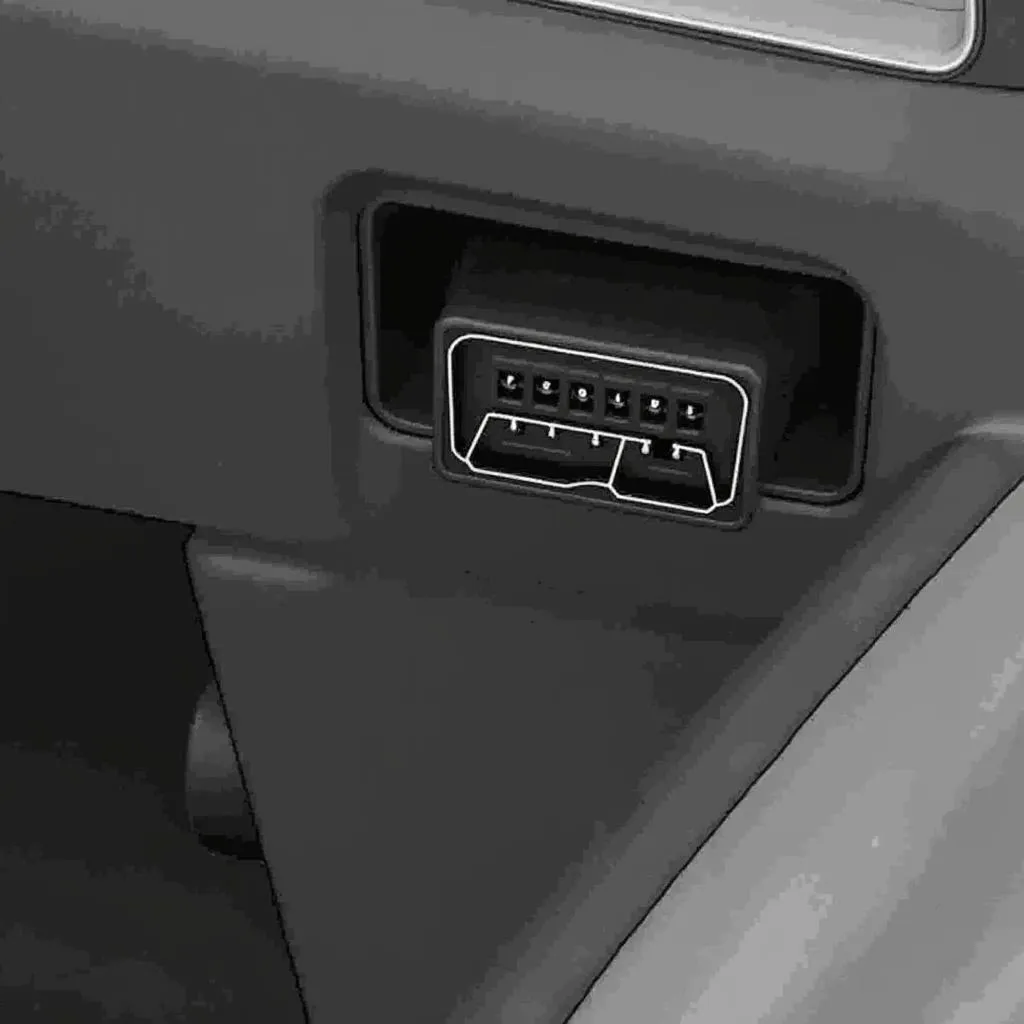
- OBD2 Port: Think of this as your car’s data hub. It’s a standardized port found in most vehicles manufactured after 1996.
- CAN Bus: The nervous system of your car! CAN (Controller Area Network) Bus is a communication protocol that allows various modules within your vehicle to talk to each other.
- USB: The bridge between your car’s data and your computer’s processing power.
Why Go DIY? The Benefits of a Custom OBD2 to USB Cable
While pre-made OBD2 scanners are readily available, a DIY approach offers unique advantages:
- Cost-Effectiveness: Building your cable can be significantly cheaper, especially if you already have some components.
- Customization: Tailor the cable length, connector type, and even add features like an on/off switch for added control.
- Learning Experience: Gain a deeper understanding of your car’s electronics and the OBD2 protocol.
Gathering Your Tools and Components
Every successful project starts with the right tools. Here’s what you’ll need:
- OBD2 Connector: Male, 16-pin (available online or at electronics stores)
- USB Cable: A standard USB cable (Type A to Type B is common)
- DB9 Connector: (Optional, if using a DB9 interface)
- Wires: Thin gauge, multi-stranded wires for connecting the pins
- Soldering Iron & Solder: For making secure and reliable connections
- Heat Shrink Tubing: To insulate and protect your soldered connections
- Wire Strippers/Cutters: For preparing your wires
- Multimeter: (Optional, but highly recommended for testing connections)
Decoding the OBD2 Pinout: Your Wiring Blueprint
The OBD2 connector has 16 pins, each with a specific function. However, for basic diagnostics and communication, you’ll only need to connect a few key pins:
- OBD2 Pin 4: Chassis Ground
- OBD2 Pin 5: Signal Ground
- OBD2 Pin 6: CAN High (CAN+)
- OBD2 Pin 7: ISO 9141-2 K-Line (May not be needed for all applications)
- OBD2 Pin 14: CAN Low (CAN-)
- OBD2 Pin 16: Battery Voltage (12V)
USB Side:
- USB Pin 1: VCC (+5V)
- USB Pin 4: GND (Ground)
Note: For data transmission, we’ll be focusing on the CAN High and CAN Low pins.
Step-by-Step Wiring Guide: Bringing It All Together
- Prepare Your Connectors: Carefully cut and strip the ends of your wires, exposing a small amount of bare wire. Tin the ends with a touch of solder to make them easier to work with.
- OBD2 to USB Connections: Following the pinout guide above, connect the corresponding pins on your OBD2 connector and USB cable:
- Ground: Connect OBD2 Pin 4 and Pin 5 to USB GND (Pin 4).
- CAN High: Connect OBD2 Pin 6 to USB Pin 1 (VCC +5V) through a 300-500 ohm resistor.
- CAN Low: Connect OBD2 Pin 14 to USB GND (Pin 4).
- Secure Your Connections: Use heat shrink tubing to insulate and protect all soldered connections.
- Testing Your Cable: Before connecting to your vehicle, it’s crucial to test your cable for shorts or incorrect wiring. Use a multimeter to check for continuity between the connected pins.
Connecting to Your Computer: Unlocking the Data
With your cable ready, it’s time to tap into your car’s data:
- Software Installation: Download and install an OBD2 software program compatible with your operating system. Some popular options include:
- Free Options: OBD Auto Doctor, OBDLink
- Paid Options: ScanXL, TOAD
- Connect and Go: Plug your DIY cable into your car’s OBD2 port, then connect the USB end to your computer.
- Launch Your Software: Open your chosen OBD2 software and follow the on-screen instructions to establish communication with your vehicle.
Beyond the Basics: Expanding Your OBD2 DIY Horizons
Once you’ve mastered the fundamentals, the possibilities are endless!
- Advanced Diagnostics: Explore diagnostic trouble codes (DTCs), sensor readings, and other parameters in real-time.
- Performance Monitoring: Track parameters like speed, RPM, engine load, and fuel economy.
- Custom Dashboards: Create personalized dashboards to visualize your car’s data in a way that suits your needs.
Conclusion: Empowering Yourself with OBD2 Knowledge
Building your Can Bus DIY OBD2 to USB cable is an empowering project that provides valuable insights into your vehicle. By understanding the basics and following these steps, you can unlock a wealth of information and take control of your car’s diagnostics and data.


