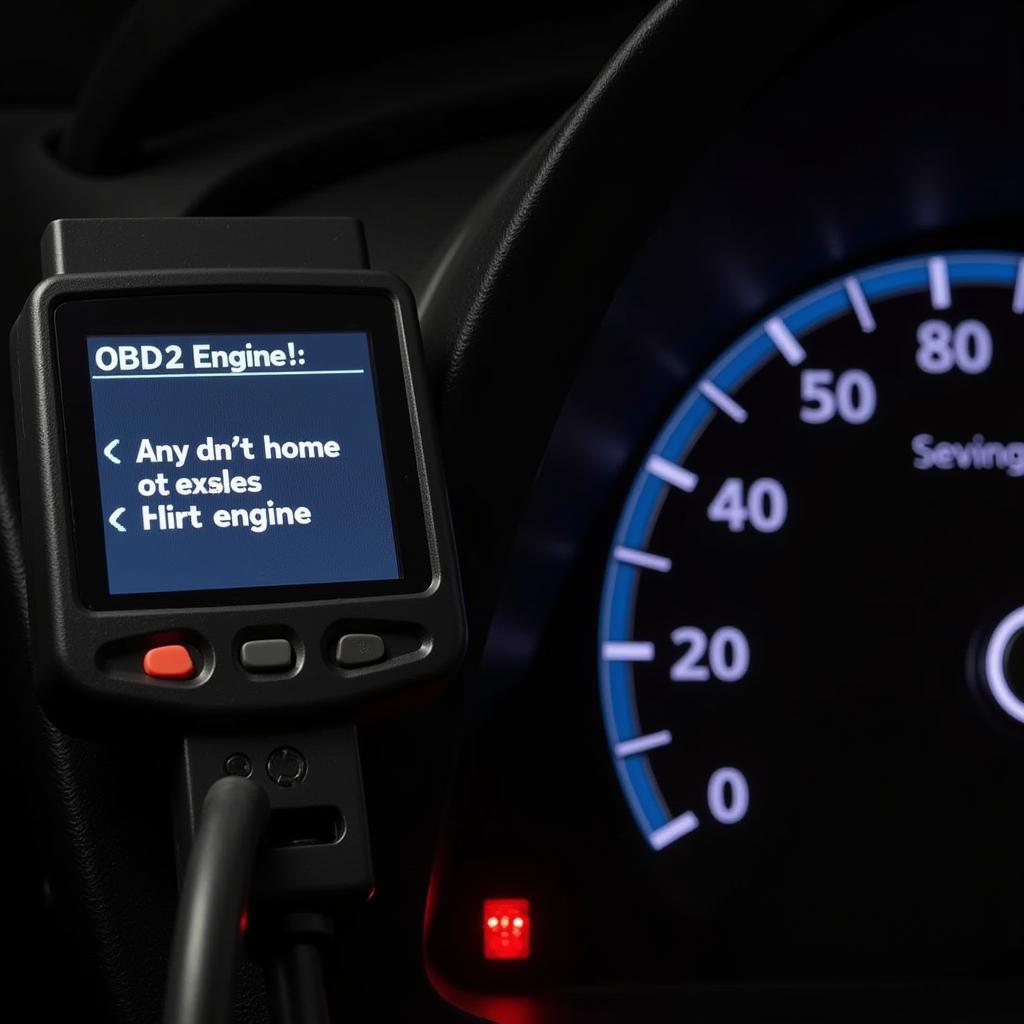
A “check engine” light flashing on your dashboard can be stressful. It might be a minor issue or something more serious requiring immediate attention. Understanding how to check engine OBD2 code is crucial for every car owner. This article provides a comprehensive guide on check engine lights, OBD2 codes, and how to use a scanner to diagnose your vehicle’s problem.
What Does a Check Engine Light Mean?
The check engine light, often referred to as the malfunction indicator lamp (MIL), is part of your vehicle’s onboard diagnostics system. When the car’s computer detects a problem within the engine, emission system, or other critical components, it triggers the check engine light. This light can indicate a range of issues, from a loose gas cap to a severe engine malfunction.
What are OBD2 Codes?
OBD2 stands for On-Board Diagnostics, generation two. It’s a standardized system that allows external devices, such as OBD2 scanners, to communicate with your vehicle’s computer and access diagnostic trouble codes (DTCs). These codes are five-digit alphanumeric codes that provide specific information about the potential issue triggering the check engine light.
For example, a code like P0300 with no drivability issues indicates a random misfire detected in the engine cylinders. Understanding these codes helps you pinpoint the problem and determine the necessary action.
How to Check Engine OBD2 Codes
You’ll need an OBD2 scanner to check engine OBD2 codes. These scanners are readily available online and at auto parts stores.
Here’s a step-by-step guide on how to use an OBD2 scanner:
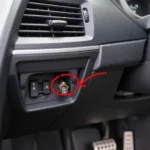
- Locate your car’s OBD2 port. This port is usually located under the dashboard on the driver’s side.
- Plug the OBD2 scanner into the port. Ensure the scanner is properly connected.
- Turn on the ignition, but don’t start the engine.
- Follow the on-screen prompts. The scanner will connect to your vehicle’s computer and begin reading data.
- Select “Read Codes”. The scanner will display the active OBD2 codes stored in your vehicle’s computer.
Understanding OBD2 Code Types
OBD2 codes are categorized by the first letter, indicating the system affected:
- P Codes: Powertrain (engine and transmission)
- B Codes: Body (components like airbags, power windows, etc.)
- C Codes: Chassis (systems like ABS, traction control, etc.)
- U Codes: Network & Communication (modules and wiring)
The remaining four characters in the code provide further details about the specific problem.
“Understanding the different types of OBD2 codes allows you to narrow down the potential source of the problem,” says John Smith, Senior Automotive Engineer at XYZ Automotive. “This is crucial for efficient troubleshooting and repair.”
What to Do After Checking Engine OBD2 Codes
Once you’ve retrieved the OBD2 codes:
- Write down all the codes displayed.
- Research the codes. You can find detailed information about each code online or in repair manuals. OBDFree offers a comprehensive database of OBD2 codes for various car makes and models, including Chevy and BMW.
- Diagnose the problem. Based on the code descriptions and your understanding of your vehicle, try to identify the root cause.
- Determine the necessary action. Depending on the severity and your comfort level with car repair, you can choose to:
- Fix the issue yourself. If it’s a simple fix, like tightening a gas cap or replacing a faulty sensor.
- Take your car to a mechanic. For more complex repairs, it’s best to seek professional help.
Can I Drive with the Check Engine Light On?
Whether you can drive with the check engine light on depends on the severity of the problem.
If the light is flashing, it indicates a severe issue, and you should stop driving immediately and have your car towed to a mechanic. Continuing to drive in this condition can cause significant damage to your engine.
If the light is solid, the problem may not be as urgent, but it’s still essential to address it as soon as possible. Ignoring a check engine light can lead to decreased fuel efficiency, potential damage to other components, and even increased emissions.
Erasing OBD2 Codes
Most OBD2 scanners allow you to erase or clear the codes. However, it’s crucial to understand that clearing the codes does not fix the problem. It simply resets the check engine light and allows your car’s computer to monitor the system again.
If the underlying issue persists, the check engine light will return. “Erasing codes without proper diagnosis and repair is like silencing an alarm clock instead of waking up to address the reason for the alarm,” warns Smith.
Why is my OBD2 Scanner Erase Fail?
Sometimes you may encounter an OBD2 scanner erase fail situation. Several factors can cause this:
- Ongoing Issue: The most common reason is that the problem triggering the check engine light hasn’t been resolved.
- Scanner Compatibility: Ensure your scanner is compatible with your vehicle’s make and model.
- Loose Connection: Double-check the connection between the scanner and the OBD2 port.
- Faulty Scanner: In rare cases, the scanner itself may be faulty.
Conclusion
Understanding how to check engine OBD2 codes empowers you to take control of your vehicle’s health. By using an OBD2 scanner and learning how to interpret the codes, you can identify potential problems early, make informed decisions about repairs, and keep your car running smoothly. Remember, regular maintenance and prompt attention to warning signs can save you time, money, and potential headaches down the road.


