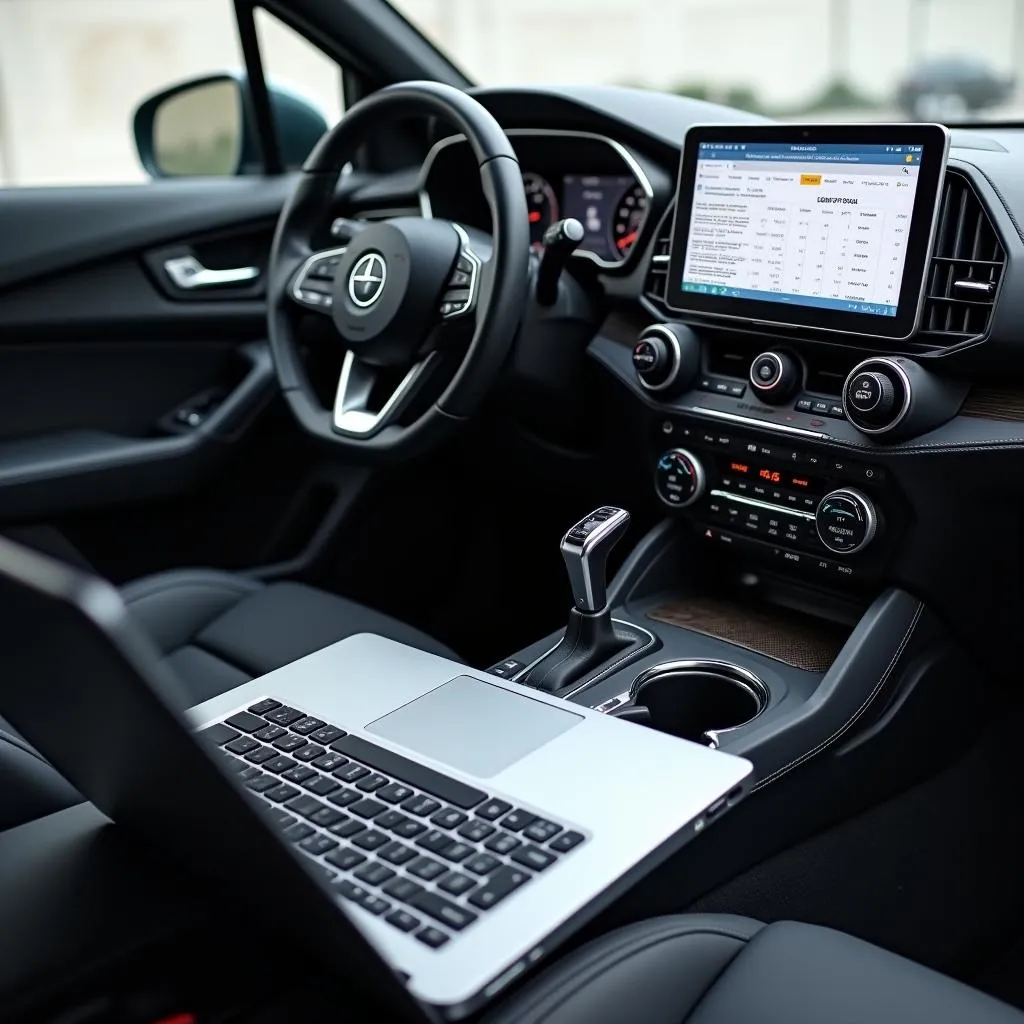
Connecting your PC to a WiFi OBD2 scanner unlocks a new level of car diagnostics, offering flexibility and convenience. This comprehensive guide explains the ins and outs of this wireless connection, empowering you to diagnose car problems like a pro from the comfort of your driver’s seat.
Why Choose a WiFi OBD2 Scanner?
Traditional OBD2 scanners often limit your movement with their short cables. A WiFi OBD2 scanner, however, transmits data wirelessly to your PC, tablet, or smartphone, providing:
- Freedom to Move: Diagnose from anywhere around your vehicle.
- Real-time Data: View live engine parameters, sensor readings, and diagnostic trouble codes (DTCs) on your device.
- Enhanced Diagnostics: Access advanced software on your PC for in-depth analysis and troubleshooting.
- User-Friendly Interface: Many WiFi OBD2 scanners come with intuitive apps or software, making diagnostics easier than ever.
How to Connect Your PC to a WiFi OBD2 Scanner
Connecting your devices is a breeze:
- Purchase a Compatible Scanner: Ensure the WiFi OBD2 scanner is compatible with your vehicle’s make, model, and OBD2 protocols.
- Install Necessary Software: Download and install the required app or software on your PC.
- Locate Your OBD2 Port: Typically found under the dashboard on the driver’s side.
- Connect the Scanner: Plug the WiFi OBD2 scanner into your vehicle’s OBD2 port.
- Turn On Your Ignition: Turn the ignition to the “on” position but don’t start the engine.
- Enable WiFi on your PC: Connect to the WiFi network created by the OBD2 scanner. The network name (SSID) and password are usually provided in the scanner’s manual.
- Launch the Software: Open the installed application on your PC. It should automatically detect and connect to the scanner.
Choosing the Right WiFi OBD2 Scanner
Selecting the right scanner ensures you get the most out of your diagnostics:
- Vehicle Compatibility: Verify the scanner supports your car’s OBD2 protocols (e.g., CAN, ISO 9141-2).
- Software Features: Look for software offering live data, graphing, DTC reading/clearing, and advanced features like emissions readiness checks.
- Operating System Compatibility: Ensure the app or software is compatible with your PC’s operating system (Windows, macOS, Linux).
- User Reviews: Research online reviews to assess the scanner’s performance, reliability, and user-friendliness.
Benefits of Connecting to PC
Connecting your WiFi OBD2 scanner to your PC offers several advantages over standalone scanners or smartphone apps:
- Larger Screen: View data and graphs with greater clarity and detail.
- Increased Processing Power: Analyze complex data sets and run demanding diagnostic software.
- Data Storage: Easily save, store, and share diagnostic reports and logs.
- Software Updates: Benefit from regular software updates with new features, vehicle coverage, and bug fixes.
Troubleshooting Connection Issues
Experiencing connection problems? Consider these tips:
- Check WiFi Connection: Verify your PC is connected to the scanner’s WiFi network and the signal strength is strong.
- Restart Devices: Try restarting your PC and the OBD2 scanner.
- Update Drivers: Ensure your PC’s WiFi drivers are up to date.
- Consult the Manual: Refer to the scanner’s manual for specific troubleshooting steps.
Conclusion
Connecting your PC to a WiFi OBD2 scanner opens up a world of possibilities for car diagnostics. With this comprehensive guide, you can choose the right scanner, connect it effortlessly, and enjoy the benefits of wireless diagnostics. Take control of your car’s health and troubleshoot problems like a pro.


