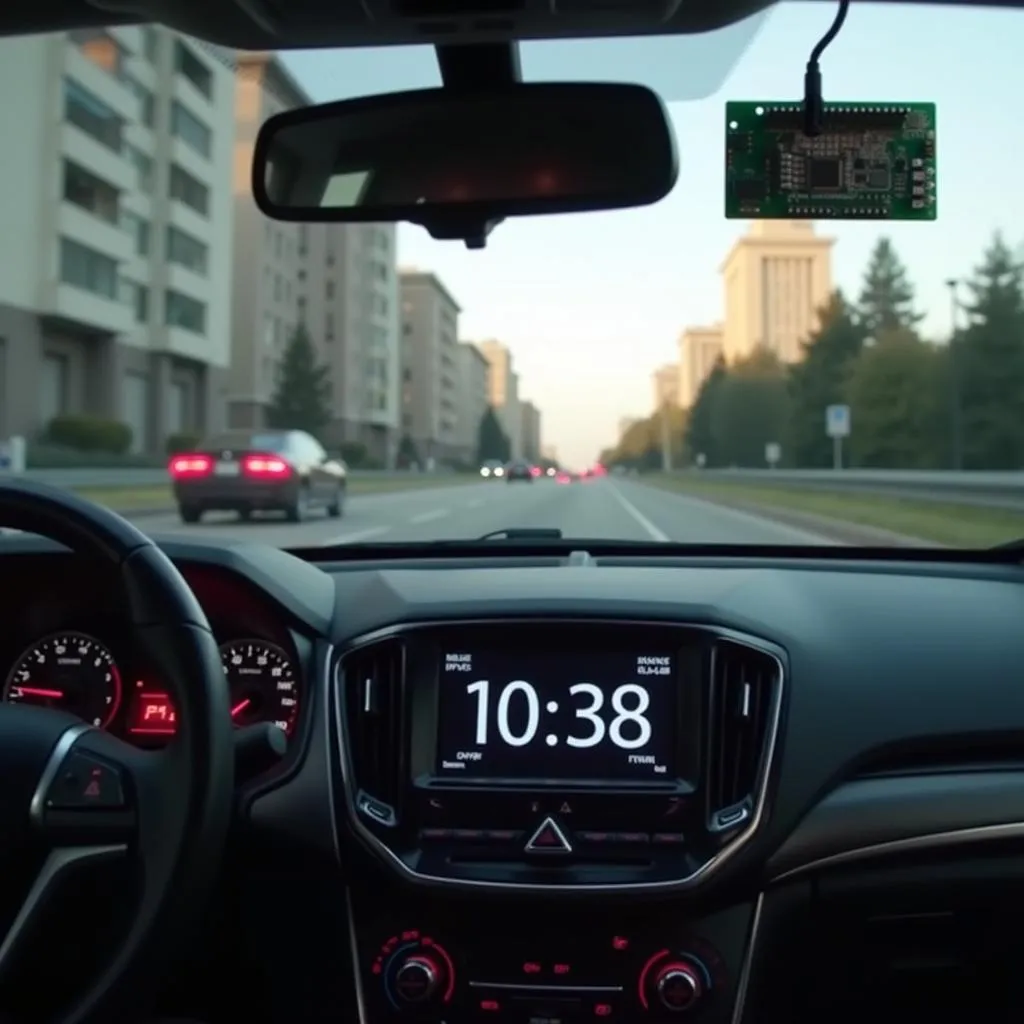
Want to feel like you’re driving in the future without breaking the bank? A DIY car HUD (Heads-Up Display) using an OBD2 scanner and a Raspberry Pi might be just the project for you! This guide will walk you through everything you need to know, from the basic components to the more intricate steps of building and customizing your very own car HUD.
Why Build a DIY OBD2 HUD?
A car HUD projects vital information like speed, RPM, and engine temperature directly onto your windshield, allowing you to keep your eyes on the road. While some modern cars come equipped with built-in HUDs, building your own DIY version allows for greater customization and can be significantly more affordable.
What You’ll Need for Your DIY Car HUD
Before we dive into the build, let’s gather our tools and components. You’ll need:
- Raspberry Pi (ideally a Pi 3 or newer): This will be the brain of your HUD, processing data and displaying it on the screen.
- OBD2 Bluetooth Adapter: This device plugs into your car’s OBD2 port and wirelessly transmits data to the Raspberry Pi.
- Compatible Display: A small LCD screen, or even an old smartphone, will work. Just make sure it’s compatible with your Raspberry Pi.
- Project Box: This houses and protects the Raspberry Pi and other electronics.
- Reflective Film: This goes on your windshield to reflect the HUD’s projection, making it visible.
- Jumper Wires, Resistors, and a Breadboard (optional): These will be used for wiring and prototyping.
- Basic Tools: Soldering iron (optional), screwdrivers, wire strippers, etc.
Setting Up Your Raspberry Pi
- Install Raspberry Pi OS: Download the latest version of Raspberry Pi OS and flash it onto an SD card using a tool like Balena Etcher.
- Enable SSH: For remote access, enable SSH (Secure Shell) on your Pi.
- Connect to Wi-Fi: Connect your Raspberry Pi to your home Wi-Fi network.
Connecting the OBD2 Adapter
- Pair the Adapter: Plug the OBD2 adapter into your car’s OBD2 port and pair it with your Raspberry Pi via Bluetooth.
- Install Python Libraries: You’ll need Python libraries to read and process data from the OBD2 adapter. Use the following command in the Raspberry Pi terminal:
sudo pip install obd
Creating the HUD Software
- Choose Your Programming Language: Python is a popular choice for this project due to its readability and extensive libraries.
- Write the Code: You’ll write code to:
- Connect to the OBD2 adapter.
- Read data from the car’s sensors (speed, RPM, etc.).
- Format the data for display.
- Send the formatted data to the display.
- Test the Code: Thoroughly test your code to ensure it’s reading and displaying data accurately.
Building the HUD Hardware
- Assemble the Components: Securely mount the Raspberry Pi, display, and any additional components inside the project box.
- Connect the Display: Follow the specific instructions for your chosen display to connect it to the Raspberry Pi.
- Wire the Electronics: Connect the OBD2 adapter and any other peripherals to the Raspberry Pi using jumper wires.
Installing the HUD in Your Car
- Position the HUD: Find a suitable location on your dashboard to place the HUD, ensuring it doesn’t obstruct your view.
- Apply Reflective Film: Clean a section of your windshield and carefully apply the reflective film.
- Power Up and Test: Connect the HUD to your car’s power supply and start the engine. If everything is connected properly, you should see the HUD projected onto your windshield.
Customizing Your HUD
One of the best parts of building your own HUD is the ability to customize it! Here are some ideas:
- Change the Display Colors and Fonts: Experiment with different colors and fonts to personalize the look of your HUD.
- Add Additional Data: Explore the data available from your car’s OBD2 port and display parameters like fuel economy, engine temperature, or even fault codes.
- Incorporate Warnings: Set up visual or audible warnings for things like speeding or low fuel.
Conclusion
Building your own DIY car HUD is a challenging but rewarding project that can add a touch of personalization and technological flair to your driving experience. With a bit of patience, some basic electronics knowledge, and the help of this guide, you’ll be cruising with your very own custom HUD in no time!


