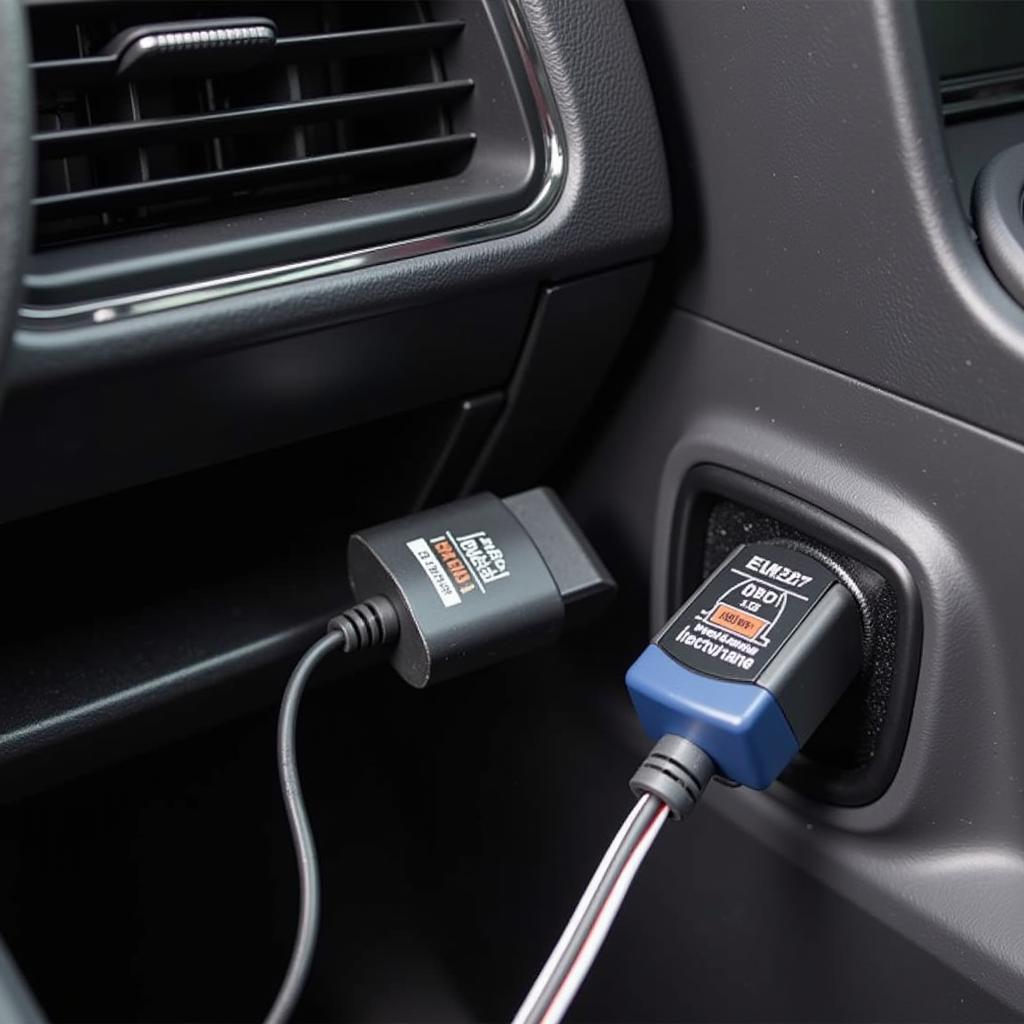
The ELM327 Bluetooth interface has become a ubiquitous tool for vehicle diagnostics, allowing car enthusiasts and professionals alike to tap into their vehicles’ onboard computers. At its heart lies the OBD2 pinout, a standardized arrangement of pins that facilitates communication between the interface and your car’s Electronic Control Unit (ECU). This article delves into the intricacies of the ELM327 Bluetooth interface OBD2 pinout, equipping you with the knowledge to leverage this powerful diagnostic tool effectively.
Demystifying the OBD2 Port and Its Importance
Before we explore the specifics of the ELM327 Bluetooth interface OBD2 pinout, let’s establish a foundation by understanding the OBD2 port itself. Short for On-Board Diagnostics, OBD2 is a standardized system implemented in vehicles manufactured after 1996 (in the US) to monitor and report on various engine and emission control systems. The OBD2 port, typically located under the driver’s side dashboard, serves as the gateway for accessing diagnostic information stored within the ECU.
The OBD2 port utilizes a 16-pin connector, with each pin designated for a specific function. Through these pins, the ELM327 Bluetooth interface establishes a connection with your car’s ECU, enabling you to read and interpret diagnostic trouble codes (DTCs), monitor live sensor data, and even perform certain control functions.
Decoding the ELM327 Bluetooth Interface OBD2 Pinout
The ELM327 Bluetooth interface relies on the OBD2 pinout to establish communication with your vehicle’s ECU. While not all pins are actively used by every ELM327 device or software application, understanding the function of each pin provides valuable insight into the capabilities and limitations of this diagnostic interface.
Here’s a breakdown of the standard OBD2 pinout and their corresponding functions:
- Pin 1: Manufacturer Discretionary – This pin is not standardized and can be used by manufacturers for specific purposes.
- Pin 2: J1850 Bus+ (SAE J1850 PWM & VPW) – Used for communication on vehicles using the J1850 protocol (primarily Ford vehicles).
- Pin 3: Manufacturer Discretionary – Similar to Pin 1, this pin is not standardized.
- Pin 4: Chassis Ground – Provides a ground connection for the chassis.
- Pin 5: Signal Ground – Serves as the ground reference for various signals.
- Pin 6: CAN High (CAN C) – Used for communication on vehicles employing the Controller Area Network (CAN) protocol.
- Pin 7: ISO 9141-2 K Line – Primarily found in European vehicles, this pin is used for communication using the ISO 9141-2 protocol.
- Pin 9: Manufacturer Discretionary – Not standardized and can vary depending on the vehicle manufacturer.
- Pin 10: J1850 Bus- (SAE J1850 PWM & VPW) – Complements Pin 2 for bidirectional communication on vehicles using the J1850 protocol (primarily Ford vehicles).
- Pin 11: Manufacturer Discretionary – Not standardized.
- Pin 12: Manufacturer Discretionary – Not standardized.
- Pin 13: Manufacturer Discretionary – Not standardized.
- Pin 14: CAN Low (CAN L) – Works in conjunction with Pin 6 for bidirectional communication on vehicles using the CAN protocol.
- Pin 15: ISO 9141-2 L Line – Used for communication on vehicles employing the ISO 9141-2 protocol (primarily European vehicles).
- Pin 16: Battery Voltage – Provides a direct connection to the battery’s positive terminal.
Expert Insight: “Understanding the OBD2 pinout empowers users to troubleshoot connectivity issues effectively,” says automotive diagnostics expert John Miller. “By verifying voltage on specific pins, users can isolate problems with the interface, cabling, or even the vehicle’s OBD2 port itself.”
Connecting Your ELM327 Bluetooth Interface: A Step-by-Step Guide
Connecting your ELM327 Bluetooth interface to your vehicle’s OBD2 port is a straightforward process:
- Locate the OBD2 Port: Typically situated under the dashboard on the driver’s side, the OBD2 port might be concealed by a cover.
- Insert the Interface: Gently insert the ELM327 Bluetooth interface into the OBD2 port until it securely clicks into place.
- Turn on the Ignition: Turn the ignition key to the “On” position but avoid starting the engine. This powers up the OBD2 port and the interface.
- Pair with Your Device: Enable Bluetooth on your smartphone, tablet, or laptop and search for available devices. Select the ELM327 interface from the list.
- Enter the PIN (if required): Some ELM327 interfaces may require a pairing PIN. This information is typically provided in the device’s user manual. The default PIN is often “1234” or “0000.”
[obd2 gauge set]
Note: Compatibility can vary between ELM327 interfaces and vehicle models. If you encounter issues, consult the interface’s documentation or contact the manufacturer for assistance.
Conclusion
The ELM327 Bluetooth interface, coupled with a firm grasp of the OBD2 pinout, opens up a world of possibilities for vehicle diagnostics. Whether you’re an automotive enthusiast eager to monitor your car’s performance or a DIY mechanic troubleshooting a pesky check engine light, the ELM327 Bluetooth interface provides a user-friendly and cost-effective solution. By understanding the fundamentals of the OBD2 pinout and following the connection steps outlined in this article, you can confidently embark on your vehicle diagnostic journey, empowered to make informed decisions about your car’s health and maintenance.
FAQs
Q: Can I use any OBD2 app with my ELM327 Bluetooth interface?
A: While many OBD2 apps are available, compatibility can vary. It’s crucial to choose an app that explicitly supports the ELM327 Bluetooth interface and your vehicle’s make and model.
Q: What if my ELM327 interface isn’t connecting to my phone?
A: Double-check that Bluetooth is enabled on both devices and that the interface is within range. If the issue persists, try re-pairing the devices or consult the interface’s troubleshooting guide.
Q: Can I leave the ELM327 interface plugged in all the time?
A: While leaving it plugged in for short periods shouldn’t pose a problem, it’s generally recommended to disconnect the interface when not in use to prevent potential battery drain.
Need further assistance or have more questions? Feel free to reach out to our dedicated support team via WhatsApp at +1(641)206-8880 or email us at [email protected]. We are available 24/7 to assist you.


