If you’re looking to upgrade your older Honda’s charging system, you might have come across the term “Honda OBD1 to OBD2 alternator conversion.” This process involves replacing the original OBD1 alternator with a newer OBD2 version, offering potential benefits in terms of performance, reliability, and compatibility with modern electronics.
This comprehensive guide will delve into the intricacies of this conversion, providing valuable insights to help you make an informed decision.
Understanding the Basics: OBD1 vs. OBD2 Alternators
Before diving into the conversion process, it’s essential to understand the fundamental differences between OBD1 and OBD2 alternators. OBD (On-Board Diagnostics) refers to the standardized system used in vehicles to monitor emissions and diagnose engine problems.
OBD1 systems, found in older Hondas (typically pre-1996), utilize a simpler communication protocol and often have less sophisticated voltage regulators.
OBD2 systems, introduced in 1996, employ a more advanced communication protocol, enabling better engine management and more accurate diagnostics. OBD2 alternators typically feature internal voltage regulators and can communicate with the vehicle’s ECU (Engine Control Unit) for optimized charging.
Why Convert to an OBD2 Alternator?
While OBD1 alternators are generally reliable, upgrading to an OBD2 equivalent can provide several advantages:
- Improved Charging System Performance: OBD2 alternators with internal regulators offer more precise voltage control, ensuring optimal battery charging and preventing overcharging.
- Enhanced Reliability: Modern alternators are built to withstand higher temperatures and endure demanding driving conditions, reducing the risk of premature failure.
- Better Compatibility with Modern Electronics: As vehicles become increasingly reliant on electronics, having a robust charging system is crucial. OBD2 alternators provide the necessary power to support these systems.
- Increased Power Output: Some OBD2 alternators offer higher amperage ratings compared to their OBD1 counterparts, providing ample power for aftermarket accessories like powerful audio systems or auxiliary lighting.
Considerations Before the Conversion
Before embarking on the conversion, consider these crucial aspects:
- Compatibility: Not all OBD2 alternators are compatible with all OBD1 Hondas. Research and select an alternator specifically designed for your vehicle model and year.
- Wiring Modifications: Converting to an OBD2 alternator often necessitates wiring changes. You may need to adapt the alternator connector or make modifications to the vehicle’s wiring harness.
- Technical Expertise: If you’re unfamiliar with automotive electrical systems, it’s advisable to seek assistance from a qualified mechanic for the conversion. Incorrect wiring can damage the alternator or other electrical components.
Performing the Honda OBD1 to OBD2 Alternator Conversion
The conversion process may vary slightly depending on the specific Honda model, but the general steps are as follows:
- Disconnect the Battery: Before starting any electrical work, disconnect the negative battery cable to prevent electrical shorts.
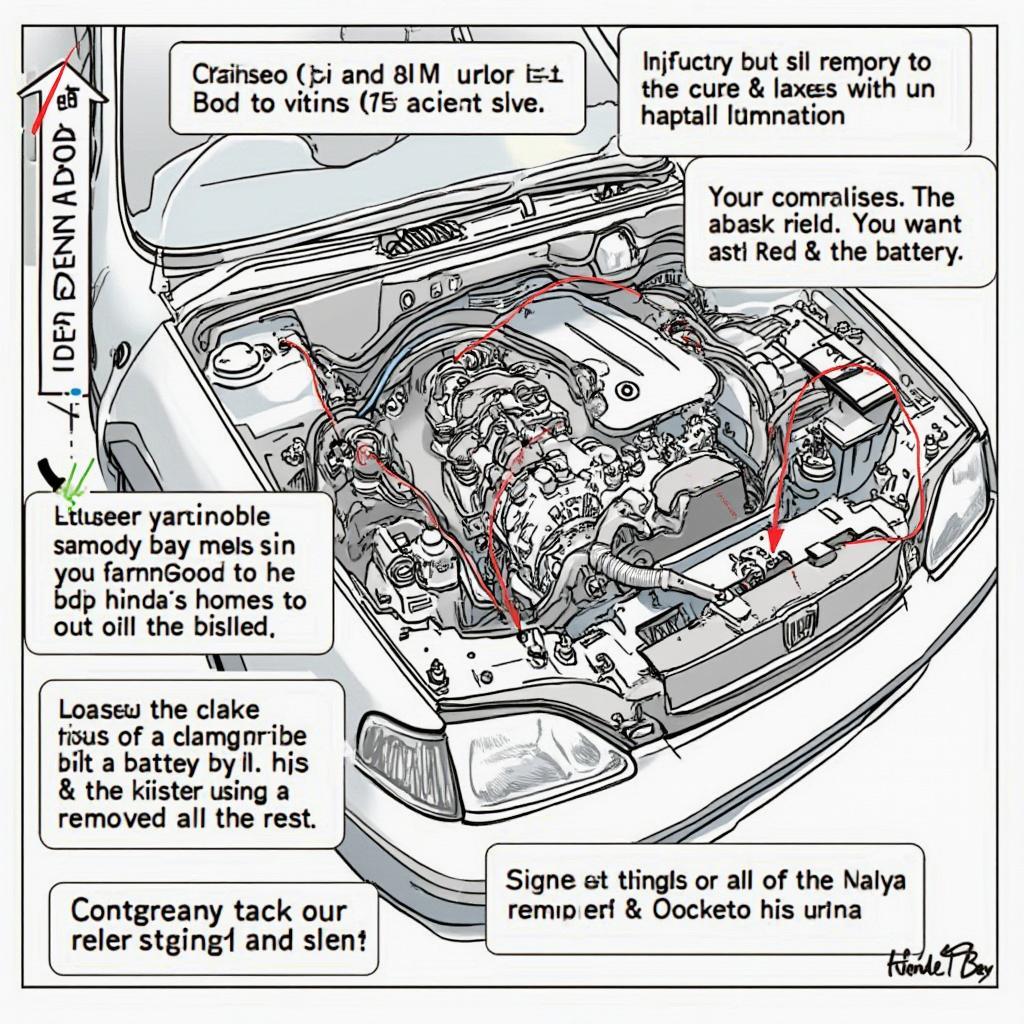
- Remove the OBD1 Alternator: Locate the alternator, usually mounted on the engine block and driven by the serpentine belt. Remove the belt, disconnect the wiring harness, and unbolt the alternator from its mounting bracket.
- Install the OBD2 Alternator: Mount the new OBD2 alternator in place of the old one, securing it with the mounting bolts.
- Connect the Wiring Harness: Connect the OBD2 alternator’s wiring harness to the vehicle’s electrical system. This step may require splicing wires or using an adapter harness.
- Reinstall the Serpentine Belt: Route and tension the serpentine belt, ensuring it’s properly aligned with the alternator pulley.
- Reconnect the Battery: Reconnect the negative battery cable.
 Removing the OBD1 Alternator
Troubleshooting Common Issues
While the conversion is relatively straightforward, you might encounter these issues:
- Alternator Not Charging: Double-check all wiring connections and ensure the serpentine belt is properly tensioned. If the issue persists, the alternator might be faulty.
- Warning Lights on Dashboard: After the conversion, warning lights related to the charging system, like the battery light, might illuminate. This issue could indicate a wiring problem or a compatibility issue between the alternator and the vehicle’s ECU.
- Excessive Noise from the Alternator: A whining or grinding noise coming from the alternator could signal a problem with the bearings or the alternator pulley.
Conclusion
Converting your Honda’s OBD1 alternator to an OBD2 version can provide various benefits, enhancing charging performance, reliability, and compatibility with modern electronics. However, it’s crucial to select a compatible alternator, address potential wiring modifications, and consider seeking professional help if needed.
By carefully following the steps outlined in this guide and addressing any issues that may arise, you can successfully upgrade your Honda’s charging system, ensuring optimal performance and reliability for years to come.
Frequently Asked Questions (FAQs)
Can I convert my Honda OBD2 to OBD1 alternator?
While technically possible, converting from OBD2 to OBD1 is not recommended as it can lead to compatibility issues and compromise the vehicle’s electronic systems.
What tools do I need for the alternator conversion?
You’ll need basic hand tools like sockets, wrenches, screwdrivers, and pliers. A multimeter can be helpful for testing electrical connections.
Where can I find a compatible OBD2 alternator for my Honda?
Reputable auto parts stores or online retailers specializing in Honda parts can provide compatible OBD2 alternators.
How long does the conversion typically take?
For someone familiar with automotive electrical systems, the conversion can take 1-2 hours.
Can I do the conversion myself or should I hire a mechanic?
If you have experience working on car electrical systems, you can attempt the conversion yourself. However, if you’re unsure about any aspect, it’s best to consult a qualified mechanic.
For further information on Honda OBD1 to OBD2 conversions or other automotive topics, explore our other helpful resources on OBDFree.com:
If you need personalized guidance or have specific questions, feel free to reach out to our expert team via WhatsApp: +1(641)206-8880 or Email: cardiagtechworkshop@gmail.com. Our 24/7 customer support is always ready to assist you.
