Connecting your OBD2 cable to a virtual machine like VirtualBox can seem tricky at first, but it’s entirely possible with the right setup. This guide will walk you through the steps to successfully access your vehicle’s data from within VirtualBox using your OBD2 cable.
Understanding the Basics of OBD2 and Virtual Machines
Before we dive into the setup, let’s quickly recap what we’re dealing with:
- OBD2 (On-Board Diagnostics II): This standardized system allows external devices to communicate with your vehicle’s computer and access diagnostic information.
- Virtual Machine (VM): Software that emulates a physical computer system, allowing you to run different operating systems on your existing computer. VirtualBox is a popular example of free and open-source VM software.
The challenge lies in enabling the virtual machine to recognize and utilize the physical OBD2 cable connected to your host computer.
Steps to Connect Your OBD2 Cable to VirtualBox
Here’s a step-by-step guide on setting up your OBD2 connection within VirtualBox:
-
Connect Your OBD2 Cable: Plug your OBD2 cable into your vehicle’s OBD2 port (usually located under the steering wheel) and connect the other end to a USB port on your computer.
-
Launch VirtualBox: Open VirtualBox and start the virtual machine you want to use for OBD2 diagnostics.
-
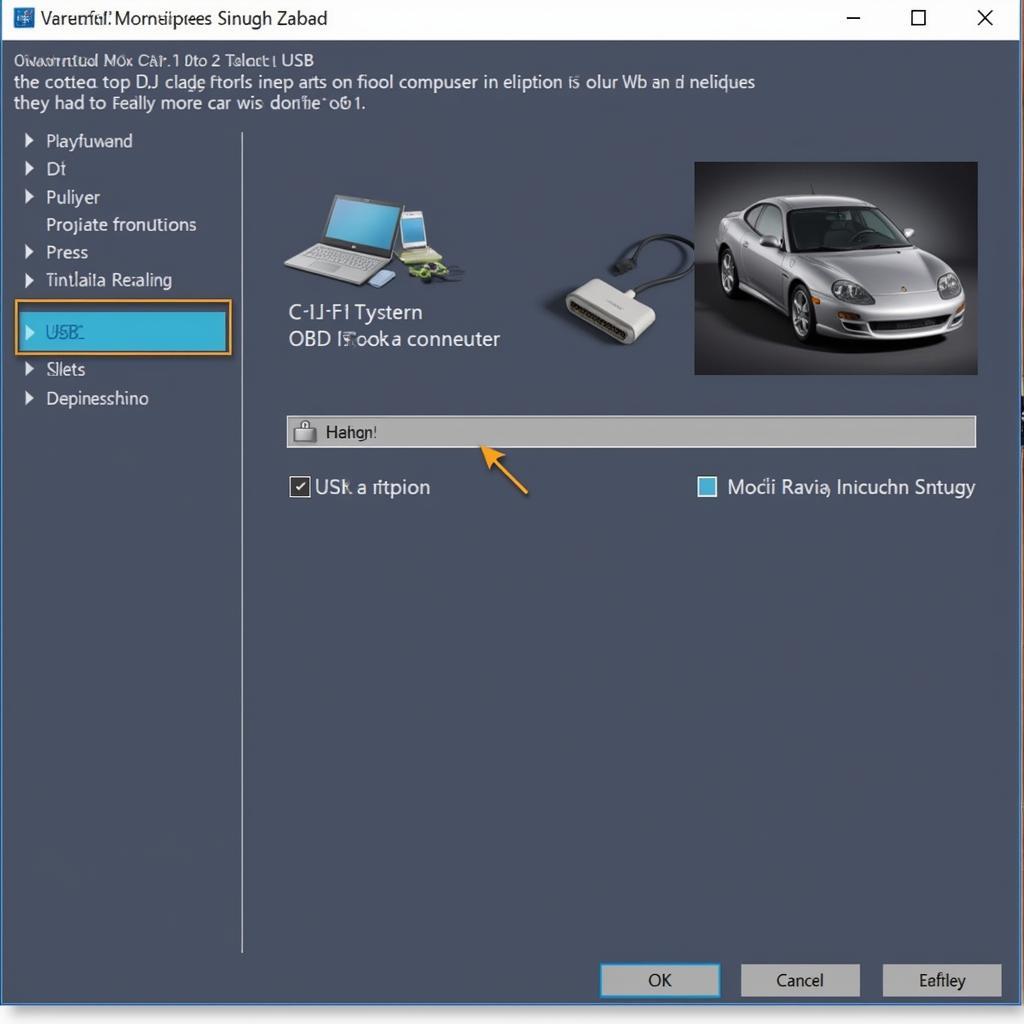
Access USB Settings: While the virtual machine is running, navigate to the “Devices” menu in the VirtualBox window and select “USB Devices”.
-
Identify Your OBD2 Cable: You should see a list of connected USB devices. Look for your OBD2 cable. It might be listed by its manufacturer name or model number.
-
Connect to Virtual Machine: Click on the OBD2 cable entry in the list to connect it to the virtual machine.
-
Install Drivers (If Necessary): Your virtual machine’s operating system might require specific drivers for the OBD2 cable. Install these drivers just like you would on a physical computer.
-
Verify Connection: Once the drivers are installed, open your OBD2 software within the virtual machine. The software should now detect and connect to your vehicle.
Troubleshooting Tips
If you encounter problems connecting, consider these troubleshooting steps:
- USB Compatibility Mode: VirtualBox offers different USB compatibility modes. Try switching to a different mode (e.g., USB 2.0 or 3.0) if the connection doesn’t work initially.
- Driver Issues: Ensure you’ve installed the correct drivers within your virtual machine. Outdated or incompatible drivers are a common cause of connectivity issues.
- Virtual Machine Resources: Allocate sufficient resources (RAM, CPU) to the virtual machine, especially if you’re running demanding OBD2 software.
Conclusion
While it involves a few steps, connecting your OBD2 cable to VirtualBox is a straightforward process. By following this guide, you can unlock the power of advanced diagnostics and data analysis for your vehicle, all within a controlled virtual environment.
“Virtual machines are incredibly useful for automotive diagnostics,” says Michael Thompson, Senior Automotive Engineer at OBDFree. “They provide a safe and isolated environment to test different software and configurations without risking your main operating system.”
Remember to always refer to your OBD2 cable and VirtualBox documentation for specific instructions and compatibility information. Happy diagnosing!


