
Your cart is currently empty!
How to Connect OBD2 WiFi to Torque
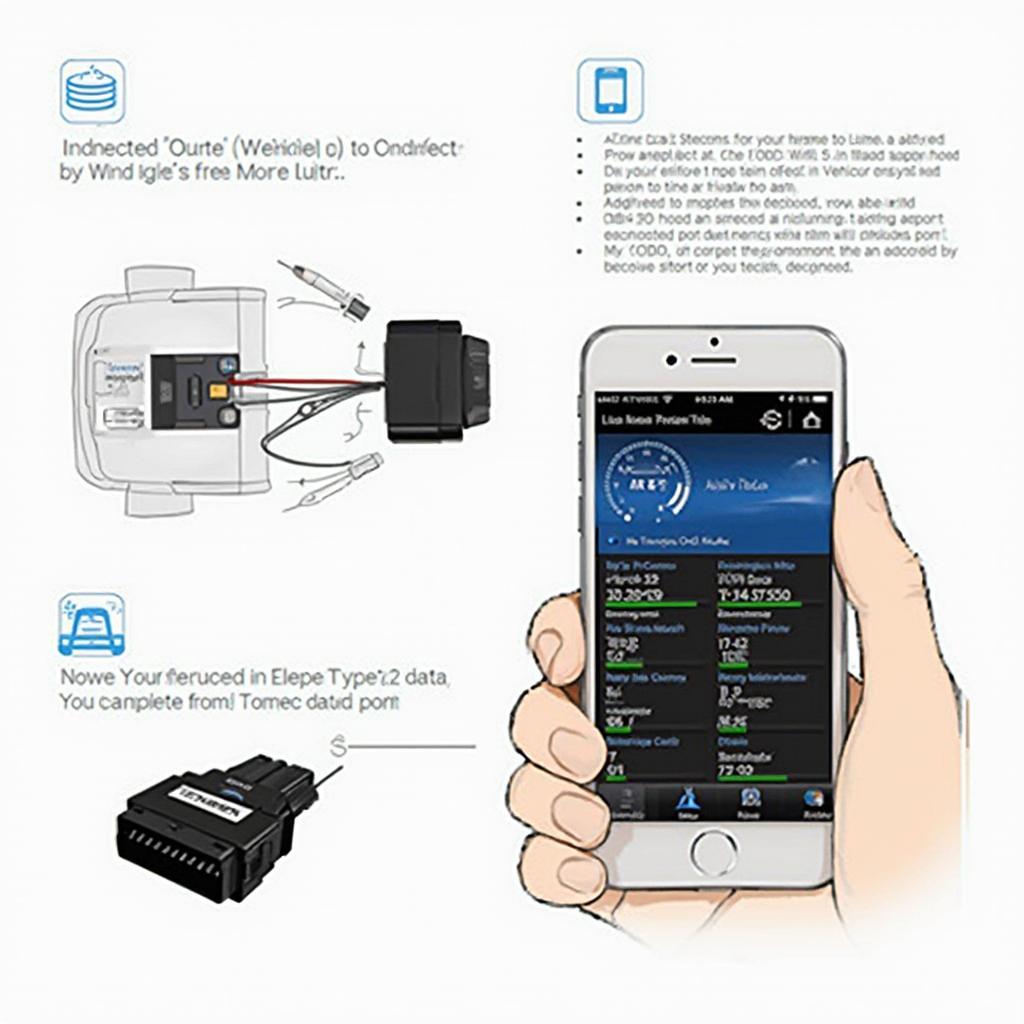
Connecting your OBD2 WiFi adapter to the Torque app opens up a world of possibilities for monitoring and understanding your vehicle’s performance. This guide will provide a step-by-step process to ensure a smooth and successful connection, allowing you to harness the full power of your OBD2 scanner and the Torque app. We’ll cover everything from initial setup to troubleshooting common connection issues.
Getting your OBD2 WiFi adapter talking to Torque is easier than you think. First, plug the adapter into your vehicle’s OBD2 port, usually located under the steering wheel. Next, turn on your car’s ignition to power the adapter. Then, navigate to your smartphone’s WiFi settings and connect to the adapter’s network. The network name is usually printed on the adapter itself. Finally, open the Torque app and configure it to communicate with your newly connected OBD2 adapter. It’s that simple! You’ll be reading diagnostic data in no time.
You can find more information about compatible OBD2 scanners on our obd2 android page.
Setting Up Your OBD2 WiFi Adapter with Torque
Before diving into the connection process, ensure you have a compatible OBD2 WiFi adapter and the Torque app installed on your Android device. Compatibility is key for a seamless experience.
Step-by-Step Connection Guide
- Locate your OBD2 port: This is usually found under the dashboard, near the steering wheel.
- Plug in the OBD2 WiFi adapter: Ensure it’s securely inserted.
- Turn on your vehicle’s ignition: This powers the adapter. Don’t start the engine yet.
- Connect to the adapter’s WiFi network: Go to your phone’s WiFi settings and select the network corresponding to your adapter. The password, if required, should be in the adapter’s documentation.
- Open the Torque app: After connecting to the adapter’s WiFi, launch the Torque app.
- Configure Torque: In the app settings, select “OBD2 Adapter Settings” and then “Connection Type”. Choose “WiFi”.
- Select your adapter: Choose the correct adapter from the list of available devices.
- Test the connection: Torque should now connect to your OBD2 adapter. Check for real-time data display to confirm the connection.
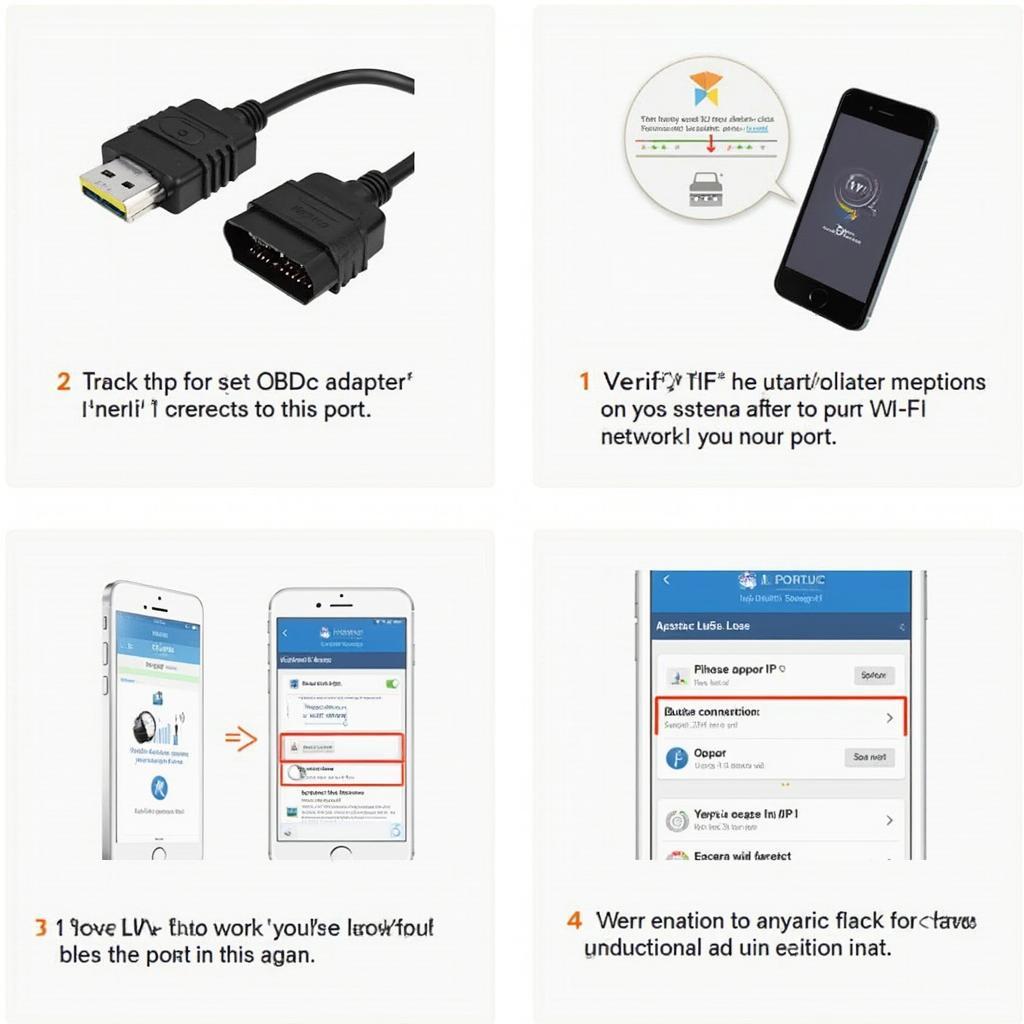
OBD2 WiFi Connection Process
Troubleshooting Connection Problems
Sometimes, connecting your OBD2 adapter to Torque might not go as smoothly. Let’s address some common issues and their solutions.
- No WiFi Network Found: Double-check the adapter’s network name and ensure your adapter is powered on. Try restarting your phone’s WiFi and the adapter itself.
- Torque Can’t Connect to Adapter: Verify the correct adapter is selected in Torque’s settings. Also, ensure your phone is connected to the adapter’s WiFi network and not another network.
- Data Not Displaying Correctly: Check if your vehicle is fully compatible with the adapter and Torque. Some older vehicles may not support all data parameters.
 Troubleshooting OBD2 WiFi Torque Connection Issues
Understanding the Benefits of OBD2 WiFi and Torque
The combination of an OBD2 WiFi adapter and the Torque app provides valuable insights into your vehicle’s performance.
Accessing Real-Time Data
Monitor vital parameters like engine speed, coolant temperature, and fuel consumption in real-time. This allows for proactive maintenance and early problem detection.
Diagnosing Trouble Codes
Read and clear diagnostic trouble codes (DTCs), commonly known as “check engine light” codes. This empowers you to identify and address potential issues before they escalate.
Enhancing Your Driving Experience
Customize dashboards with gauges and displays relevant to your driving style, providing a personalized and informative driving experience.
Learn more about the versatile ELM327 adapter on our obd2 scanner elm327 page.
“A reliable OBD2 WiFi adapter coupled with the Torque app puts you in the driver’s seat when it comes to understanding your vehicle’s health,” says automotive diagnostics expert, Michael Davies. “It’s like having a mechanic in your pocket.”
Why Choose WiFi Over Bluetooth?
While both WiFi and Bluetooth OBD2 adapters offer wireless connectivity, WiFi generally provides a more stable and faster data transfer rate. This is crucial for real-time data monitoring and ensures a smooth experience with the Torque app.
“For professional diagnostics, WiFi is often preferred due to its superior range and reliability,” adds automotive electronics specialist, Dr. Sarah Chen. “This ensures accurate and uninterrupted data flow, even in challenging environments.”
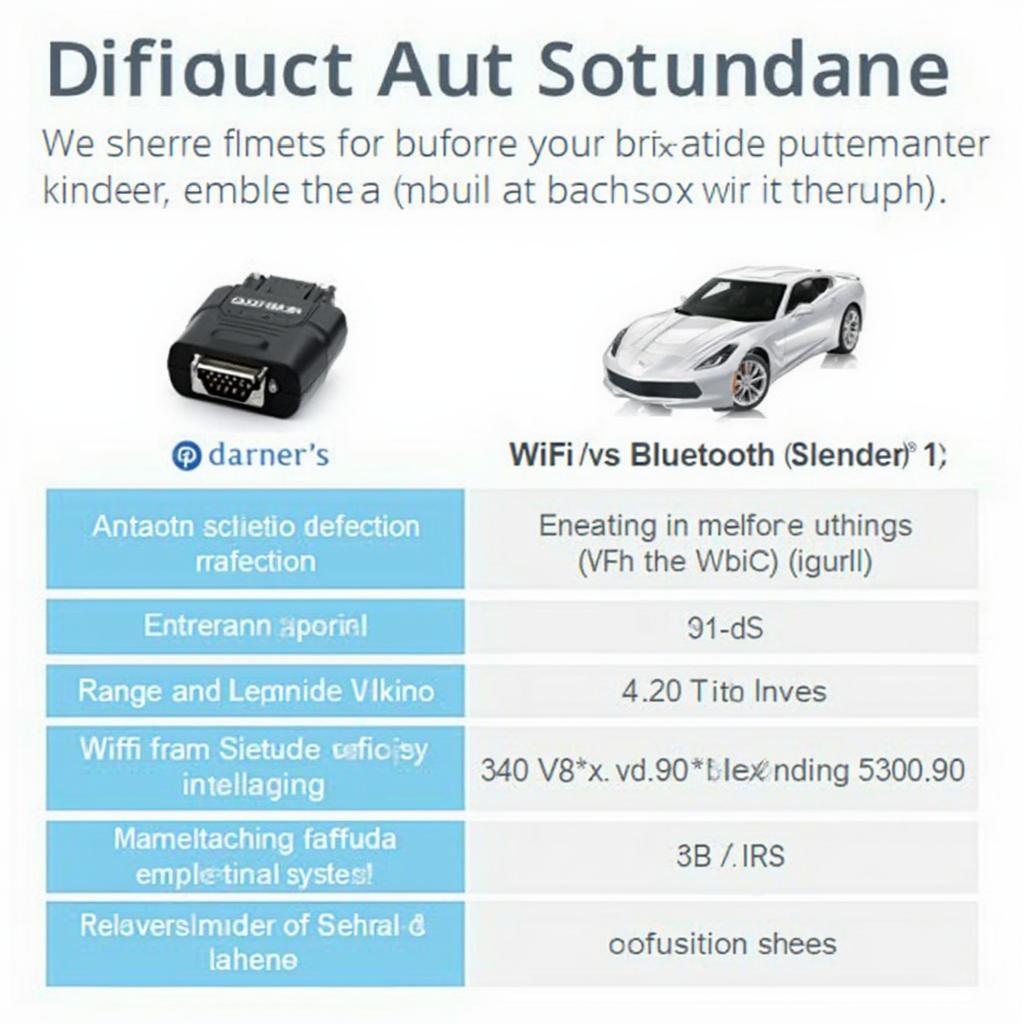 WiFi vs Bluetooth OBD2 Adapters
Conclusion
Connecting your OBD2 WiFi to Torque is a straightforward process that unlocks a wealth of information about your vehicle. By following this guide, you can easily set up and utilize the power of these tools for improved vehicle maintenance and a more informed driving experience. Now you know How To Connect Obd2 Wifi To Torque! For more information on specific OBD2 scanners, check out our vgate icar 3 wifi obd2 scanner page.
FAQ
- What if my OBD2 adapter isn’t recognized by Torque?
- Can I use Torque with any OBD2 WiFi adapter?
- How do I clear trouble codes with Torque?
- What does it mean if my connection keeps dropping?
- Is there a difference between OBD2 and OBD2 WiFi?
- How can I customize the display in Torque?
- What are the system requirements for using Torque?
Common OBD2 Wifi to Torque Connection Issues:
- Adapter Not Powered: Ensure your car’s ignition is turned on to provide power to the OBD2 port.
- Incorrect WiFi Password: Double-check the password printed on your adapter or its documentation.
- Torque Configuration: Make sure the “Connection Type” within Torque’s settings is set to “WiFi” and the correct adapter is selected.
- Interference: Other devices using the same WiFi frequency can cause interference. Try minimizing the number of active WiFi devices nearby.
Further Resources on OBDFree:
- Explore our in-depth guide on elm327 wifi obd2 адаптер и discovery 3 for more specific information.
- Learn more about connecting your iPhone to your BMW with an OBD2 Bluetooth adapter at our obd2 bluetooth iphone bmw page.
Need help? Contact us via WhatsApp: +1(641)206-8880, or Email: [email protected]. Our customer support team is available 24/7 to assist you.
Leave a Reply