Removing pins from your Honda’s OBD2 ECU connector might seem daunting, but with the right approach and a bit of patience, it’s a manageable task. Whether you’re installing an aftermarket performance chip, troubleshooting wiring issues, or simply need to access specific pins for diagnostics, this guide will walk you through the process step-by-step.
Before we dive in, it’s important to understand that the OBD2 ECU connector, often referred to as the Data Link Connector (DLC), is a critical component of your Honda’s electronic system. It serves as the communication gateway for retrieving diagnostic trouble codes (DTCs), monitoring engine performance data, and even programming certain modules. Tampering with the connector without proper knowledge can potentially damage your vehicle’s electronics, leading to costly repairs.
Understanding Your Honda’s OBD2 ECU Connector
The OBD2 ECU connector on your Honda is typically a 16-pin connector located under the driver’s side dash, often near the fuse box. However, the exact location may vary depending on the model and year of your vehicle. Consult your owner’s manual or a reliable online resource if you’re unsure about its location.
Each pin within the connector has a specific function, and removing the wrong pin can disrupt communication with critical systems. Therefore, it’s crucial to identify the correct pin before attempting removal.
Essential Tools for Removing OBD2 ECU Pins
Having the right tools on hand will make the process of removing OBD2 ECU pins from your Honda much smoother. Here’s what you’ll need:
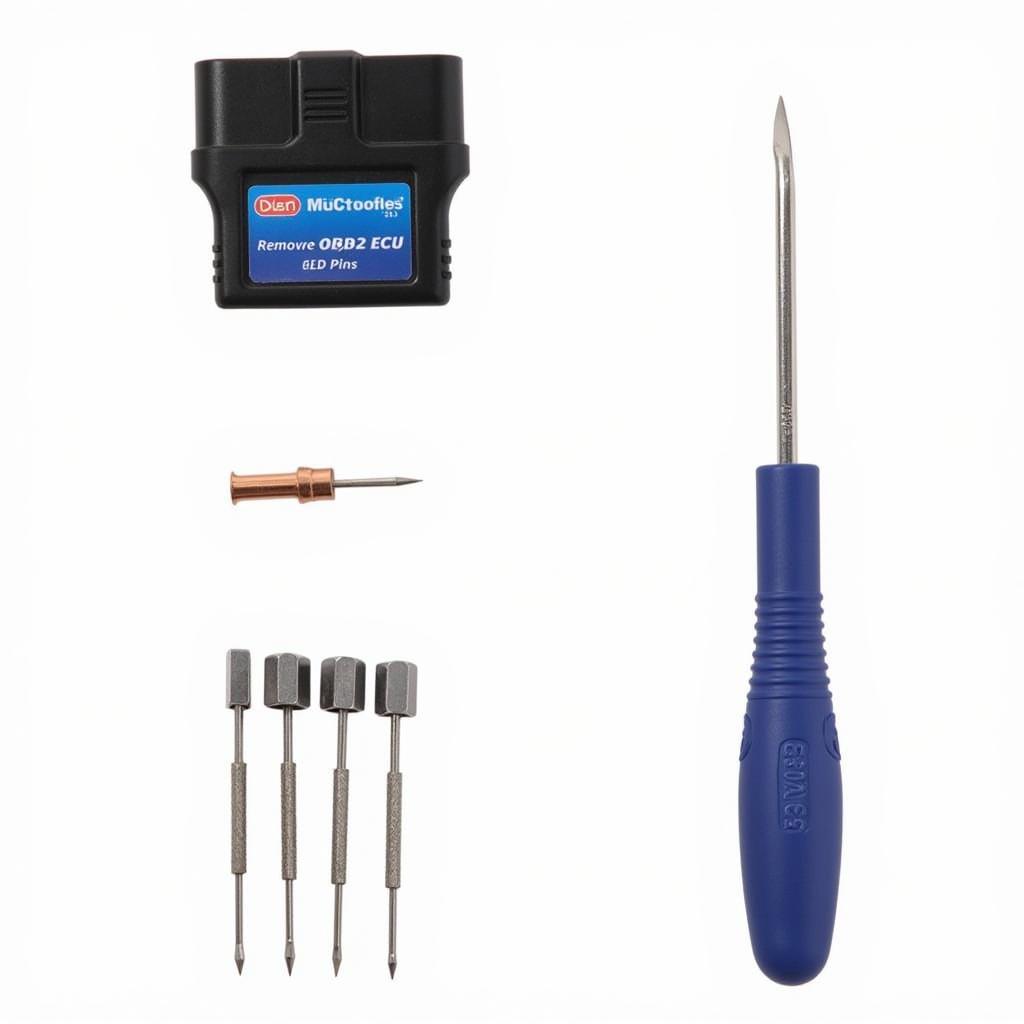
- Small flat-head screwdriver: This will be used to gently pry open the retaining tabs that hold the pins in place.
- Pick tool or small Allen key set: These tools are helpful for releasing the locking mechanism on certain types of pins.
- Needle-nose pliers: For a secure grip when extracting the pins.
- Small flashlight: To illuminate the connector’s interior, aiding in pin identification and removal.
 Tools for OBD2 ECU Pin Removal
Step-by-Step Guide to Removing OBD2 ECU Pins on a Honda
- Disconnect the negative battery terminal: This is a crucial safety precaution to prevent any electrical short circuits while you’re working on the ECU connector.
- Locate the OBD2 ECU connector: Use the information mentioned earlier to find the connector.
- Identify the pin you need to remove: Refer to a reliable wiring diagram specific to your Honda model and year. Make sure you have the correct pin identified before proceeding.
- Gently insert the flat-head screwdriver: Carefully insert the tip of the flat-head screwdriver between the pin and the retaining tab.
- Release the retaining tab: Gently pry open the retaining tab. You should feel a slight release when the tab disengages.
- Extract the pin: While holding the retaining tab open, use needle-nose pliers to carefully pull the pin straight out from the back of the connector.
Important Note: Avoid using excessive force when removing the pin, as this could damage the connector or the pin itself.
Common Challenges and Troubleshooting Tips
- Difficulty locating the retaining tab: Use the flashlight to get a clearer view inside the connector. Some connectors may have the retaining tabs positioned differently.
- Pin won’t release: Double-check that you’re prying the correct tab and that it’s fully disengaged. If the pin still doesn’t release, try using a pick tool or a small Allen key to depress any additional locking mechanisms.
- Pin is bent: If a pin accidentally bends during removal, carefully try to straighten it using needle-nose pliers. If it’s severely damaged, you may need to replace the pin or the entire connector.
Consulting a Professional
While removing OBD2 ECU pins is achievable for DIY enthusiasts, there are situations where seeking professional help is recommended. If you’re uncomfortable working with automotive electronics, unsure about pin identification, or encounter persistent difficulties, it’s best to consult a qualified mechanic or an automotive electrician.
Remember, working with your vehicle’s electronics requires precision and caution. Always prioritize safety and refer to reliable resources before attempting any modifications.
