Removing your OBD2 scanner is a simple process, but doing it correctly is important to avoid damaging your vehicle’s diagnostic port or the scanner itself. This guide will walk you through the steps to safely and effectively remove your OBD2 scanner.
Understanding how to properly disconnect your OBD2 scanner is crucial for maintaining the integrity of both your vehicle’s diagnostic system and the scanner. Incorrect removal can lead to bent pins, damaged ports, or even faulty readings in the future. Let’s dive into the details.
Different Types of OBD2 Scanners and Their Removal
While the general principle of removal remains the same, there are some minor variations depending on the type of OBD2 scanner.
Removing Standard OBD2 Scanners
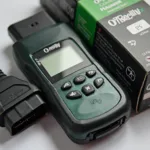
Most standard OBD2 scanners simply plug into the OBD2 port. To remove them, grasp the body of the scanner firmly and pull it straight out. Avoid twisting or rocking the scanner as this can damage the pins.
Removing Bluetooth/Wireless OBD2 Scanners
Bluetooth and wireless scanners also connect to the OBD2 port, but they might have a slightly different form factor. The removal process remains the same: grip the scanner firmly and pull it straight out. Remember to disconnect any paired devices before removal. 2002 mercury cougar obd2 port location
Step-by-Step Guide: How to Remove OBD2 Scanner
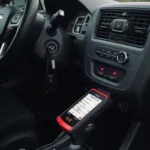
- Locate the OBD2 Port: Typically found under the dashboard on the driver’s side.
- Turn Off the Ignition: Ensure your vehicle is completely off before attempting to remove the scanner.
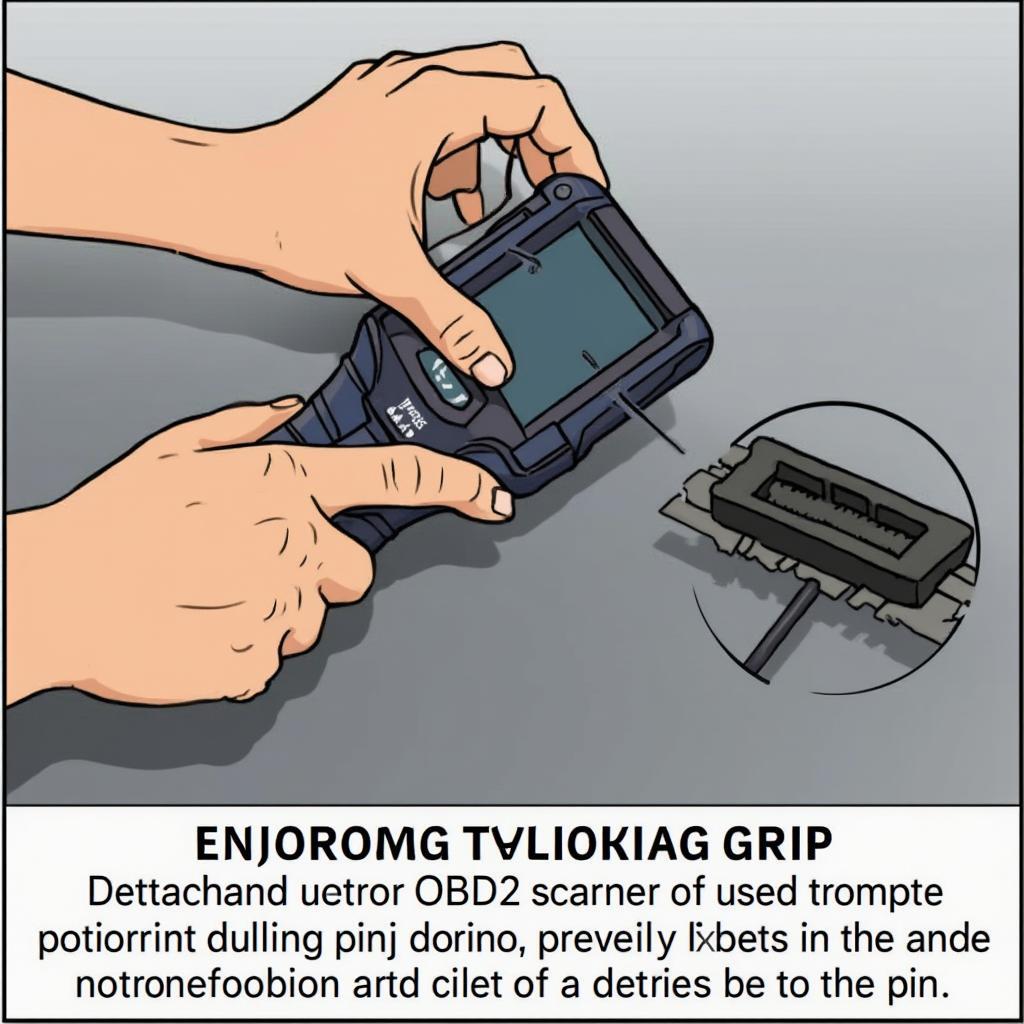
- Grip the Scanner: Hold the body of the OBD2 scanner firmly.
- Pull Straight Out: Apply gentle but firm pressure and pull the scanner straight out of the port. Do not twist or rock.
- Inspect the Port and Scanner: Check for any bent pins or damage.
- Store Safely: Store your OBD2 scanner in a safe place to prevent damage.
Common Mistakes to Avoid
- Twisting or Rocking: This can bend or break the delicate pins in the OBD2 port.
- Pulling on the Cable: Always pull on the body of the scanner, never the cable.
- Removing with Ignition On: This can potentially damage the scanner or the vehicle’s computer system. suzuki samurai obd2 port location
Why Proper Removal is Important
Properly removing your OBD2 scanner ensures the longevity of both your scanner and your vehicle’s diagnostic port. Damaged pins can lead to faulty readings or even prevent the scanner from connecting in the future.
“Taking a few extra seconds to remove your OBD2 scanner correctly can save you a lot of headaches down the road,” advises John Smith, Senior Automotive Diagnostic Technician.
Troubleshooting Removal Issues
Sometimes, the OBD2 scanner might feel stuck. In such cases, do not force it. Try gently wiggling the scanner while pulling straight out. If it still resists, consult a professional mechanic. actron obd2 link error obd2 plug fluse 2001 cavalier
“A little patience goes a long way when dealing with stuck OBD2 scanners. Forcing it can lead to costly repairs,” warns Maria Garcia, Certified Automotive Technician. 1994 ford ranger obd2 location
In conclusion, removing an OBD2 scanner is a straightforward process when done correctly. Following the steps outlined in this guide will ensure a safe and damage-free removal, preserving the functionality of both your scanner and your vehicle.
FAQ
- What if I break a pin in the OBD2 port?
- Can I leave the OBD2 scanner plugged in all the time?
- Why is my OBD2 scanner hard to remove?
- What are the different types of OBD2 scanners?
- How do I know if my OBD2 port is damaged?
- Where can I find a replacement OBD2 port?
- How often should I use my OBD2 scanner?
For any assistance, contact us via WhatsApp: +1(641)206-8880, Email: [email protected] or visit us at 789 Elm Street, San Francisco, CA 94102, USA. Our customer support team is available 24/7.