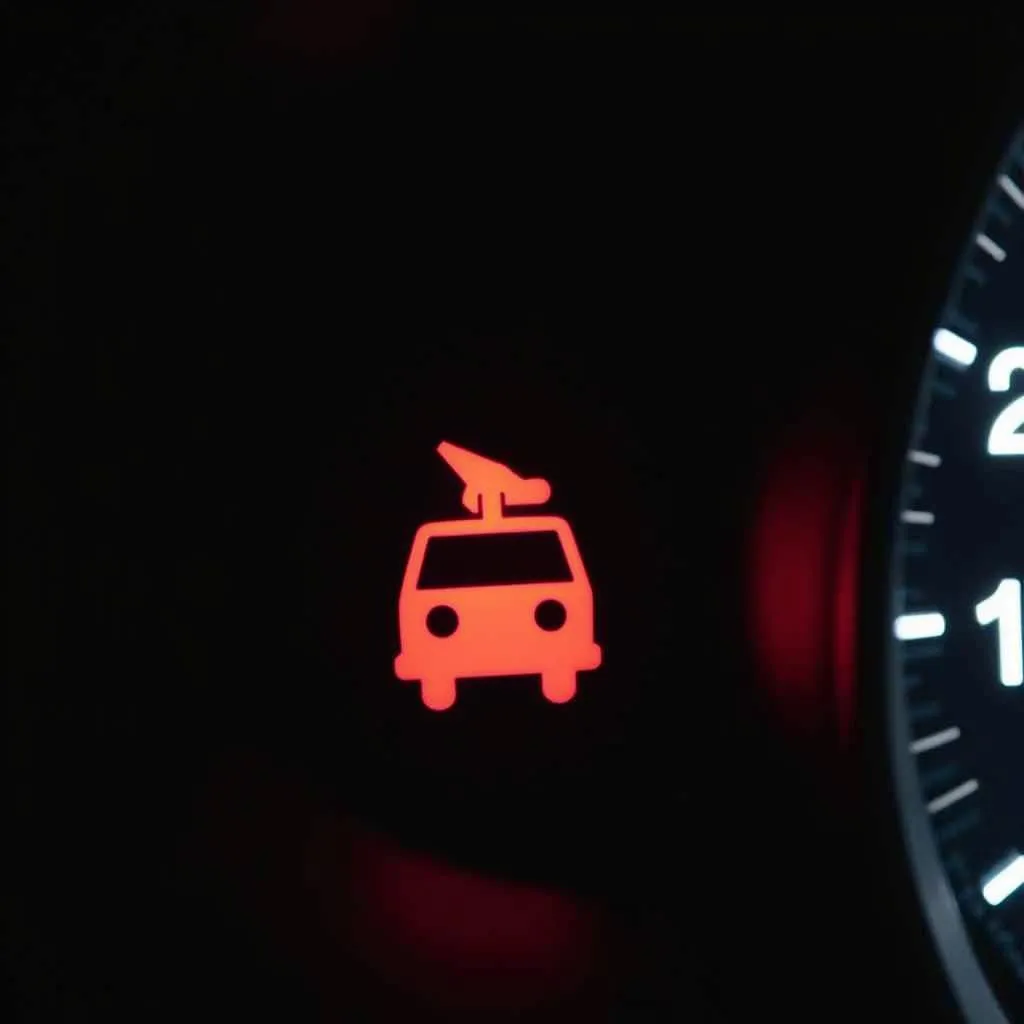
A glowing check engine light can be a source of anxiety for any car owner. While it could signal a minor issue, it can also be a red flag for a serious problem requiring immediate attention. Fortunately, you can often diagnose and sometimes even resolve the issue with an OBD2 scanner, a handy device that allows you to communicate with your car’s computer and understand those cryptic dashboard warnings. This guide will walk you through the process of how to reset the check engine light using an OBD2 scanner.
Understanding the Check Engine Light
Before we delve into the steps of resetting the check engine light, it’s essential to understand why it illuminates in the first place. Your car’s computer system continuously monitors various components and systems. When it detects a malfunction or deviation from normal operating parameters, it triggers the check engine light, storing a corresponding diagnostic trouble code (DTC) in its memory.
What You’ll Need to Reset the Check Engine Light
To reset your check engine light, you’ll need:
- An OBD2 Scanner: This device reads the DTCs stored in your car’s computer. Choose a scanner compatible with your vehicle’s make, model, and year.
- A Basic Understanding of Car Mechanics: While you don’t need to be a certified mechanic, a basic understanding of car systems will be helpful in understanding the DTCs and addressing the underlying issue.
Steps to Reset the Check Engine Light Using an OBD2 Scanner
Follow these steps to reset your check engine light using an OBD2 scanner:
- Locate the OBD2 Port: This port is typically found under the driver’s side dashboard, beneath the steering wheel.
- Connect the OBD2 Scanner: Plug the scanner into the OBD2 port.
- Turn on the Ignition: Turn the key to the “on” position but don’t start the engine.
- Read the DTCs: Follow the scanner’s instructions to read the DTCs stored in your car’s computer. Note down the codes, as you’ll need them to research the issue.
- Research the Codes: Use a reliable online resource or repair manual to decipher the meaning of the DTCs. This will give you valuable insight into the potential problem.
- Address the Underlying Issue: Based on your research, determine the necessary repair. This could range from a simple fix like tightening a loose gas cap to a more complex issue requiring professional attention.
- Clear the Codes: Once you’ve addressed the underlying problem, use the OBD2 scanner to clear the DTCs from your car’s memory.
- Turn Off the Ignition: After clearing the codes, turn off the ignition and wait a few moments.
- Restart Your Car: Start your car. If the repair was successful, the check engine light should remain off.
Important Considerations
- Severity of the Issue: Resetting the check engine light is not a permanent solution. If the underlying problem persists, the light will reappear.
- State Emissions Testing: Be aware that clearing the DTCs may temporarily impact your car’s readiness for emissions testing.
Conclusion
Using an OBD2 scanner to reset your check engine light is a straightforward process. Remember, addressing the root cause of the problem is crucial. While this guide provides general guidance, always refer to your vehicle’s specific repair manual for detailed instructions and safety precautions.

