Swapping a B18 engine into your Honda CRX is a popular modification among enthusiasts looking to boost their car’s performance. This comprehensive guide will walk you through the process, highlighting key considerations and potential challenges.
Understanding the B18 Swap
The B18 engine, originating from various Honda models like the Integra and Civic Si, offers a significant power upgrade over the CRX’s stock engine options. Known for its reliability and aftermarket support, the B18 has become a favorite among Honda tuners.
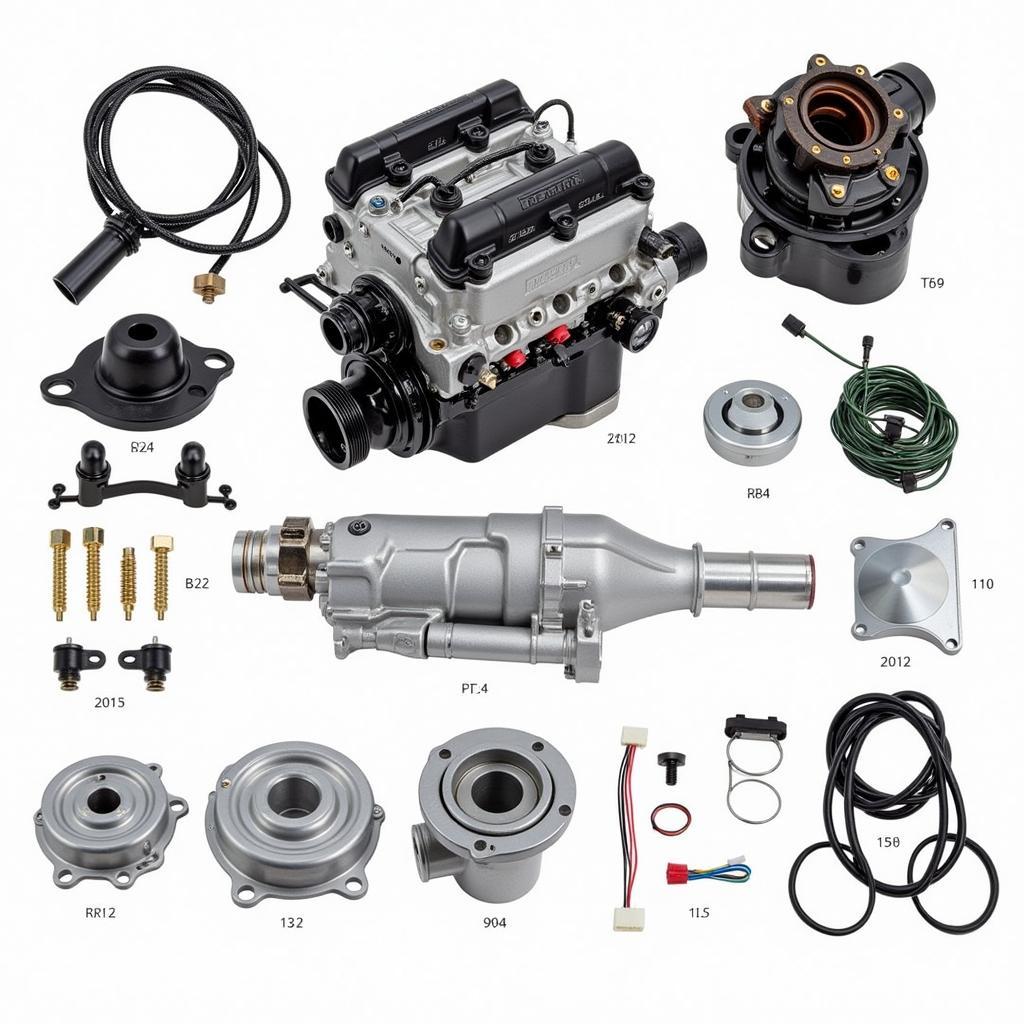
Gathering Your Tools and Parts
Before starting the swap, it’s crucial to have all the necessary tools and parts. This includes:
- B18 Engine: Source a healthy engine from a reputable seller or salvage yard.
- Transmission: A B-series transmission compatible with the B18 engine.
- Engine Mounts: Aftermarket mounts designed for a B18 swap into a CRX.
- Wiring Harness: You’ll need a conversion harness to connect the B18’s electronics to your CRX.
- ECU (Engine Control Unit): A compatible ECU is essential for managing the engine.
- Axles: Axles that match the transmission and CRX’s wheel hubs.
- Exhaust System: A performance exhaust designed for a B18-swapped CRX.
- Cooling System: Consider upgrading the radiator and cooling fans to handle the increased heat.
- Fuel System: You might need larger injectors and a higher-flowing fuel pump.
The Swap Process
1. Preparation: Disconnect the battery, drain fluids, and remove the hood, intake, and exhaust systems.
2. Engine Removal: Disconnect the engine mounts, wiring harness, fuel lines, and other connections before carefully lifting the old engine out.
3. Engine Bay Preparation: Clean the engine bay thoroughly and address any rust or corrosion. This is a good time to install any necessary upgrades like a larger radiator.
4. Engine Installation: With the help of an engine hoist, carefully lower the B18 engine into the CRX’s engine bay, ensuring proper alignment with the engine mounts.
5. Transmission and Axles: Attach the transmission to the engine, followed by connecting the axles to the transmission and wheel hubs.
6. Wiring and Electronics: Install the engine wiring harness and connect it to the CRX’s electrical system using the conversion harness.
7. Cooling and Fuel Systems: Connect the radiator hoses, install the upgraded cooling fans, and connect the fuel lines.
8. Exhaust System: Install the performance exhaust system, ensuring a proper seal and clearance from other components.
9. Final Checks: Double-check all connections, tighten bolts to the correct torque specifications, and refill fluids.
10. Initial Startup: Connect the battery and attempt to start the engine. Be prepared to troubleshoot any initial issues.
Tuning and Calibration
After the swap, it’s essential to get your CRX professionally tuned. This will ensure the engine is running optimally and safely with its new setup.
Conclusion
Swapping a B18 engine into your Honda CRX is a rewarding project for experienced mechanics. By following this guide and paying attention to detail, you can successfully complete the swap and enjoy the performance benefits of a B18-powered CRX.


