Learning how to test an O2 sensor with an OBD2 scanner can save you time and money. A faulty O2 sensor can drastically affect your vehicle’s performance and fuel efficiency, so diagnosing the problem quickly is key. This comprehensive guide will walk you through the process, explaining everything from understanding O2 sensor data to interpreting OBD2 codes.
An O2 sensor, or oxygen sensor, monitors the amount of unburnt oxygen in your vehicle’s exhaust. This information is crucial for your car’s computer (ECU) to adjust the air-fuel mixture, ensuring optimal combustion and minimizing emissions. After a certain mileage, these sensors can degrade, leading to inaccurate readings and potentially costly issues. Knowing how to test them with an OBD2 scanner is an invaluable skill for any car owner. You can find further information on specific codes, such as the p0037 obd2 code, on our website.
Understanding O2 Sensor Data with Your OBD2 Scanner
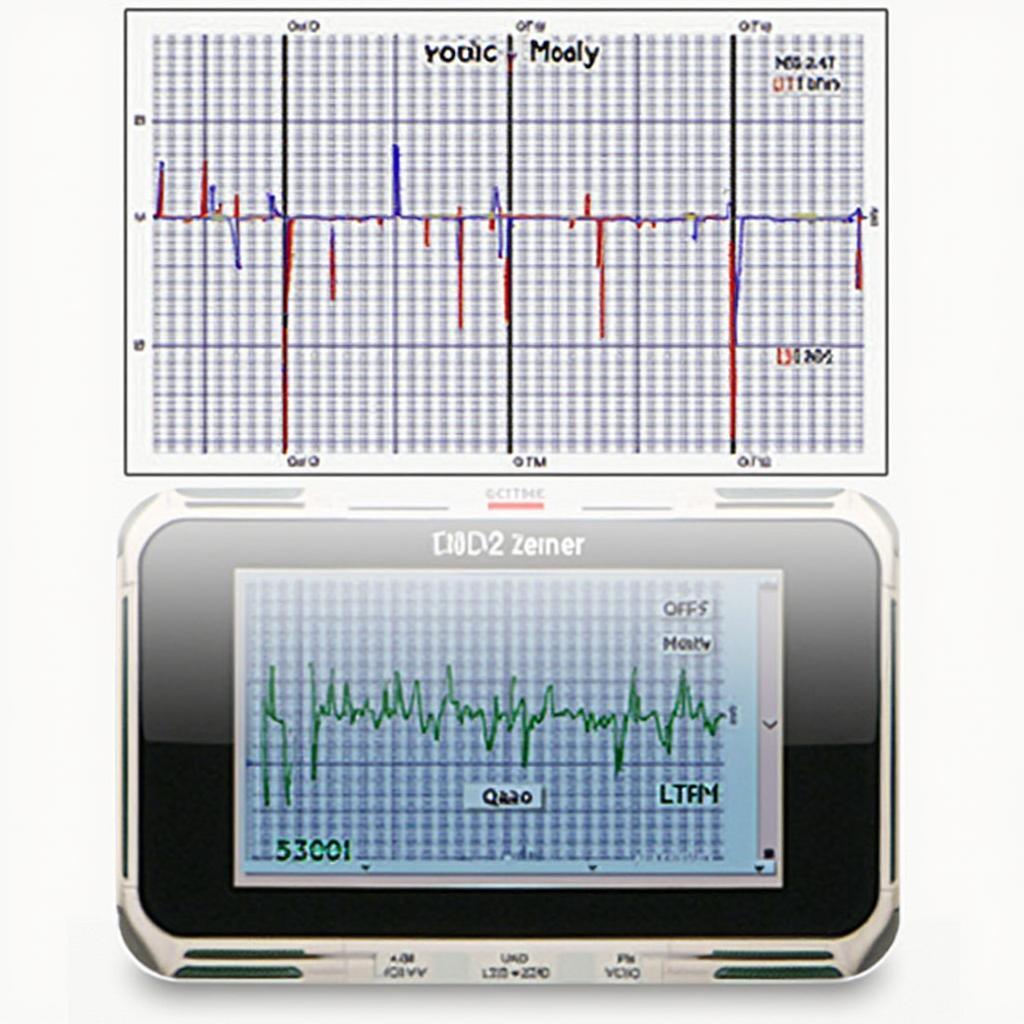
Using an OBD2 scanner to test an O2 sensor involves more than just reading error codes. You can access live data streams that provide real-time insights into the sensor’s performance. This data allows you to pinpoint issues that might not trigger a check engine light immediately.
Key Data Parameters to Monitor
- Voltage: A healthy O2 sensor’s voltage should fluctuate between 0.1 and 0.9 volts. A stuck voltage reading often indicates a faulty sensor.
- Short Term Fuel Trim (STFT): This parameter shows how the ECU is adjusting the fuel mixture in real time. Large positive STFT values might point to a lean condition caused by a faulty O2 sensor.
- Long Term Fuel Trim (LTFT): LTFT reflects the average fuel trim adjustments over time. High LTFT values, combined with specific O2 sensor voltage readings, can further confirm a problem.
Diagnosing O2 Sensor Problems with an OBD2 Scanner
When you suspect an O2 sensor issue, connecting your OBD2 scanner is the first step. Here’s a step-by-step guide on how to proceed:
- Connect the OBD2 Scanner: Plug the scanner into your vehicle’s OBD2 port, usually located under the dashboard on the driver’s side.
- Turn the Ignition On: Turn the key to the “on” position without starting the engine.
- Read the Codes: Select the “Read Codes” function on your scanner. This will display any stored diagnostic trouble codes (DTCs) related to the O2 sensor. For example, a codigo obd2 p1131 indicates a specific issue with the air/fuel ratio.
- View Live Data: Navigate to the “Live Data” section on your scanner. This is where you’ll access real-time information from the O2 sensor.
- Monitor the Parameters: Observe the voltage, STFT, and LTFT values as described above. Note any unusual readings or patterns.
- Interpret the Results: Combine the DTCs with the live data to pinpoint the faulty O2 sensor. For more complex diagnostics, a professional-grade scanner like the foxwell nt301 obd2 scanner professional enhanced obdii compatible on bmw offers advanced features.
Common O2 Sensor Trouble Codes
Some common O2 sensor related DTCs include P0130 (O2 Sensor Circuit Malfunction), P0131 (O2 Sensor Low Voltage), and P0134 (O2 Sensor No Signal). Understanding these codes is crucial for effective diagnosis. You can find resources on specific manufacturer codes, like saab obd2 error codes, on our site.
Tips for Effective O2 Sensor Testing
- Warm Up the Engine: A cold engine can produce misleading O2 sensor readings. Let the engine run for a few minutes before testing.
- Use a Quality OBD2 Scanner: A reliable scanner ensures accurate data and a smoother diagnostic process. The maxiscan obd2 v3 is a good starting point for beginners.
- Consult a Professional: If you’re unsure about interpreting the results, it’s always best to consult a qualified mechanic.
“Regularly checking your O2 sensors with an OBD2 scanner can prevent costly repairs down the line,” says John Smith, ASE Certified Master Technician.
“Understanding the data your scanner provides empowers you to take control of your vehicle’s maintenance,” adds Sarah Jones, Automotive Engineer.
Conclusion
Knowing how to test an O2 sensor with an OBD2 scanner is a valuable skill for any car owner. This knowledge enables you to identify potential problems early on, saving you money and ensuring optimal vehicle performance. By understanding the data parameters, interpreting DTCs, and following the steps outlined in this guide, you can effectively diagnose O2 sensor issues and maintain your vehicle in top condition. Don’t hesitate to further explore specific OBD2 scanner models and their capabilities on our website.
FAQ
- How often should I test my O2 sensors?
- Can I replace an O2 sensor myself?
- What are the symptoms of a bad O2 sensor?
- How much does it cost to replace an O2 sensor?
- Can a bad O2 sensor damage my catalytic converter?
- What are the different types of O2 sensors?
- How do I choose the right OBD2 scanner?
For assistance, contact us via WhatsApp: +1(641)206-8880, Email: [email protected] or visit our office at 789 Elm Street, San Francisco, CA 94102, USA. We have a 24/7 customer support team.


