Unpairing your OBD2 scanner is an essential step for troubleshooting connection issues, switching between devices, or simply ensuring your vehicle’s security. Whether you’re a seasoned mechanic or a car enthusiast, understanding how to unpair your OBD2 scanner can save you time and frustration.
Understanding OBD2 Pairing
Before we dive into unpairing, it’s crucial to understand how pairing works. Your OBD2 scanner, typically via Bluetooth, establishes a connection with your vehicle’s onboard computer. This connection allows the scanner to access and interpret diagnostic data. Just like pairing your phone with a Bluetooth speaker, your OBD2 scanner needs to “forget” the previous connection to pair successfully with another device.
Common Reasons for Unpairing
You might need to unpair your OBD2 scanner for several reasons:
- Troubleshooting Connection Problems: If you’re experiencing difficulties connecting your scanner, unpairing and re-pairing can often resolve the issue.
- Switching Between Scanners or Vehicles: When using multiple scanners or working on different vehicles, unpairing ensures a clean connection each time.
- Security Concerns: Unpairing your scanner adds an extra layer of security, preventing unauthorized access to your vehicle’s data.
Methods for Unpairing OBD2 Scanners
The process of unpairing can vary slightly depending on your specific scanner model and your vehicle. However, these general methods cover most scenarios:
1. Unpairing from the OBD2 Scanner
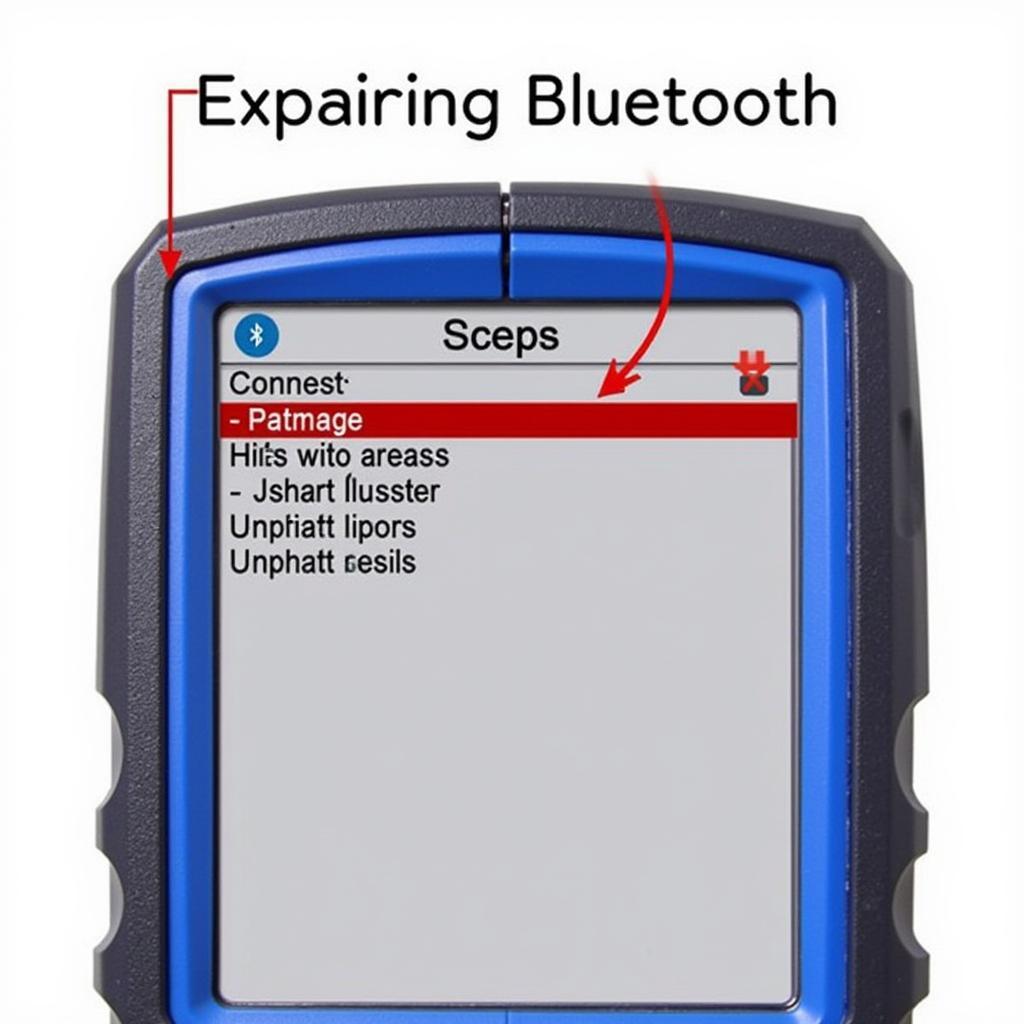
Most OBD2 scanners offer an unpairing option within their settings menu.
- Locate the Settings: Navigate through the scanner’s menu using the buttons on the device or the accompanying app interface.
- Find “Bluetooth” or “Connections”: The wording might differ, but look for options related to Bluetooth or device connections.
- Select “Unpair” or “Forget Device”: Choose the option to unpair or forget the previously connected device, usually your vehicle.
- Confirm Unpairing: The scanner might prompt you to confirm the action.
 OBD2 Scanner Settings Menu
2. Unpairing from Your Vehicle’s System
Some vehicles allow you to manage Bluetooth connections directly from the infotainment system.
- Access the Bluetooth Settings: Navigate to the Bluetooth settings on your vehicle’s infotainment display.
- Find Paired Devices: Locate the list of paired devices, which should include your OBD2 scanner.
- Select “Unpair” or “Forget Device”: Choose the option to unpair or remove the scanner from your vehicle’s memory.
3. Disconnecting the Battery (Last Resort)
In some cases, disconnecting your vehicle’s battery for a short period can reset the OBD2 connection.
- Safety First: Disconnect the negative terminal of your car battery and wait a few minutes before reconnecting. Always consult your vehicle’s manual for safety precautions before disconnecting the battery.
Troubleshooting Tips
If you’re still facing issues after trying these methods, consider these troubleshooting steps:
- Consult Your Scanner’s Manual: Your scanner’s manual will have device-specific instructions for unpairing.
- Check for Software Updates: Ensure both your scanner and your vehicle’s infotainment system have the latest software updates.
- Contact Manufacturer Support: If the problem persists, reach out to the manufacturer of your OBD2 scanner or your vehicle for further assistance.
Conclusion
Knowing how to unpair your OBD2 scanner is a valuable skill for any car owner or mechanic. Whether you’re troubleshooting connection problems or simply switching between devices, the methods outlined in this guide will help you manage your OBD2 connections effectively. Remember to consult your specific device manuals for detailed instructions and always prioritize safety when working with your vehicle’s electrical system. For information on specific OBD2 scanners or related topics, explore our other resources on OBDFree.
