The Autel OBD2 scanner is a powerful tool that can help you diagnose and troubleshoot car problems. Whether you’re a seasoned mechanic or a car enthusiast, understanding how to use an Autel OBD2 scanner can save you time and money on costly repairs.
This comprehensive guide will walk you through the process step by step, providing valuable insights and practical tips to help you get the most out of your Autel OBD2 scanner.
Understanding Your Autel OBD2 Scanner
Before diving into the how-to, it’s important to familiarize yourself with the basics of your Autel OBD2 scanner.
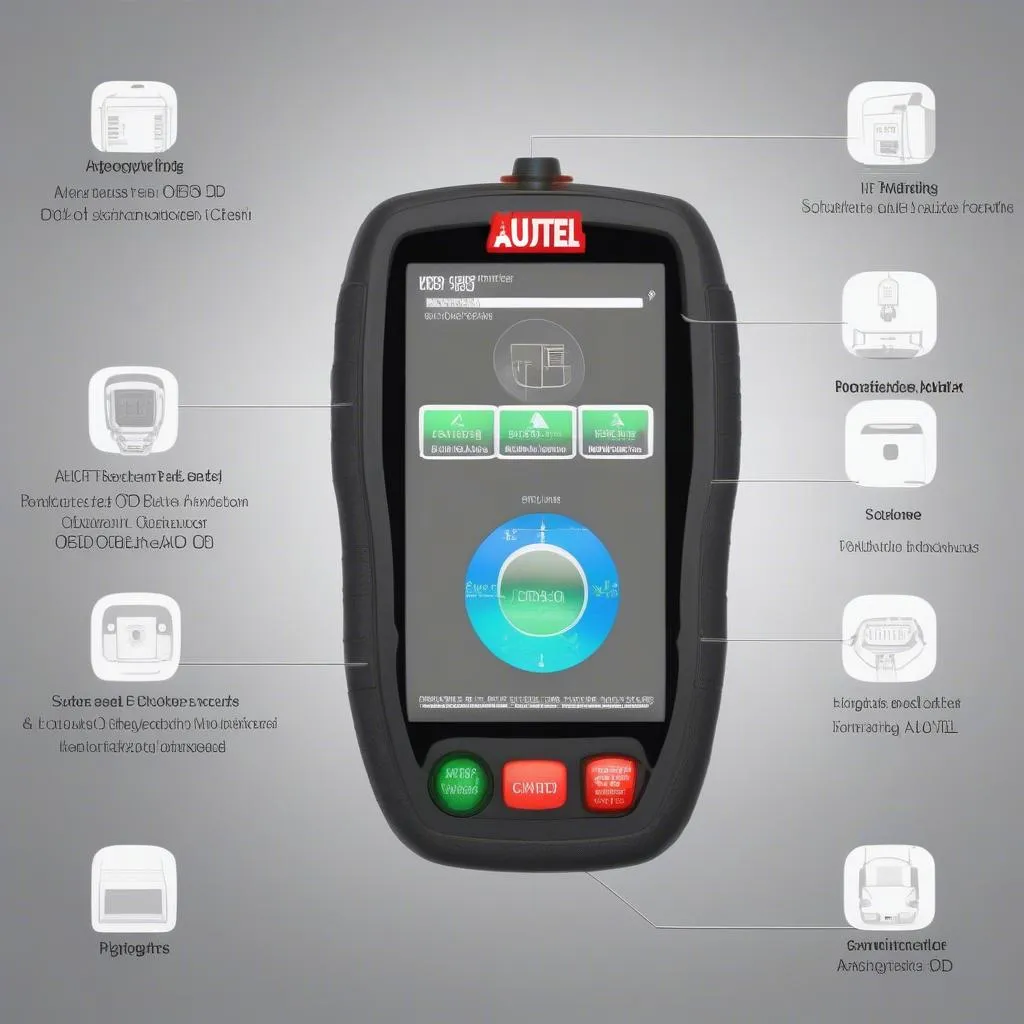
Autel offers a wide range of OBD2 scanners, from basic code readers to advanced professional-grade models. Regardless of the specific model, most Autel scanners share common features, including:
- OBD2 Connector: This is the standard 16-pin connector that plugs into your vehicle’s OBD2 port, typically located under the dashboard on the driver’s side.
- Display Screen: The screen displays diagnostic trouble codes (DTCs), live data stream from various sensors, and other information.
- Navigation Buttons: These buttons allow you to navigate through the scanner’s menus and options.
- Read/Clear Codes Buttons: These buttons initiate the scanning process to retrieve and clear DTCs.
How to Use an Autel OBD2 Scanner: A Step-by-Step Guide
Now, let’s walk through the process of using your Autel OBD2 scanner to diagnose car problems:
-
Locate Your Vehicle’s OBD2 Port: As mentioned earlier, the OBD2 port is typically located under the dashboard on the driver’s side.
-
Turn Off Your Vehicle: Ensure your engine is off and the key is out of the ignition.
-
Connect the Autel OBD2 Scanner: Plug the scanner’s OBD2 connector into your vehicle’s OBD2 port.
-
Turn On the Ignition: Turn the ignition to the “On” position but do not start the engine. This powers up the scanner and establishes communication with your vehicle’s computer.
-
Turn On the Scanner: If your scanner doesn’t automatically power on, turn it on manually.
-
Select the Appropriate Options: Follow the on-screen prompts to select your vehicle’s make, model, and year. This helps the scanner tailor its diagnosis to your specific vehicle.
-
Read Diagnostic Trouble Codes: Select the “Read Codes” option to initiate a scan for any stored DTCs.
-
Interpret the Codes: The scanner will display a list of retrieved DTCs. Each code represents a specific problem area within your vehicle’s system. You can refer to your scanner’s user manual or use online resources to understand the meaning of each code.
-
View Live Data: Most Autel scanners allow you to view live data streams from various sensors in real time. This data can provide valuable insights into the performance of different systems and help pinpoint issues. For instance, if you are curious whether an OBD2 scanner can read your car’s ABS codes, this article can provide insights.
-
Clear the Codes: Once you’ve addressed the underlying problems, you can use the scanner to clear the DTCs. Keep in mind that clearing the codes doesn’t fix the actual issues; it simply erases the stored codes from the vehicle’s computer.
-
Disconnect the Scanner: After completing the diagnosis and clearing the codes, safely disconnect the scanner from the OBD2 port.
Common Autel OBD2 Scanner Uses
Autel OBD2 scanners can be used for a wide range of diagnostic tasks, including:
- Checking Engine Light: Diagnosing the cause of a check engine light is one of the most common uses of an OBD2 scanner.
- Monitoring Engine Performance: Live data streams allow you to monitor various engine parameters, such as RPM, coolant temperature, and oxygen sensor readings.
- Troubleshooting Transmission Problems: Some Autel scanners can read and clear transmission codes, helping you identify potential issues with your vehicle’s transmission.
- Analyzing Emissions Systems: The scanner can check the functionality of your vehicle’s emissions control systems, such as the catalytic converter and oxygen sensors.
Tips for Using Your Autel OBD2 Scanner Effectively
Here are some additional tips to help you get the most out of your Autel OBD2 scanner:
- Consult Your Vehicle’s Repair Manual: Your vehicle’s repair manual provides valuable information about specific DTCs and their corresponding repair procedures.
- Update Your Scanner Regularly: Autel frequently releases software updates for its scanners. These updates often include new features, bug fixes, and expanded vehicle coverage. Connecting your scanner to a computer with internet access allows you to download and install the latest updates.
- Take Notes: When diagnosing problems, it’s helpful to take detailed notes of the retrieved DTCs, live data readings, and any observations you make. These notes can be invaluable when referring back to the problem or discussing it with a mechanic.
“Regularly updating your Autel scanner is crucial for accessing the latest features and ensuring compatibility with newer car models,” advises John Smith, Senior Automotive Diagnostic Technician at XYZ Auto Repair. “It’s like keeping your smartphone’s operating system up to date for optimal performance.”
Conclusion
Mastering the use of an Autel OBD2 scanner empowers you to take control of your vehicle’s diagnostics. By following this step-by-step guide and utilizing the provided tips, you can confidently identify and address car problems, saving yourself time and money. Remember to always consult your vehicle’s repair manual and seek professional assistance for complex issues or repairs beyond your expertise.
Need help connecting your Bluetooth OBD2 scanner? This guide can walk you through the process.
Looking for an Autel OBD2 scanner for your 2004 VW? Check if our scanners are compatible.


