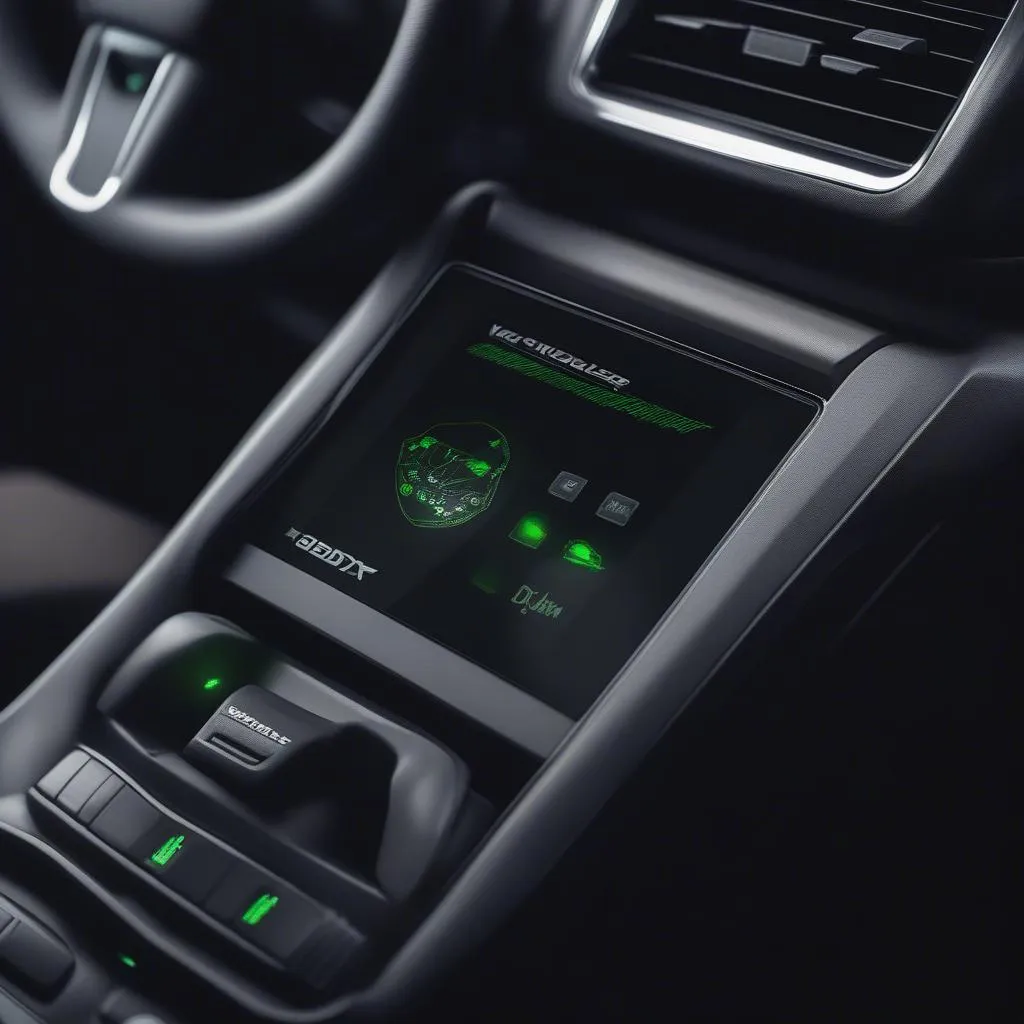
OBD2 scanners are essential tools for car owners and mechanics alike. These handy devices can unlock a wealth of information about your vehicle’s health and performance, helping you diagnose problems, save money on repairs, and gain a deeper understanding of how your car functions. But if you’re new to the world of OBD2 scanners, using one for the first time might seem daunting. Fear not! This comprehensive guide will walk you through the process step-by-step, demystifying the world of car diagnostics and empowering you to take control of your vehicle’s maintenance.
Understanding OBD2 Scanners and Their Capabilities
Before we dive into the “how-to,” let’s quickly define what an OBD2 scanner is and what it can do. OBD stands for On-Board Diagnostics, and it refers to a standardized system built into all cars manufactured after 1996. The OBD2 port, typically located under the dashboard on the driver’s side, serves as a communication portal between your car’s computer and the outside world.
An OBD2 scanner plugs into this port and acts as a translator, allowing you to access the data stored in your car’s computer. This data includes:
- Diagnostic Trouble Codes (DTCs): These codes indicate specific areas where the car’s systems have detected a problem.
- Sensor Data: Real-time readings from various sensors throughout the vehicle, such as engine temperature, oxygen sensor readings, and more.
- Vehicle Information: Basic details about your car, including VIN, mileage, and supported protocols.
What You Need to Get Started
- An OBD2 Scanner: Obviously, you’ll need an OBD2 scanner. There’s a wide variety available, from basic code readers to advanced professional models. Which OBD2 scanner should I buy?
- Your Vehicle: Make sure your car is parked on level ground, the engine is off, and the parking brake is engaged.
- A Pen and Paper (Optional): It’s helpful to jot down any codes or readings you get from the scanner.
How to Use an OBD2 Scanner: A Step-by-Step Guide
Now, let’s get down to the nitty-gritty of using your OBD2 scanner. Follow these simple steps:
- Locate Your OBD2 Port: As mentioned earlier, the OBD2 port is usually located under the dashboard on the driver’s side. It’s a trapezoidal-shaped connector with 16 pins.
- Connect the OBD2 Scanner: Plug the scanner’s connector firmly into the OBD2 port. You should hear a click indicating a secure connection.
- Turn On the Ignition: Turn the ignition key to the “on” position but don’t start the engine. This powers up the scanner and allows it to communicate with your car’s computer.
- Turn On the Scanner (If Necessary): Some scanners require you to manually turn them on with a power button.
- Select the Desired Function: Most scanners have a simple menu system that lets you choose what you want to do. Common options include:
- Read Codes: This retrieves any stored Diagnostic Trouble Codes (DTCs).
- Clear Codes: This erases the stored codes after you’ve addressed the issue.
- Live Data: This displays real-time data from various sensors.
- View Freeze Frame Data: This captures a snapshot of the sensor readings at the time a code was triggered, providing valuable insights into the conditions that led to the problem.
- Interpreting the Results:
- DTCs: Each code consists of a letter and four numbers. You’ll need to consult a code list or a reliable online resource to understand what each code means.
- Live Data: This information can be overwhelming, but focus on the sensors related to your specific issue. You can often find reference values online to compare with the live readings.
- Address the Issue: Once you’ve identified the problem, you can either attempt the repair yourself or consult with a qualified mechanic.
Important Note: Remember that an OBD2 scanner is a diagnostic tool, not a magic bullet. It helps you identify problems, but it doesn’t fix them.
Tips for Using an OBD2 Scanner Effectively
- Consult Your Vehicle’s Repair Manual: This provides valuable information about specific codes and sensor readings for your make and model.
- Use a Quality Scanner: Investing in a reputable scanner ensures accurate readings and avoids potential misdiagnoses.
- Don’t Jump to Conclusions: A single code doesn’t always tell the whole story. Consider all the information and consult with a mechanic if needed.
- Keep Your Scanner Updated: Manufacturers often release updates that improve functionality and add new features.
Common OBD2 Scanner Uses
OBD2 scanners aren’t just for professional mechanics; they offer a wide range of benefits for everyday car owners, including:
- Diagnosing Check Engine Light: Determine the root cause of that pesky warning light and address the issue promptly.
- Monitoring Car Health: Track sensor readings over time to identify potential problems before they escalate.
- Resetting the TPMS (Tire Pressure Monitoring System): After inflating your tires, use the scanner to reset the TPMS and clear any warning lights. Can a OBD2 scanner reset TPMS?
- DIY Repairs: For the mechanically inclined, OBD2 scanners can help guide repairs and ensure the work is done correctly.
- Checking for Hidden Problems When Buying a Used Car: An OBD2 scan can reveal potential issues that a visual inspection might miss.
Conclusion
Using a car OBD2 scanner is easier than you might think. By following these simple steps and using the information provided in this guide, you can unlock a deeper understanding of your car’s health and take control of its maintenance. Remember, an informed car owner is an empowered car owner!
Need further assistance with OBD2 scanners or car diagnostics? Don’t hesitate to contact our team of experts via WhatsApp at +1(641)206-8880 or email us at [email protected]. We’re here to help you keep your car running smoothly!


