Installing a new OBD2 port might seem daunting, but with the right knowledge and tools, it can be a manageable task. Whether your existing port is damaged, you’re adding an aftermarket system, or modifying your vehicle, this guide will provide you with a comprehensive understanding of the process. 1997 f250 obd2 port location
Understanding the OBD2 Port and its Wiring
Before diving into the installation, it’s crucial to grasp the basics of the OBD2 port and its wiring. The OBD2 (On-Board Diagnostics II) port is a standardized 16-pin connector used to access a vehicle’s diagnostic system. Each pin has a specific function, ranging from power supply to communication lines for various modules within the vehicle. Understanding this wiring diagram is essential for a successful installation.
Gathering the Necessary Tools and Materials
A successful OBD2 port installation requires the right tools and materials. You’ll need a new OBD2 port connector, wiring, electrical tape, wire strippers, crimpers, and a multimeter. Having a wiring diagram specific to your vehicle’s make and model is also highly recommended. obd2 usb driver windows 10
Step-by-Step Guide to Installing a New OBD2 Port
-
Disconnect the battery: This crucial first step prevents electrical shocks and potential damage to your vehicle’s electrical system.
-
Locate the existing OBD2 port: Typically located under the dashboard on the driver’s side, the exact location can vary depending on the vehicle.
-
Identify the wires: Using the wiring diagram, identify the wires connected to the existing port.
-
Disconnect the existing port: Carefully detach the wires from the old port, noting their corresponding pin locations.
-
Connect the new OBD2 port: Match the wires from your vehicle to the corresponding pins on the new OBD2 port using the wiring diagram. Use crimp connectors to ensure secure connections.
-
Test the connection: Before reconnecting the battery, use a multimeter to test the continuity of each wire and ensure proper connectivity.
-
Reconnect the battery: Once you’ve confirmed the connections, reconnect the battery.
Troubleshooting Common Installation Issues
Sometimes, you might encounter issues during the installation process. Common problems include loose connections, incorrect wiring, and blown fuses. Double-checking the wiring diagram and ensuring all connections are secure can often resolve these issues.
Why is my new OBD2 port not working?
Check the fuses and connections to ensure everything is properly wired and powered.
Can I install an OBD2 port in an older car?
Yes, you can, but it may require additional adapters and wiring modifications.
“Properly installing an OBD2 port is crucial for accurate diagnostics. A loose connection can lead to miscommunication and incorrect readings,” says John Smith, Automotive Diagnostic Specialist.
honda obd2 distributor wiring diagram
Testing the New OBD2 Port
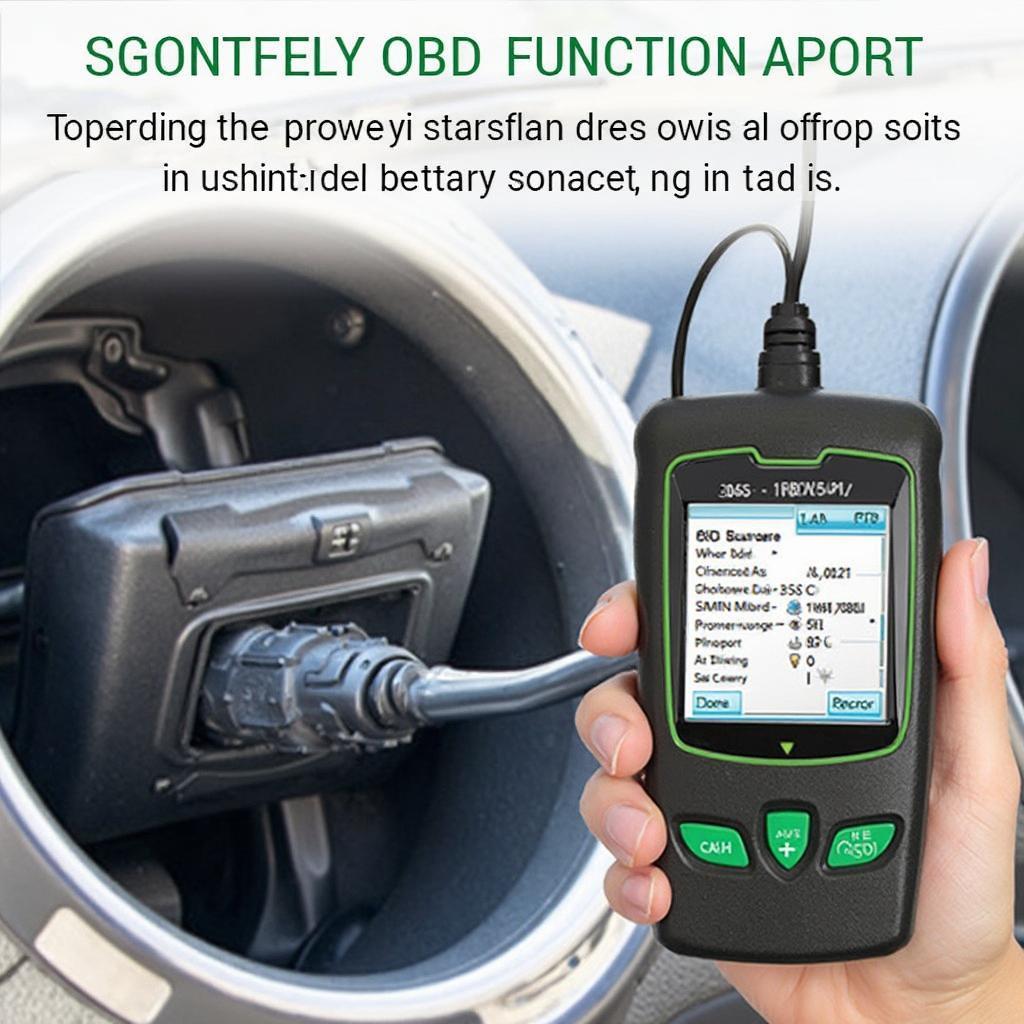
After installing the new OBD2 port, it’s important to test it to ensure it’s functioning correctly. Connect an OBD2 scanner and check for communication errors. If everything works as expected, you’ve successfully installed your new OBD2 port.
 Testing New OBD2 Port with a Scanner
Conclusion
Installing a new OBD2 port can be a straightforward process if you follow the steps outlined in this guide. Always remember to disconnect the battery before starting any electrical work, and consult your vehicle’s wiring diagram to ensure accurate connections. A properly installed OBD2 port is essential for accessing valuable diagnostic information and maintaining your vehicle’s health. torque obd2 plugin
When you need assistance, please contact us via WhatsApp: +1(641)206-8880, Email: cardiagtechworkshop@gmail.com or visit us at 789 Elm Street, San Francisco, CA 94102, USA. We have a 24/7 customer support team.

