The OBD2 port, often found under the driver’s side dashboard, has become an essential part of modern vehicles. This port provides access to your car’s computer system, allowing mechanics and car enthusiasts to diagnose problems, monitor performance, and even customize settings. But what if your vehicle wasn’t equipped with an OBD2 port from the factory? This guide will walk you through the process of installing an OBD2 port, from understanding the basics to connecting with your car’s computer system.
Understanding OBD2 and Its Importance
Before we dive into the installation process, let’s clarify what OBD2 is and why you might want to install a port. OBD stands for On-Board Diagnostics, and OBD2 is the standardized version found in most vehicles manufactured after 1996. This system allows a standardized connector and a set of diagnostic trouble codes (DTCs) to be used across different makes and models.
Do You Need to Install an OBD2 Port?
In most cases, vehicles manufactured after 1996 already come equipped with an OBD2 port. However, there are instances where you might consider installing one:
- Older Vehicles: If you own a classic car or a model manufactured before the OBD2 standardization, adding a port can bring modern diagnostics capabilities to your vintage ride.
- Custom Builds: Building a custom car or modifying an existing one might require installing an OBD2 port for easier diagnostics and tuning.
- Missing or Damaged Port: In rare cases, your vehicle’s OBD2 port might be missing or damaged. Installing a new one restores access to your car’s computer system.
Gathering the Necessary Tools and Materials
Before you begin the installation, it’s crucial to gather all the required tools and materials:
- OBD2 Port Connector: This is the actual port that will be installed in your vehicle. You can find these online or at auto parts stores.
- Wiring Harness: The wiring harness connects the OBD2 port to your car’s computer system.
- Wire Strippers/Cutters: These are essential for working with the wiring.
- Electrical Tape: Used for insulating and securing wire connections.
- Screwdrivers: You’ll need various sizes to remove panels and secure the port.
- Zip Ties (Optional): Useful for keeping wires organized.
Locating Your Vehicle’s Diagnostic Connector
The first step is to locate your vehicle’s existing diagnostic connector. While not an OBD2 port, this connector serves as the point of access to your car’s computer system. Refer to your vehicle’s service manual for its exact location. Common places include:
- Under the Dashboard: This is the most common location, usually on the driver’s side.
- Engine Bay: Some vehicles have their diagnostic connector in the engine compartment.
- Behind Fuse Panel: Check behind the fuse panel, often located on the driver’s side.
Connecting the OBD2 Port
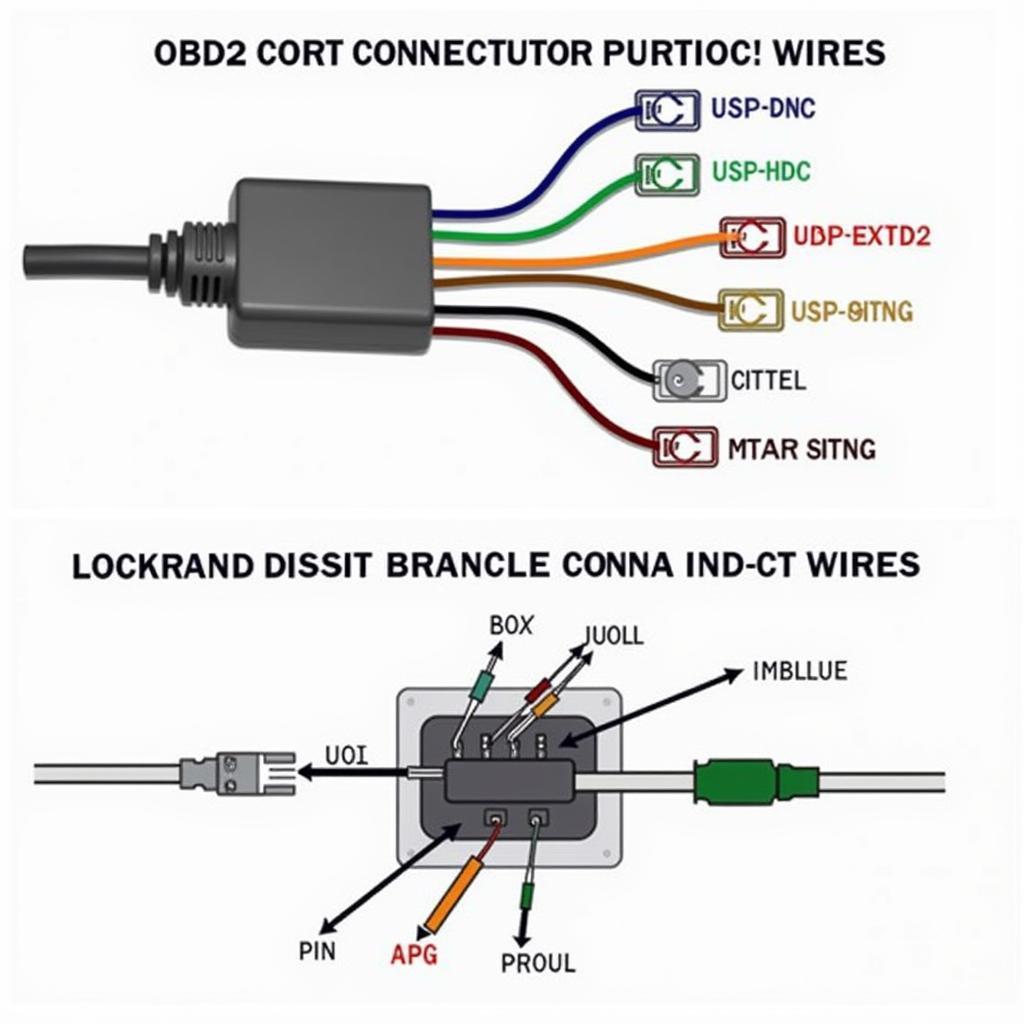
Once you’ve located the diagnostic connector, the installation process involves connecting the OBD2 port to the appropriate pins on the connector. This step requires a good understanding of your vehicle’s wiring diagram and the pin assignments for both the diagnostic connector and the OBD2 port.
 Wiring the OBD2 Port
Caution: Working with your vehicle’s electrical system can be dangerous if you’re not familiar with it. If you’re unsure about any step, it’s best to consult a qualified mechanic or an experienced individual.
Testing Your New OBD2 Port
After completing the installation, it’s crucial to test the OBD2 port to ensure it’s working correctly:
- Connect a compatible OBD2 scanner to the newly installed port.
- Turn on your vehicle’s ignition (do not start the engine).
- Check if the scanner powers on and establishes communication with your car’s computer.
If the scanner connects successfully and retrieves data, your OBD2 port installation is complete.
Conclusion
Installing an OBD2 port can be a rewarding project for car enthusiasts and owners of older vehicles. It provides access to valuable data about your car’s performance and health, making diagnostics and maintenance more manageable. Remember, if you’re unsure about any aspect of the installation process, don’t hesitate to seek assistance from a qualified professional.
FAQs About Installing an OBD2 Port
1. Can I install an OBD2 port on any car?
While it’s technically possible to install an OBD2 port on older vehicles, the process can be complex and might not always be straightforward. Consulting a mechanic experienced in vintage car electronics is recommended.
2. Is it safe to install an OBD2 port myself?
If you have a good understanding of car electronics and are comfortable working with wiring, you can install an OBD2 port yourself. However, if you’re unsure about any step, it’s best to consult a professional.
3. What are the benefits of having an OBD2 port?
An OBD2 port allows you to access your car’s computer system, enabling you to:
- Diagnose engine problems and read diagnostic trouble codes (DTCs)
- Monitor engine performance parameters such as speed, RPM, and temperature
- Customize certain vehicle settings (depending on the make and model)
4. Can I use any OBD2 scanner after installing a port?
Yes, you can use most standard OBD2 scanners with your newly installed port. However, keep in mind that some advanced features might require specialized scanners or software.
5. What should I do if my newly installed OBD2 port isn’t working?
Double-check your wiring connections and ensure they are secure and correctly matched to the pin assignments. If the problem persists, consult a mechanic or an experienced individual for assistance.
If you need further assistance, our team at OBDFree is here to help. Contact us via WhatsApp: +1(641)206-8880 or Email: [email protected]. We offer 24/7 customer support to answer your questions and provide expert guidance. You can also explore our website for additional resources and information on various OBD2 scanners and their features.

