Connecting your laptop to your car’s OBD2 port opens a world of possibilities for vehicle diagnostics, maintenance, and even performance tuning. Whether you’re a seasoned mechanic or a car enthusiast, understanding the ins and outs of this connection is key. This guide will equip you with all the knowledge you need to choose the right cable, establish a secure connection, and unlock the full potential of your OBD2 scanner.
Understanding the OBD2 Port and Its Significance
The OBD2 port, often located under the dashboard on the driver’s side, serves as your car’s data hub. It grants access to a wealth of information about your vehicle’s engine, transmission, emissions, and more. By tapping into this data stream, you can identify and diagnose issues, monitor performance metrics, and even customize certain aspects of your car’s behavior.
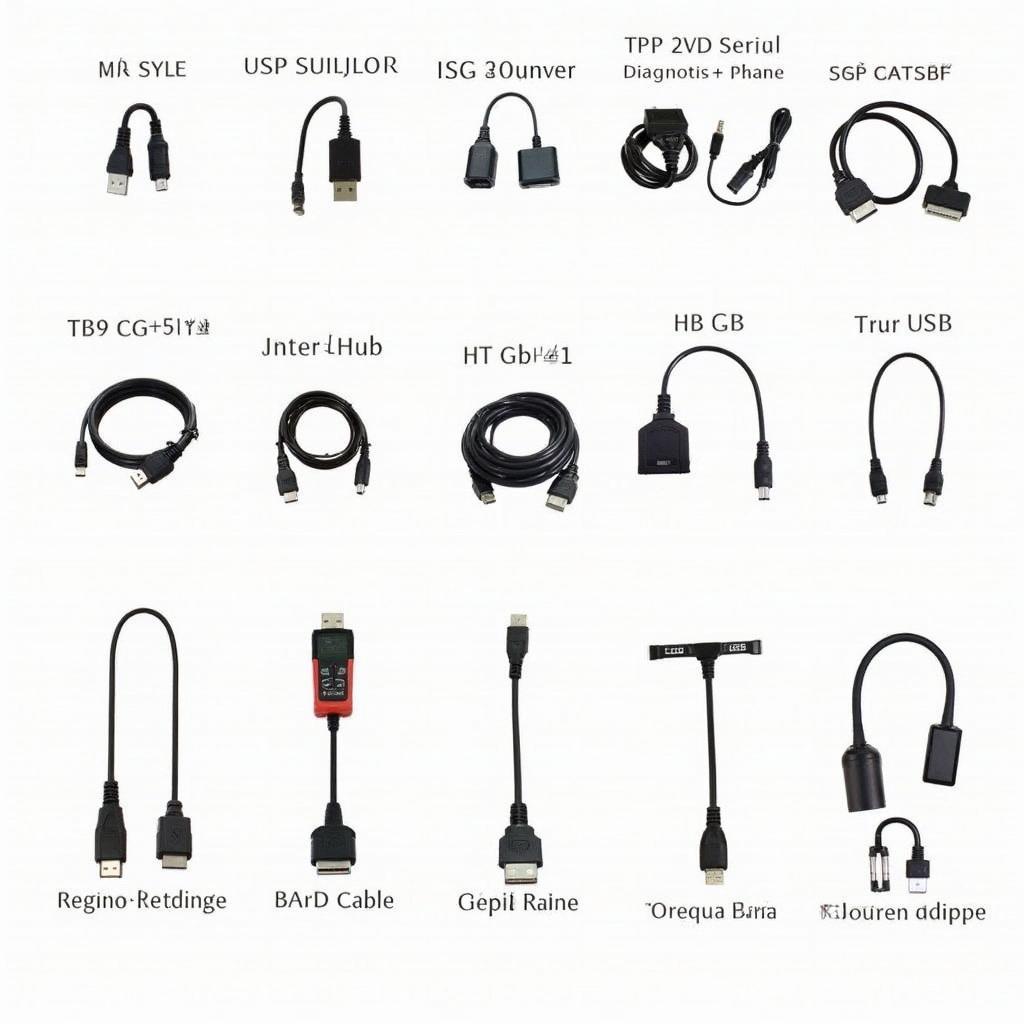
Types of Laptop Cables for OBD2 Connection
Choosing the correct cable is paramount for a successful connection. There are three primary types of laptop cables designed for OBD2 communication:
-
USB to OBD2 Cables: These are the most common and widely compatible cables. They provide a reliable connection and are generally more affordable.
-
Serial to OBD2 Cables: While less prevalent today, some older vehicles or specific diagnostic software might require a serial connection.
-
Bluetooth and Wi-Fi OBD2 Adapters: These wireless adapters offer greater flexibility and convenience, allowing you to connect your laptop without the constraints of a physical cable.
 Various OBD2 Diagnostic Cables
Factors to Consider When Choosing a Cable
Selecting the appropriate cable involves considering several factors:
- Vehicle Compatibility: Ensure the cable supports your car’s make, model, and year.
- Diagnostic Software Compatibility: Verify that the cable is compatible with the software you intend to use.
- Connection Type: Choose between USB, Serial, or wireless based on your needs and preferences.
- Cable Length: Select a cable length that provides sufficient reach for your workspace.
- Durability and Build Quality: Invest in a well-constructed cable with a sturdy connector and reliable shielding to ensure long-lasting performance.
Establishing a Secure Connection: A Step-by-Step Guide
Follow these steps to connect your laptop to your car’s OBD2 port securely:
- Locate your vehicle’s OBD2 port.
- Turn off your car’s ignition.
- Insert the OBD2 connector of the cable into the port.
- Connect the other end of the cable to your laptop’s USB or serial port.
- Turn on your car’s ignition (do not start the engine).
- Launch your chosen OBD2 diagnostic software.
Troubleshooting Connection Issues
Encountering problems establishing a connection? Here are some troubleshooting tips:
- Verify Cable Compatibility: Double-check that the cable supports your vehicle and software.
- Check Port Connection: Ensure the OBD2 connector is firmly seated in the port.
- Examine Drivers and Software: Confirm that the necessary drivers are installed, and your diagnostic software is up-to-date.
- Inspect for Damage: Examine the cable and connectors for any signs of physical damage.
Maximizing the Potential of Your OBD2 Connection
Once connected, your laptop becomes a powerful tool for:
- Reading and Clearing Diagnostic Trouble Codes (DTCs): Identify and address underlying vehicle issues.
- Monitoring Real-time Sensor Data: Gain insights into your car’s performance.
- Performing Emissions Tests: Ensure your vehicle complies with environmental regulations.
- Customizing Vehicle Settings: Adjust certain parameters to fine-tune performance or comfort.
Conclusion
Connecting your laptop to your car’s OBD2 port empowers you to take control of your vehicle’s diagnostics, maintenance, and even customization. By understanding the nuances of this connection, choosing the right cable, and following the proper procedures, you can unlock a wealth of information and capabilities that enhance your overall driving experience.

