The OBD2 port, a staple in modern vehicles, grants access to a wealth of diagnostic information. While dedicated OBD2 scanners provide comprehensive insights, there are times when a quick check with an analog multimeter is all you need. This article explores the world of manually checking your car’s OBD2 system using a multimeter and a handy diagram to guide you.
Understanding the Power of OBD2
On-Board Diagnostics, or OBD2, revolutionized vehicle diagnostics. This standardized system, mandatory in most vehicles manufactured after 1996, empowers car owners and mechanics to delve into the electronic heart of their vehicles. By tapping into the OBD2 port, you can access information ranging from engine speed to emissions data, enabling quicker and more efficient troubleshooting.
Why Use a Multimeter for OBD2 Diagnostics?
While dedicated OBD2 scanners are powerful tools, a multimeter offers a budget-friendly and often faster alternative for basic checks. Here’s why:
- Cost-effective: Multimeters are readily available and generally more affordable than dedicated scanners.
- Simplicity: For basic checks, a multimeter’s straightforward operation trumps navigating complex scanner menus.
- Portability: Compact and easy to carry, a multimeter proves invaluable for quick diagnostics on the go.
Essential Tools for Manual OBD2 Checks
Before diving into the diagnostics, gather these essential tools:
- Analog Multimeter: Opt for an analog model for easier voltage fluctuation readings.
- OBD2 Pinout Diagram: This visual guide illustrates the function of each pin on the OBD2 connector.
- Jumper Wires: Useful for connecting your multimeter probes to specific OBD2 pins.
- Repair Manual: A vehicle-specific manual provides insights into specific diagnostic codes and procedures.
Deciphering the OBD2 Pinout Diagram
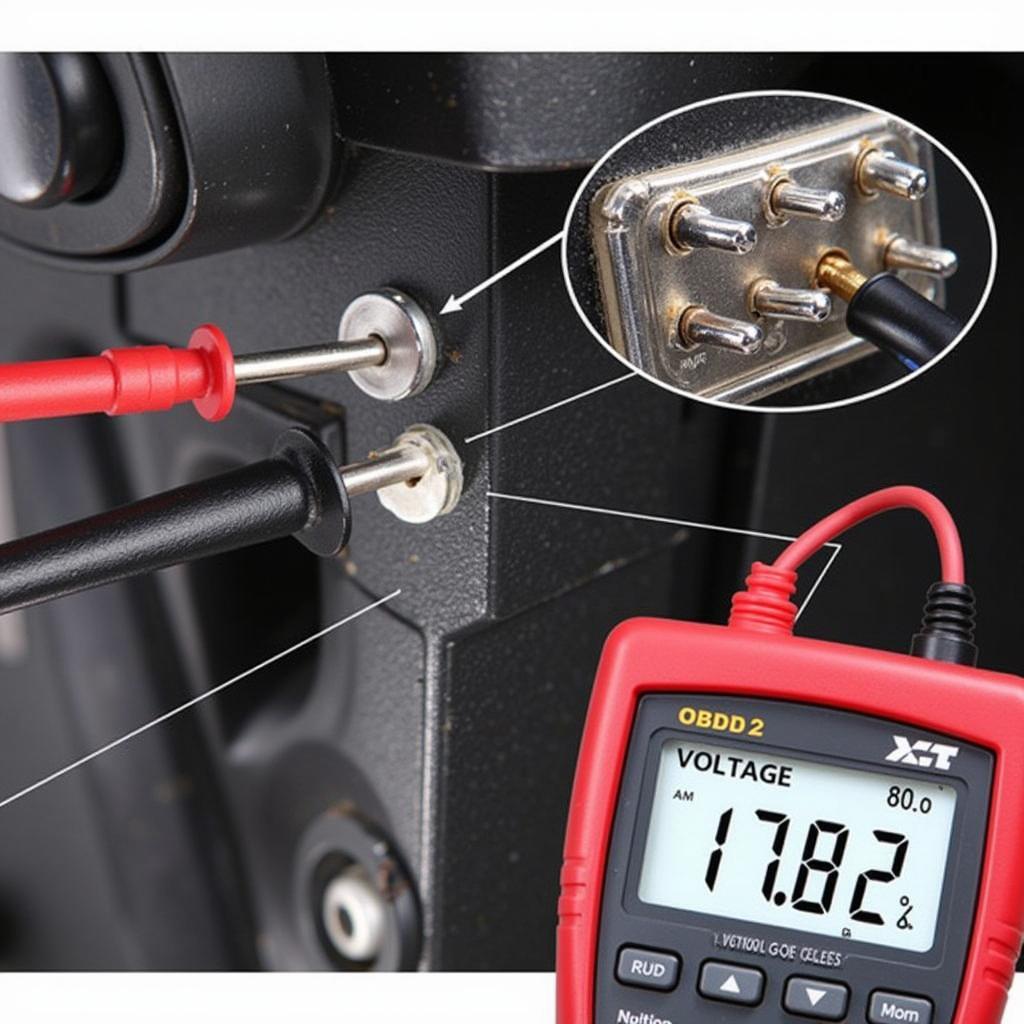
The OBD2 connector, typically located beneath the driver’s side dashboard, houses 16 pins, each with a dedicated function. The pinout diagram serves as your roadmap, revealing the information accessible through each pin. Here’s a breakdown:
- Pin 2: J1850 Bus+ (for specific vehicle makes)
- Pin 4: Chassis Ground
- Pin 5: Signal Ground
- Pin 6: CAN High (J-2284)
- Pin 7: ISO 9141-2 K-Line
- Pin 10: J1850 Bus- (for specific vehicle makes)
- Pin 14: CAN Low (J-2284)
- Pin 15: ISO 9141-2 L-Line
- Pin 16: Battery Voltage
Common OBD2 Checks with a Multimeter
With your tools ready and a firm grasp of the pinout diagram, you can perform these common OBD2 checks:
1. Verifying Battery Voltage
- Connect: Red probe to Pin 16 (Battery Voltage), black probe to Pin 4 (Chassis Ground).
- Reading: The multimeter should display your car battery’s voltage (around 12.6V when fully charged).
2. Checking for Communication Errors
- Connect: Red probe to Pin 6 (CAN High), black probe to Pin 14 (CAN Low).
- Reading: Fluctuating voltage indicates active communication on the CAN bus, signifying a functioning system.
3. Testing Ground Connections
- Connect: Black probe to Pin 4 (Chassis Ground), red probe to various metal parts of the vehicle’s chassis.
- Reading: A consistent near-zero reading confirms proper ground connections.
“Remember, while these checks offer valuable insights, always consult your vehicle’s repair manual or a qualified mechanic for complex issues. ” – John Anderson, Senior Automotive Engineer at CarTech Solutions
Conclusion
Manually checking your car’s OBD2 system using an analog multimeter and a pinout diagram provides a quick and cost-effective way to diagnose basic issues. While dedicated scanners offer greater depth, a multimeter empowers you with the knowledge to perform preliminary checks and gain a better understanding of your vehicle’s health. Remember to prioritize safety and consult your vehicle’s repair manual or a professional for complex problems.
FAQ
1. Can I damage my car by manually checking the OBD2 port?
As long as you use the correct procedures and avoid forcing connections, manual checks pose minimal risk.
2. What do I do if my multimeter readings are abnormal?
Consult your vehicle’s repair manual or seek assistance from a qualified mechanic for further diagnosis.
3. Can I clear OBD2 codes with a multimeter?
No, clearing codes requires a dedicated OBD2 scanner or disconnecting the vehicle’s battery.
4. Is an analog multimeter better than a digital one for OBD2 checks?
Analog multimeters offer better visualization of voltage fluctuations, which can be helpful for certain OBD2 checks.
5. Can I use this method on older cars without OBD2 ports?
This method specifically applies to vehicles equipped with OBD2 ports, generally those manufactured after 1996.
For more in-depth information on OBD2 scanners, troubleshooting, and advanced diagnostics, explore other informative articles on OBDFree.
Need Expert Assistance?
Contact us via WhatsApp: +1(641)206-8880 or Email: [email protected]. Our dedicated customer support team is available 24/7 to assist you.


