Understanding how to install your Nitro OBD2 performance chip correctly is crucial for unlocking your vehicle’s true potential. This comprehensive guide will walk you through the entire process, ensuring a seamless and successful installation.
 Nitro OBD2 Performance Chip Installation
What You Need to Know About Nitro OBD2
Before we dive into the installation, let’s clarify what a Nitro OBD2 performance chip is and how it enhances your vehicle’s performance. In simple terms, it’s a device that plugs into your vehicle’s OBD2 port, typically located under the dashboard on the driver’s side.
Once plugged in, the chip accesses your car’s ECU (Engine Control Unit) and modifies various parameters like fuel injection timing, boost pressure (for turbocharged engines), and air-fuel ratio. These modifications are designed to optimize your engine’s performance, resulting in:
- Increased Horsepower and Torque: Experience a noticeable boost in your engine’s power and acceleration.
- Enhanced Throttle Response: Enjoy a more responsive driving experience with reduced lag.
- Potential Fuel Savings: In some cases, optimized engine performance can lead to slight improvements in fuel efficiency.
Finding Your OBD2 Port
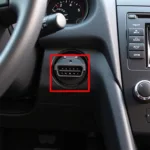
Locating your OBD2 port is the first step in the installation process. As mentioned earlier, it’s usually situated under the dashboard on the driver’s side. However, the exact location may vary depending on your vehicle’s make and model.
If you’re having trouble finding it, consult your owner’s manual or search online for “[your car model] OBD2 port location.” Once you’ve located the port, you’re ready to proceed with the installation.
Installing Your Nitro OBD2 Performance Chip
The installation process is straightforward and can be completed in a few simple steps:
-
Turn off your engine and remove the key from the ignition. This ensures your vehicle’s electrical system is off, preventing any potential issues during installation.
-
Locate and open the OBD2 port cover. The cover may be labeled “OBD2” or “Diagnostic.”
-
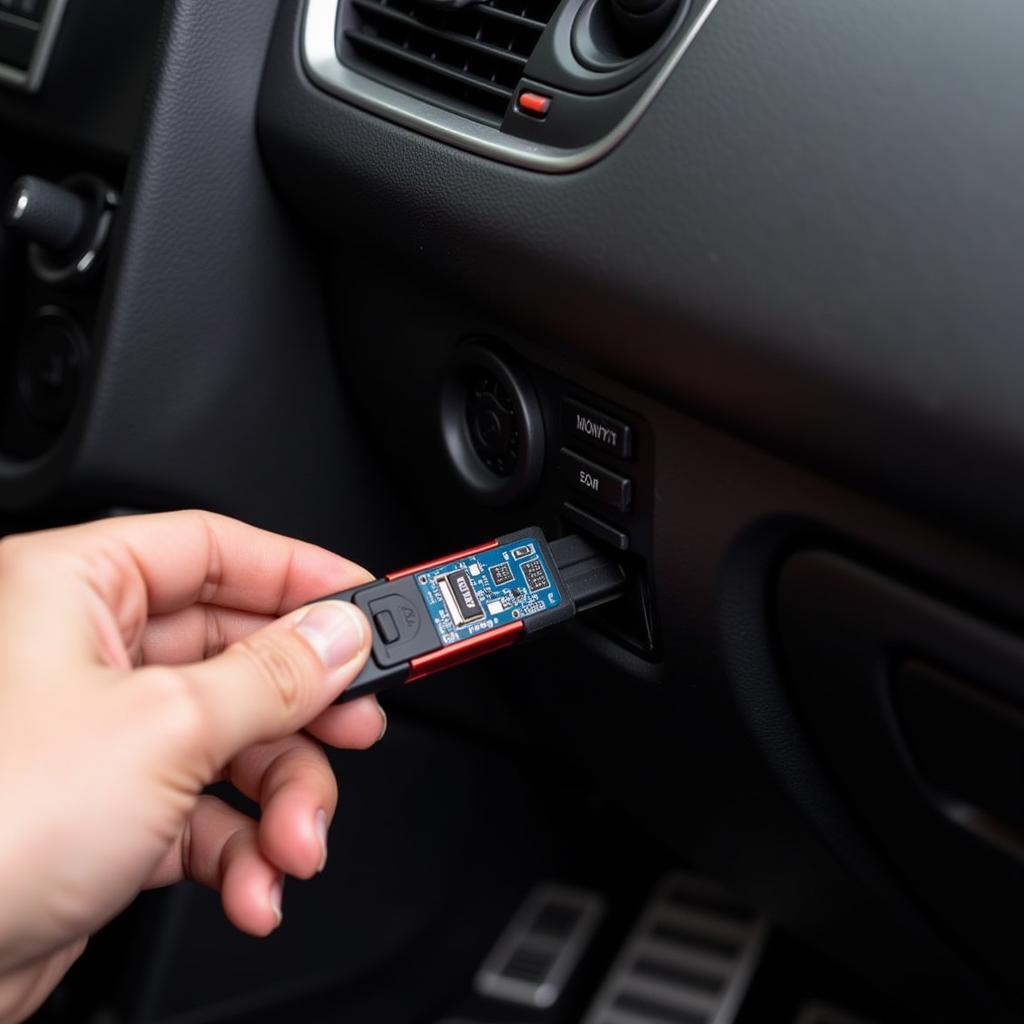
Align and insert the Nitro OBD2 chip into the port. Ensure a snug and secure connection. You should hear a click when it’s properly inserted.
-
Insert the key into the ignition and turn it to the “on” position. Do not start the engine yet. This allows the chip to establish communication with your car’s ECU.
-
Wait for the chip to initialize. This process usually takes around 30-60 seconds, during which you might see some lights blinking on the chip itself.
-
Once initialization is complete, start your engine and enjoy the enhanced performance.
Important Considerations and Precautions
-
Compatibility: Ensure the Nitro OBD2 performance chip is compatible with your specific car make, model, and engine type before purchasing. Refer to the manufacturer’s compatibility chart or contact their customer support for confirmation.
-
Engine Health: While the Nitro OBD2 chip is designed to be safe for your engine, it’s crucial to have a well-maintained vehicle before installation. Address any existing engine issues beforehand.
-
Professional Installation: If you’re uncomfortable with the installation process or unsure about any aspect, it’s always recommended to consult a qualified mechanic for professional installation.
Conclusion
Installing a Nitro OBD2 performance chip can be a quick and effective way to boost your driving experience. By following these simple steps and taking the necessary precautions, you can unlock your vehicle’s hidden potential and enjoy improved performance on the road. For more insights and discussions on Nitro OBD2 and other performance enhancement options, visit our Nitro OBD2 review forum.
FAQs
Q1: Is installing a Nitro OBD2 chip difficult?
A: No, the installation process is straightforward and can be done by most car owners. The steps are clearly outlined in the provided instructions.
Q2: Will the Nitro OBD2 chip void my car’s warranty?
A: It’s best to check with your car manufacturer or dealership regarding warranty implications. Some manufacturers may consider such modifications as voiding the warranty.
Q3: Can I remove the chip after installation?
A: Yes, the Nitro OBD2 chip can be easily removed. Simply turn off your engine, unplug the chip from the OBD2 port, and reinstall the port cover.
Q4: Are there any risks associated with using a Nitro OBD2 performance chip?
A: When used correctly and with a well-maintained vehicle, the risks are minimal. However, it’s crucial to choose a reputable brand and follow the manufacturer’s instructions carefully.
Q5: What kind of performance gains can I expect from a Nitro OBD2 chip?
A: The actual performance gains may vary depending on your car’s make and model. However, most users experience noticeable improvements in horsepower, torque, and throttle response.
Still Have Questions?
If you need further assistance or have specific questions regarding Nitro OBD2 installation, our team of experts is here to help. Contact us via WhatsApp: +1(641)206-8880 or Email: [email protected]. We offer 24/7 customer support to address your concerns and provide the guidance you need. For a comprehensive understanding of OBD2 scanners and their installation, you can also refer to our guide on how to install obd2 scanner. If you’re interested in exploring alternative performance enhancement options, you might find our Nitro OBD2 performance chip review and Nitro Red OBD2 chip tuning box review helpful.

