Converting your vehicle’s OBD0 system to OBD2 might seem daunting, but with the right knowledge and tools, it’s a manageable project even for DIY enthusiasts. Whether you’re looking to utilize modern diagnostic equipment, enhance engine management, or simply want a deeper understanding of the conversion process, this guide provides comprehensive insights.
Understanding the Basics: OBD0 vs. OBD2
Before diving into the conversion process, let’s clarify the key differences between OBD0 and OBD2 systems.
OBD0 (On-Board Diagnostics 0), prevalent in vehicles manufactured before 1996, utilizes rudimentary diagnostic capabilities. These systems often rely on manufacturer-specific protocols and connectors, making diagnostics and troubleshooting challenging.
OBD2 (On-Board Diagnostics 2), mandated in the United States for vehicles manufactured from 1996 onwards, brought standardization to automotive diagnostics. With a universal connector and standardized diagnostic trouble codes (DTCs), OBD2 simplified troubleshooting and emissions monitoring.
Why Convert to OBD2?
Converting your OBD0 system to OBD2 offers several benefits:
- Enhanced Diagnostics: Access a wider range of diagnostic tools and software, enabling more comprehensive troubleshooting and data analysis.
- Improved Engine Management: Modern engine control units (ECUs) compatible with OBD2 offer advanced fuel and ignition control, potentially leading to improved performance and fuel efficiency.
- Emissions Compliance: OBD2 plays a crucial role in emissions testing, ensuring your vehicle meets environmental standards.
- Increased Resale Value: An OBD2-equipped vehicle is often more appealing to potential buyers.
OBD0 to OBD2 Conversion: Step-by-Step
The conversion process varies depending on your vehicle’s make, model, and engine. However, these general steps provide a framework:
1. Research and Gather Information: Consult your vehicle’s service manual, online forums, and automotive communities to gather specific details about your vehicle’s wiring diagrams, ECU compatibility, and any unique requirements.
2. Procure Necessary Components:
- OBD2 ECU: Select an ECU compatible with your engine and desired features. Ensure it’s compatible with your vehicle’s transmission and other electronic systems.
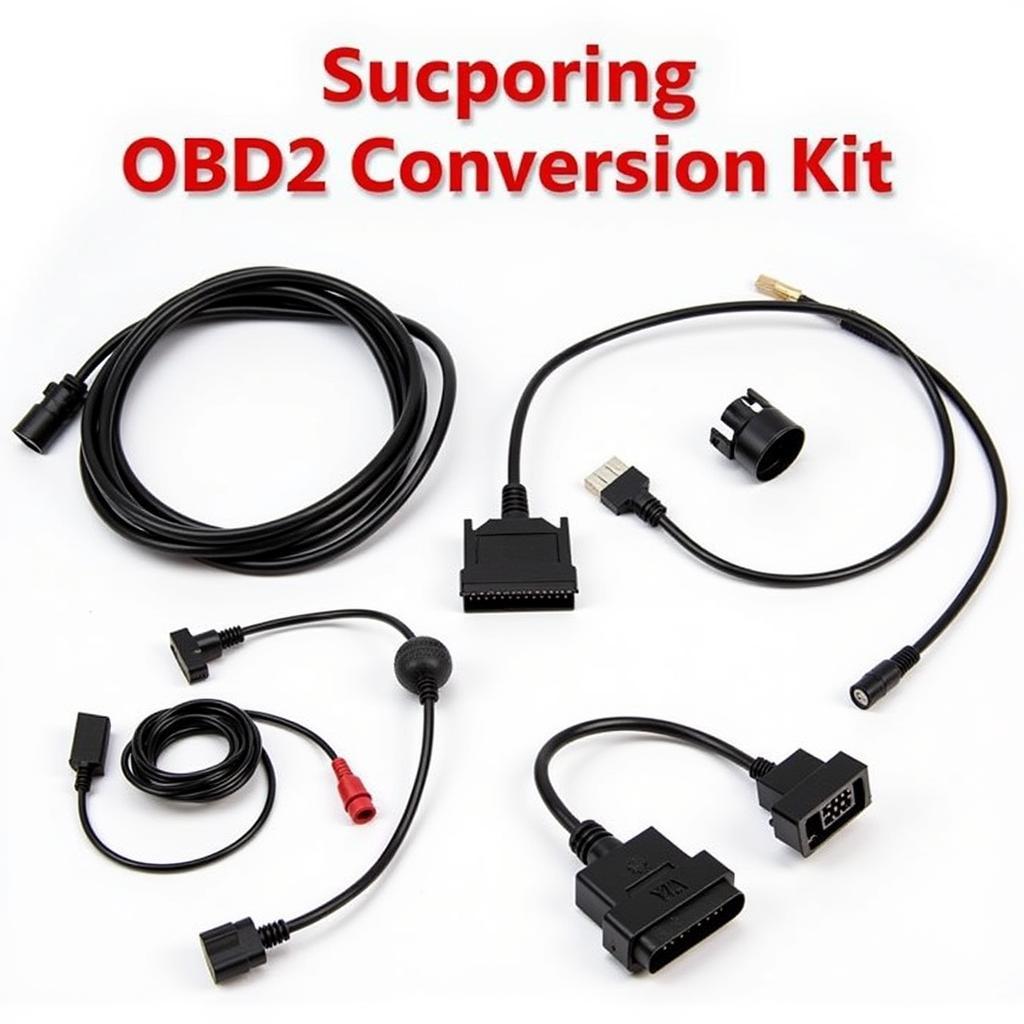
- Wiring Harness: A conversion harness simplifies the wiring process, ensuring proper connections between the OBD2 ECU and your vehicle’s existing wiring.
- Oxygen Sensors: OBD2 systems typically require additional oxygen sensors. Ensure you have the correct type and quantity for your engine.
- Other Sensors (if required): Depending on your vehicle and chosen ECU, additional sensors like manifold absolute pressure (MAP), coolant temperature, and throttle position sensors might be necessary.
3. Disconnect the Battery: Before working on any electrical components, disconnect the negative battery terminal to prevent accidental shorts or damage.
4. Remove the OBD0 System: Locate and carefully remove the OBD0 ECU, wiring harness, and related components. Refer to your vehicle’s service manual for guidance.
5. Install the OBD2 ECU and Harness: Install the new OBD2 ECU in a suitable location, securing it properly. Connect the conversion harness according to the provided instructions, ensuring all connections are secure and properly insulated.
6. Install Additional Sensors: Install any required additional sensors, such as oxygen sensors, according to the manufacturer’s specifications. Ensure proper wiring and connections.
7. Connect the Battery and Perform Initial Checks: Reconnect the negative battery terminal and turn on the ignition (do not start the engine). Verify that the check engine light illuminates briefly and then turns off, indicating proper ECU communication.
8. Fine-tune and Calibrate: Depending on the ECU and your vehicle, you might need to fine-tune settings like fuel maps, ignition timing, and idle speed. Consult a qualified mechanic or tuning specialist if you’re not comfortable performing these adjustments.
Common Challenges and Troubleshooting
While the conversion process is generally straightforward, you might encounter challenges:
- Wiring Issues: Double-check all wiring connections for proper polarity, secure connections, and insulation. Use a multimeter to test continuity if needed.
- Sensor Compatibility: Ensure all sensors are compatible with the OBD2 ECU and installed correctly.
- ECU Programming: Some ECUs require programming or calibration specific to your vehicle’s make, model, and engine.
Conclusion
Converting your OBD0 system to OBD2 can significantly enhance your vehicle’s diagnostic capabilities, engine management, and overall driving experience. By understanding the key differences between the systems, following a systematic approach, and addressing potential challenges proactively, you can successfully complete the conversion. Remember, thorough research, quality components, and attention to detail are paramount for a successful and rewarding outcome.


